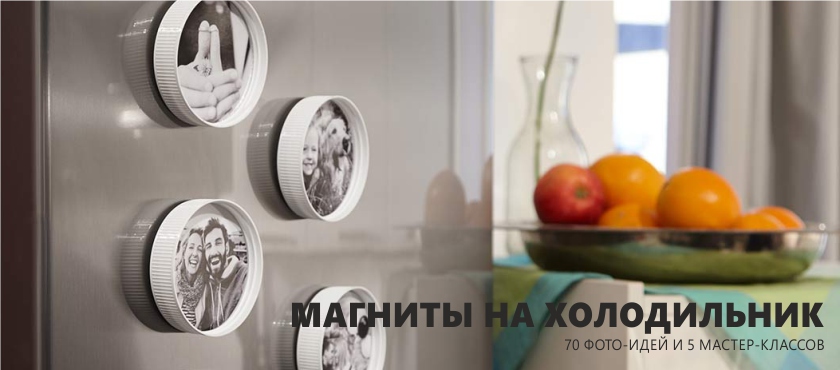
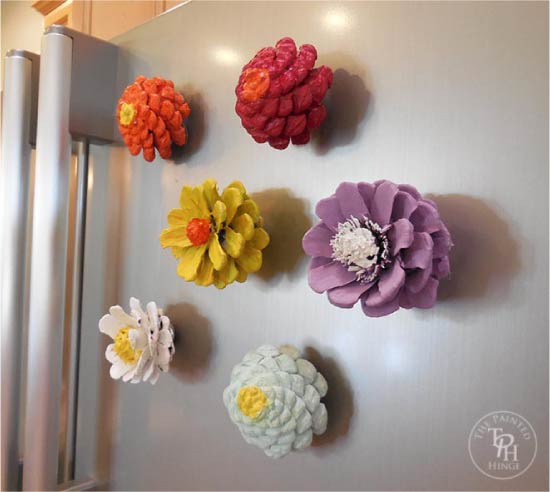
Magnets on the fridge are pleasing to the eye and preserve our lists, photos, postcards, business cards and coupons. Making them with your own hands for yourself or as a gift is very interesting and easy. After all, if you think about it, you can use almost everything at your fingertips to make magnetic crafts, just turn on your imagination, stock up on glue and mini magnets. In this article, we presented 70 inspiring photo-ideas, as well as 5 step-by-step lessons on how to make cool fridge magnets (and not only) from improvised, natural and even junk materials.
General recommendations for beginners
- For the manufacture of fridge magnets, you can use three types of them: ferrite, neodymium (super-magnets) and vinyl (rubber).
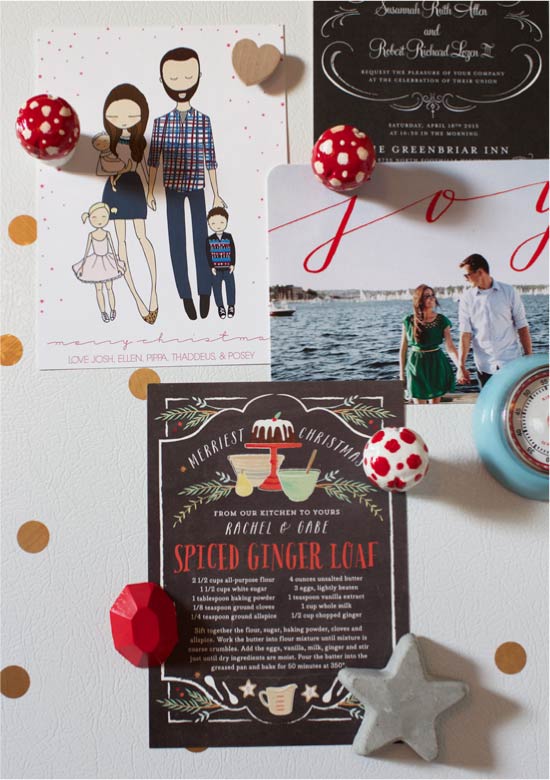
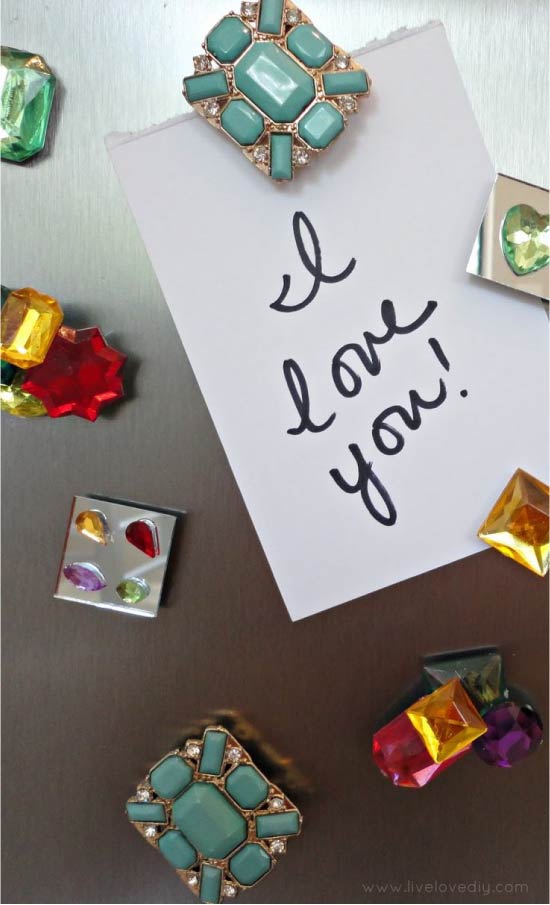
- If you want your magnetic crafts to hold only light and small sheets of paper, business cards, etc., you can use ferrite (ordinary graphite-colored magnets, which are most often used for souvenir products) or vinyl. The latter is a flexible vinyl material with an adhesive base, which has a small adhesive force, but it can be cut into segments of different shapes and sizes. An example of the application of a flexible magnet is presented below.
- If you want the magnet to hold things heavier, then for the manufacture of crafts you need to use neodymium magnets (super-magnets), which have 10 times greater grip strength. For example, for the manufacture of a magnetic hook for a cook or cutting board, you will need one magnet the size of a 1-kopeck coin. Keep in mind that, ideally, the magnet adhesion force should be 2 times the weight of the craft and the item that it will hold.
By the way, neodymium magnet, unlike ferrite, does not lose magnetic properties over time. Ferrite after 8-10 years turns into a useless piece of iron.
- Where to get or buy magnets for making crafts? They can be peeled off from souvenirs or bought / ordered in construction markets, shops for creativity, as well as on specialized online stores.
- When working with neodymium magnets, take precautions and do not involve children in making handicrafts. Keep in mind that two magnets attached to each other can even pin a finger.
- Superglue, Moment glue and its analogs, as well as a hot glue gun are most suitable for gluing a magnet to the craft. If your craft is designed to hold really heavy things, then for fastening it is best to use a neodymium magnet with a countersink and a screw.
- It is best to look at the fridge magnets, made in the same style and combined in subject, color or form.
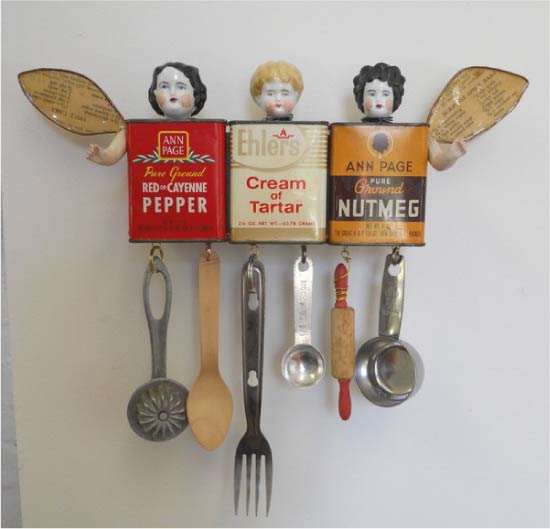
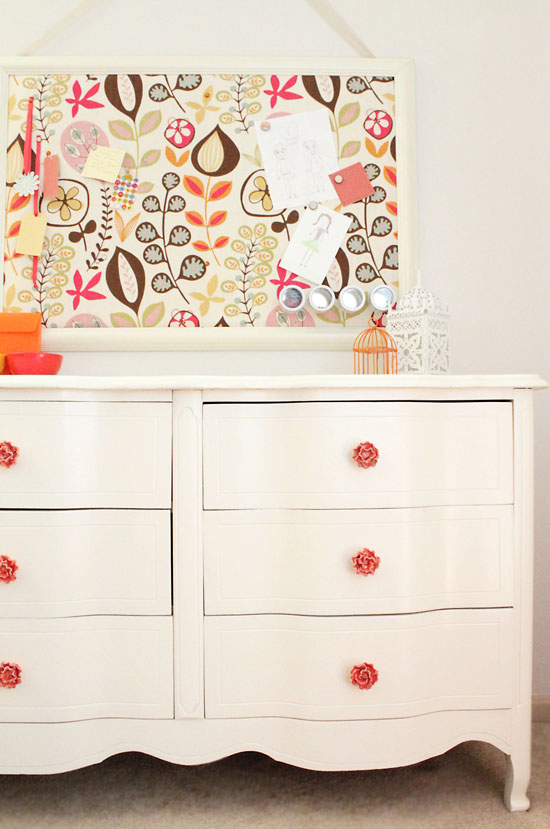
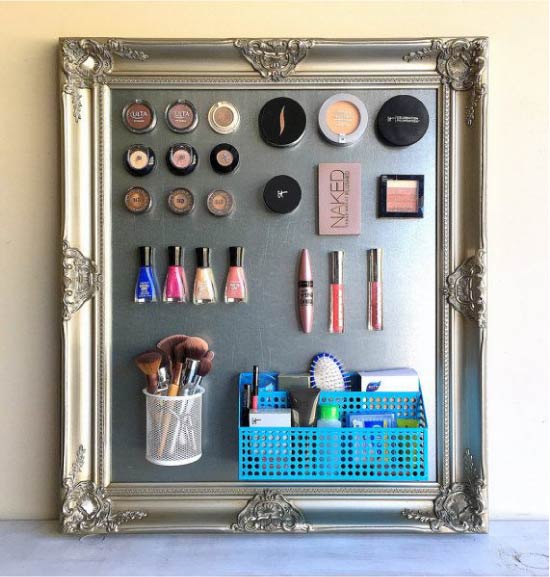
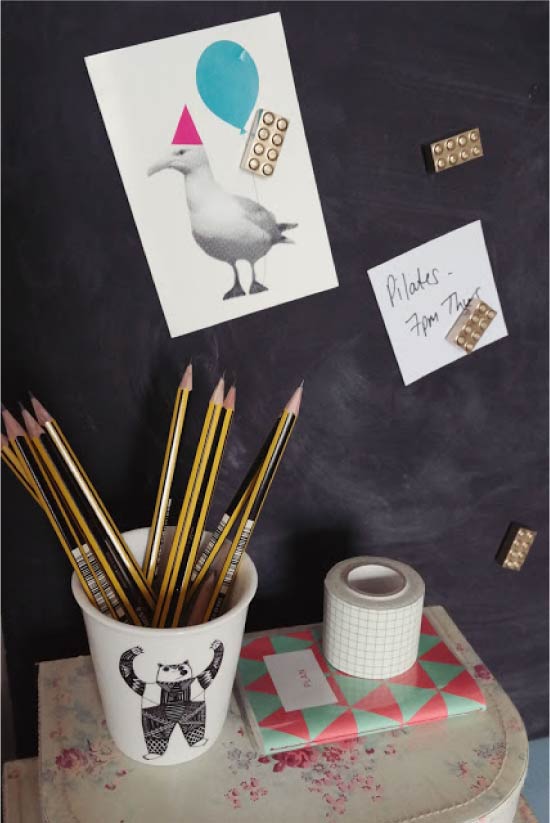
- Magnets can be hung not only on the refrigerator, but also on any metal surfaces, for example, on a magnetic organizer board, hood or gas column.
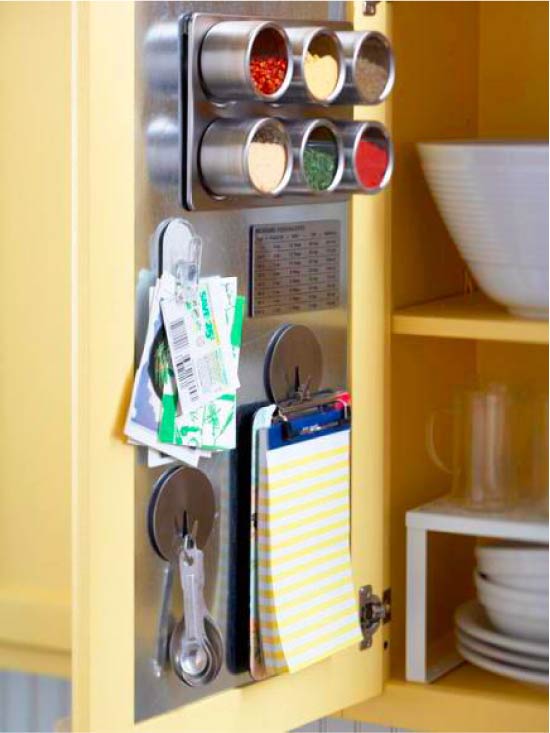
In turn, the magnetic organizer-board can be installed anywhere, for example, on the door of the cabinet
See the material on the topic: 8 ways to decorate the refrigerator
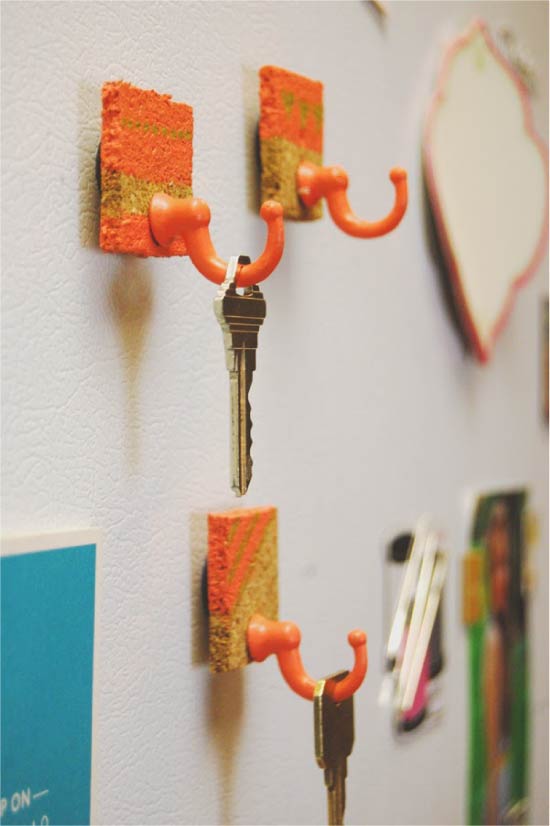
Master Class. 1. Magnets-hooks from branches
You can hang keys, towels, ladles and other things on these twig hooks.

Materials and tools:
- Dry small, but strong branch with a branch;
- Hand saw or jigsaw;
- Small neodymium magnets;
- Glue;
- Drill and drill, equal to the diameter of the magnets;
- Acrylic paint (optional).
Instruction:
- Using a saw, cut the branch so that it looks like a hook. Then cut the length of the branch so that its back side is flat as shown in the photo below on the left.
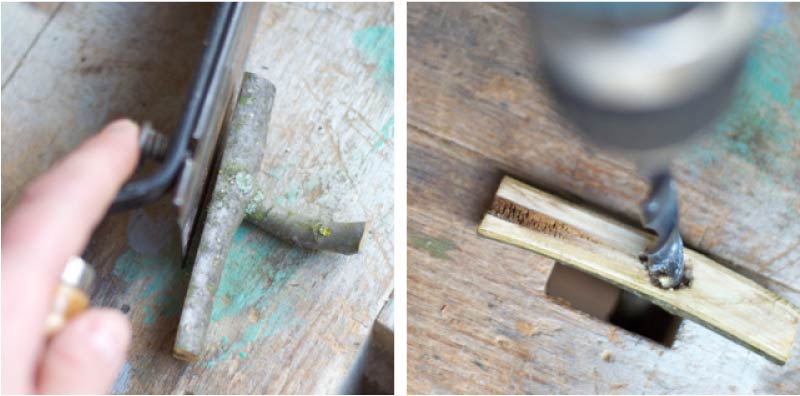
- In this flat back of the branch, drill a recessed hole for the diameter of your magnet.
- Glue the magnet in the resulting cell.
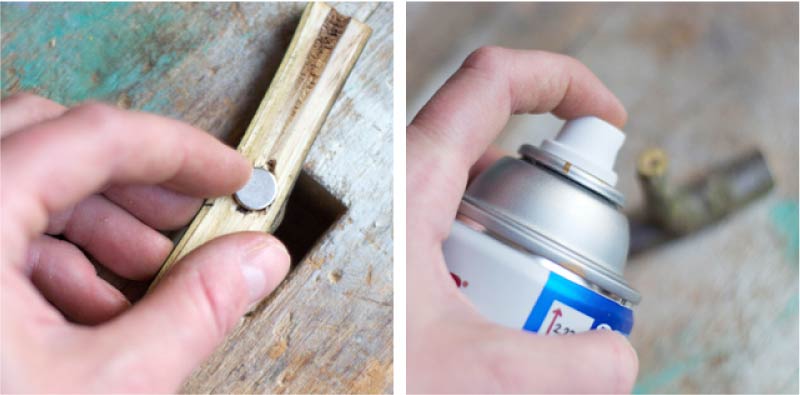
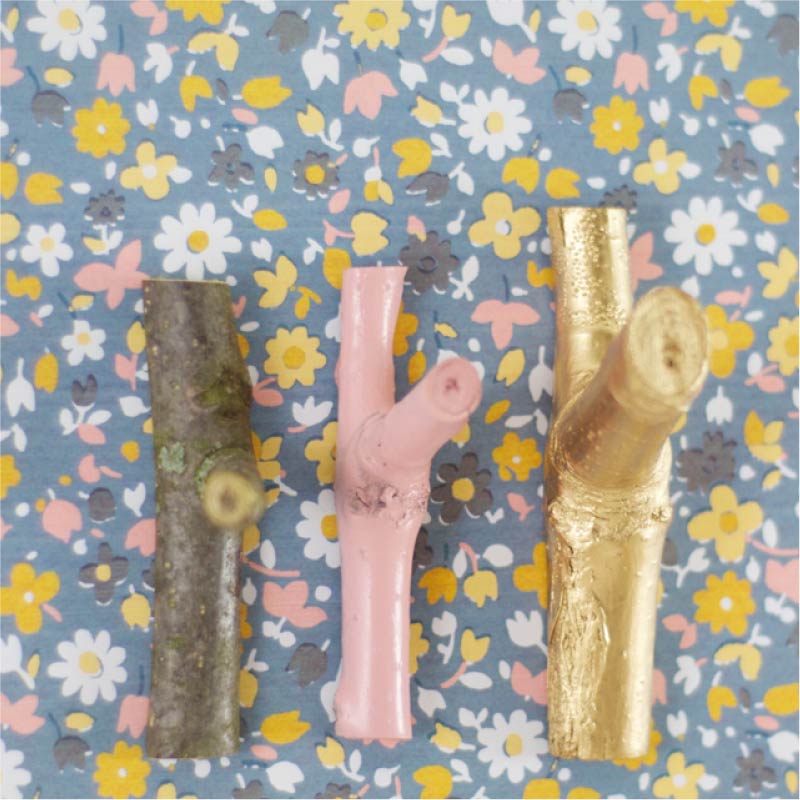
- If desired, paint the craft and cover it with a matt varnish. Done!
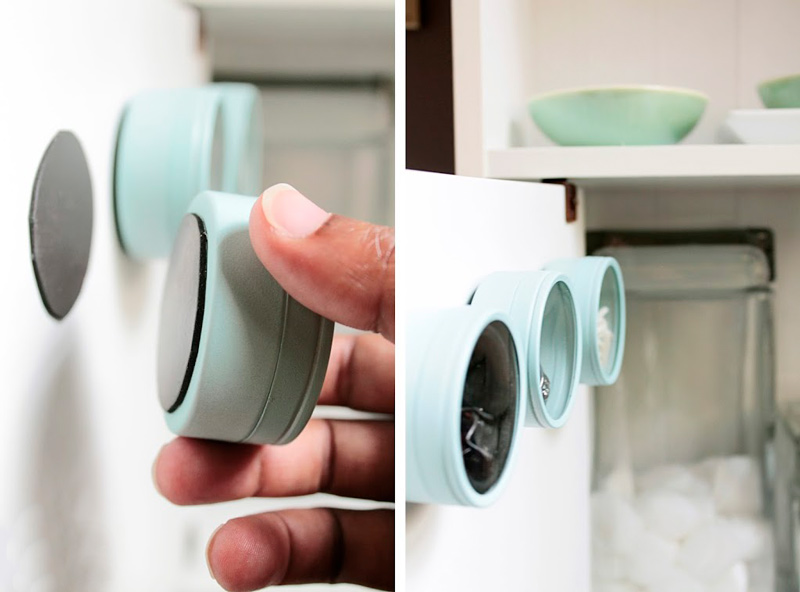
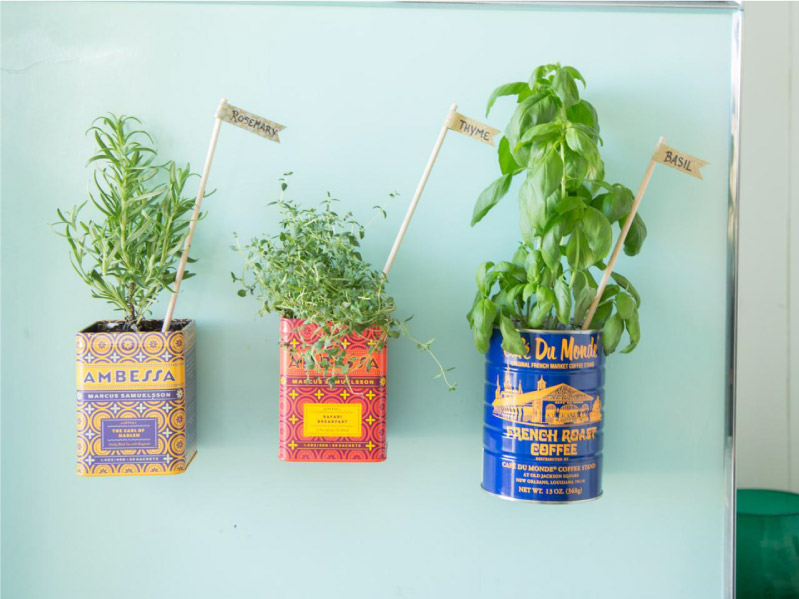
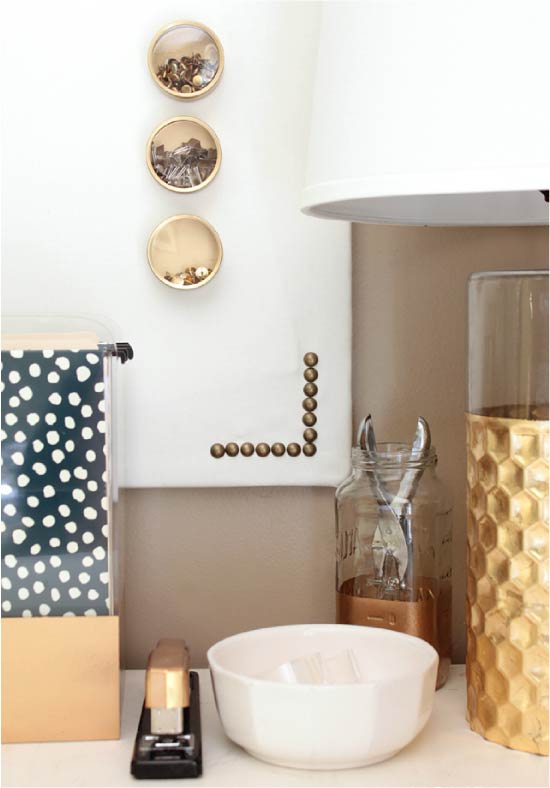
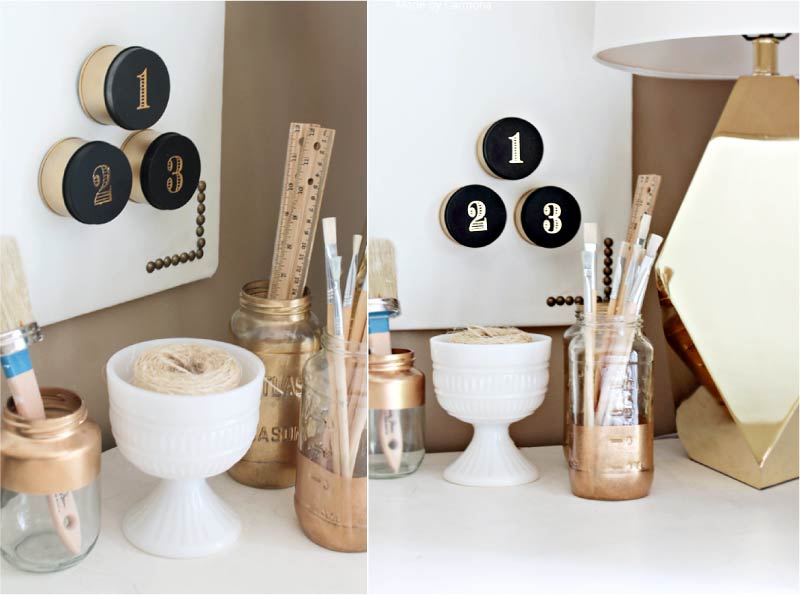
Master Class 2. Magnet Storage Banks
If you have cute tin or glass jars, let them go in business by turning the door of the refrigerator or the magnetic board into an organizer.
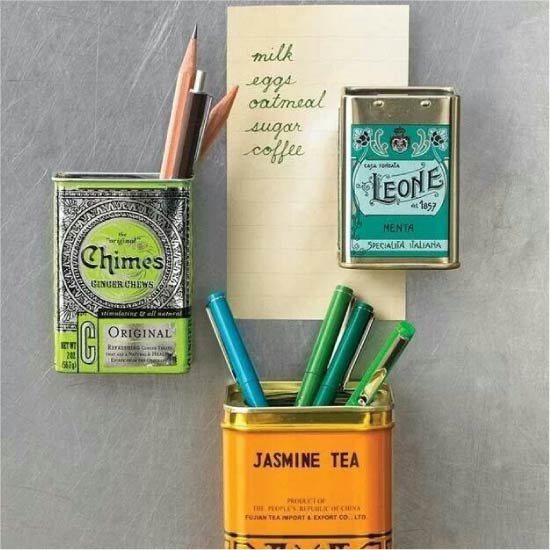
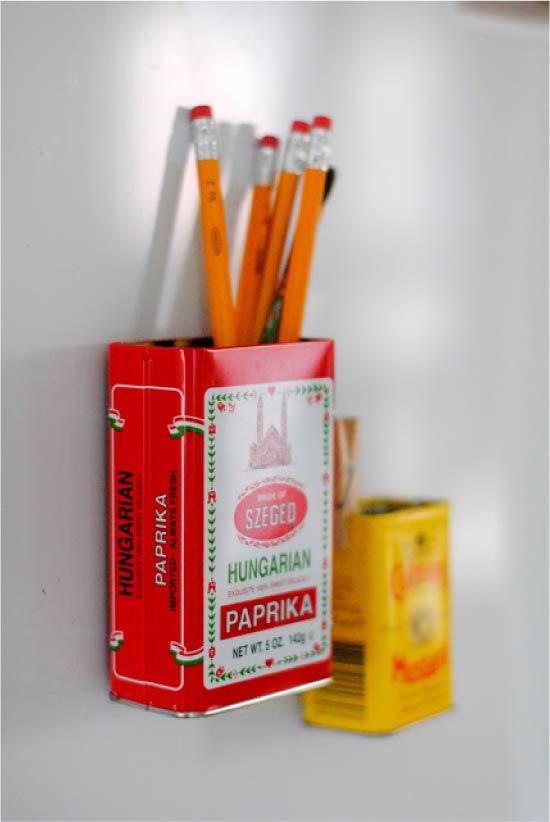
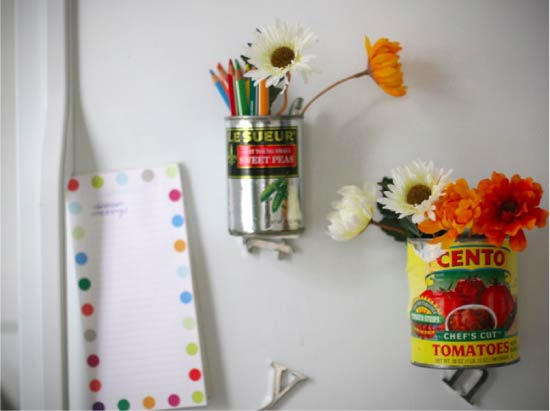
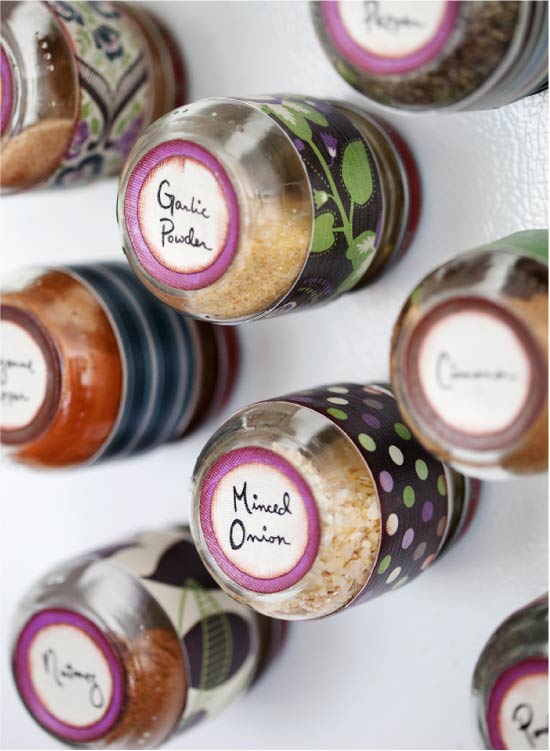
Glass jars with baby food are great for storing spices in the refrigerator or hood.
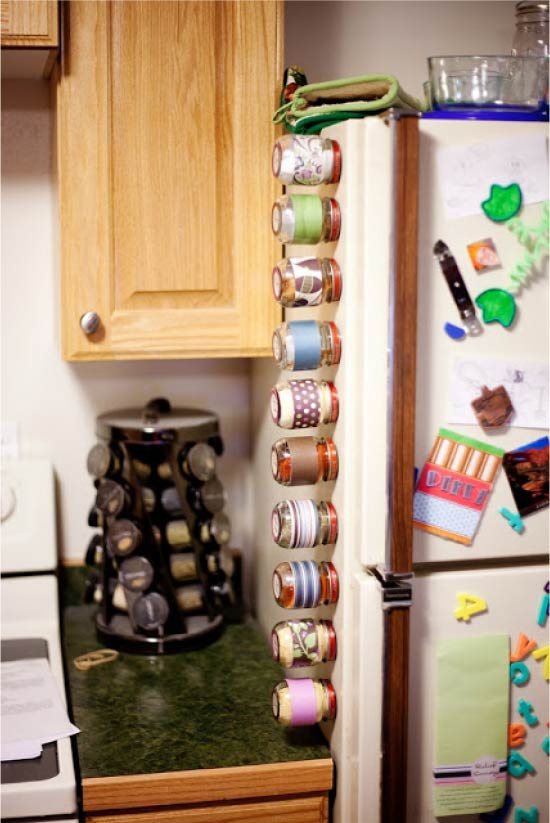
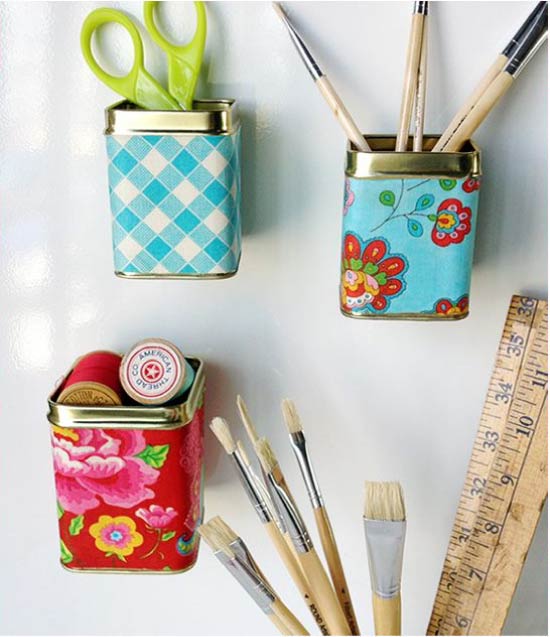
Next, we present a lesson on how to make magnetic jars for storing small things with your own hands, as in the photo below.

Materials and tools:
- Small aluminum cans (cans, as in our master class, can be ordered on Aliexpress for 300 rubles / 10 pcs.). You can replace cans with glass jars or small plastic containers;
- Paint the desired color (it is more convenient to use the paint in the spray) and matte varnish (not necessary, but desirable to protect the coating);
- Neodymium plate magnets (especially if you want to use large cans and store heavy stuff in them) or magnetic vinyl self-adhesive sheets with a thickness of 0.6 mm;
- Super Glue "Moment" (needed if you use neodymium magnets).
Instruction:
- Make sure the prepared jars are clean and dry. Paint them, as well as their covers in 2-3 layers, giving each layer a good dry. Next, cover the cans with varnish, if there is one.
- If you use jars with a glass insert on the lid, then before painting it must be removed or sealed with masking tape.

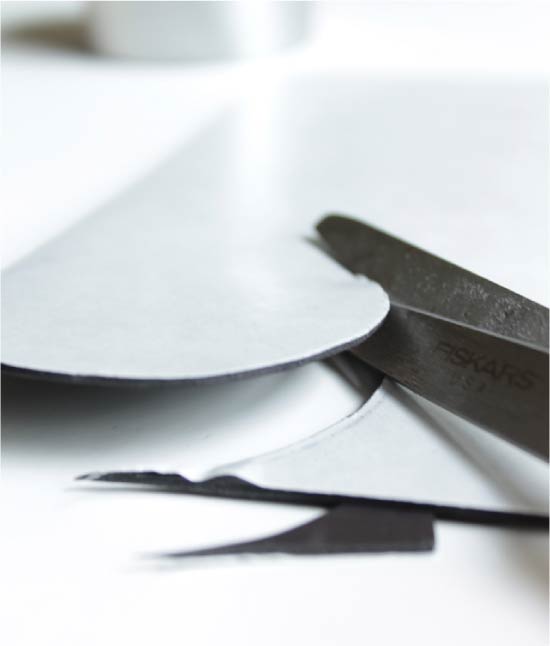
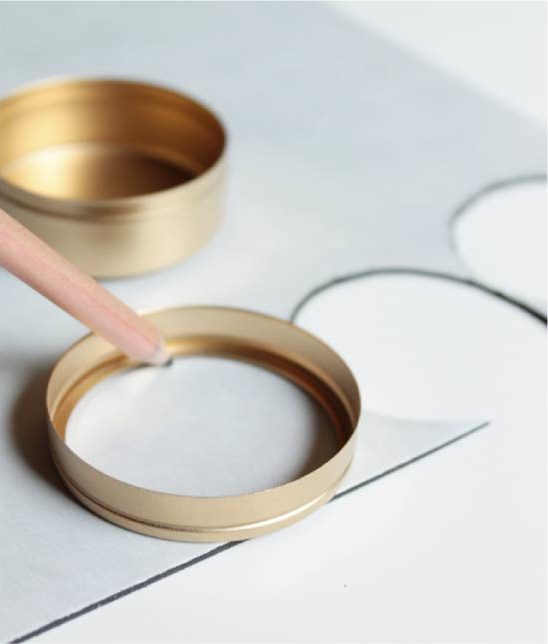
- Cut circles from a magnetic sheet, their diameter should be slightly less than the diameter of the cans. If you use neodymium magnets, stick them on superglue.
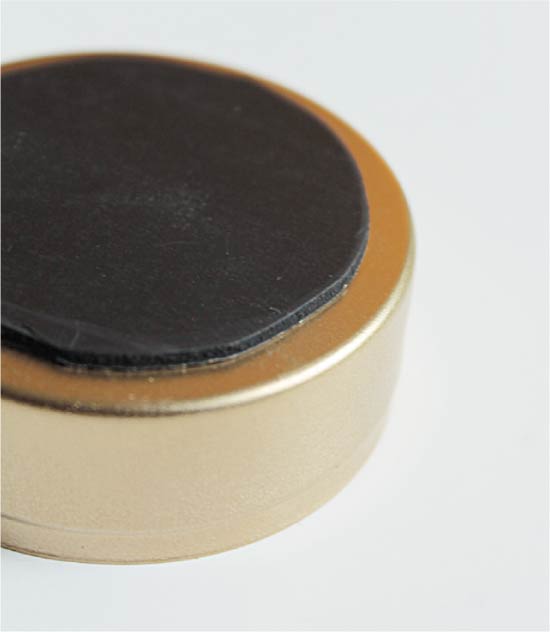
- Glue the cut circles on the bottom of the jar, removing the protective backing.
- If desired, can lids can be additionally decorated. For example, as shown in the photo below.
See also: Remaking tin and glass jars: workshops and ideas
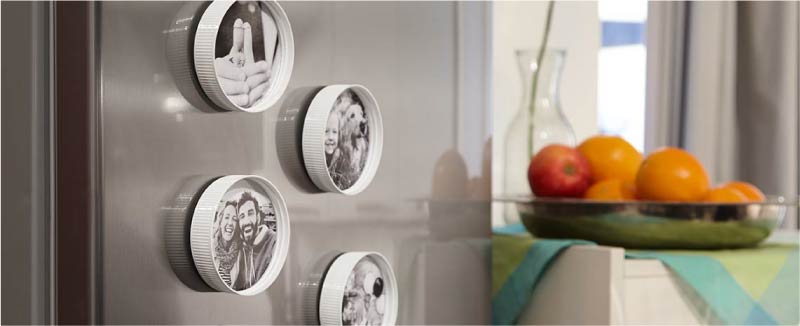
Master class 3. Magnets from tin lids (crown caps)
The idea of recycling bottle caps from soda or beer as fridge magnets will appeal not only to environmentalists, but also to decorators. After all, they do not cost anything at all, but provide a lot of opportunities for decoration.
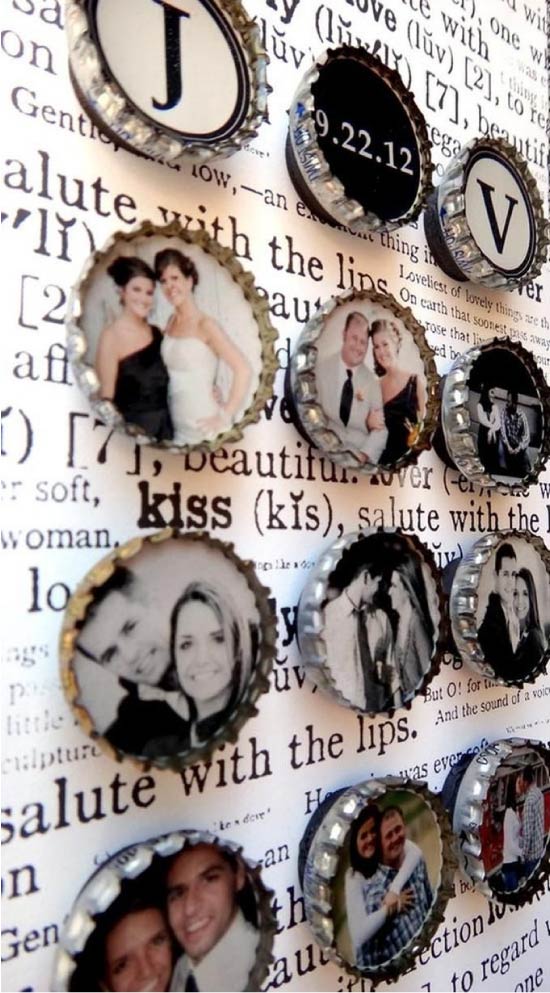
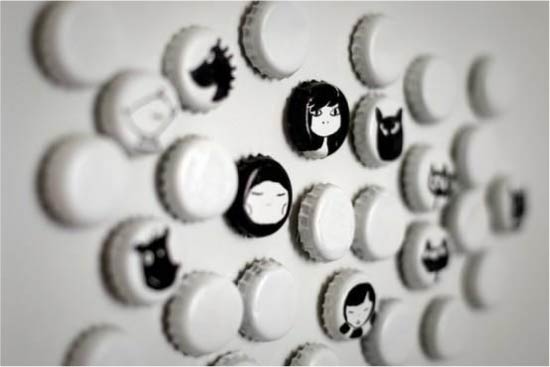
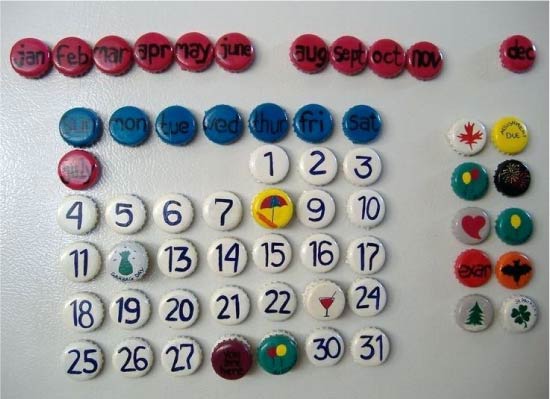
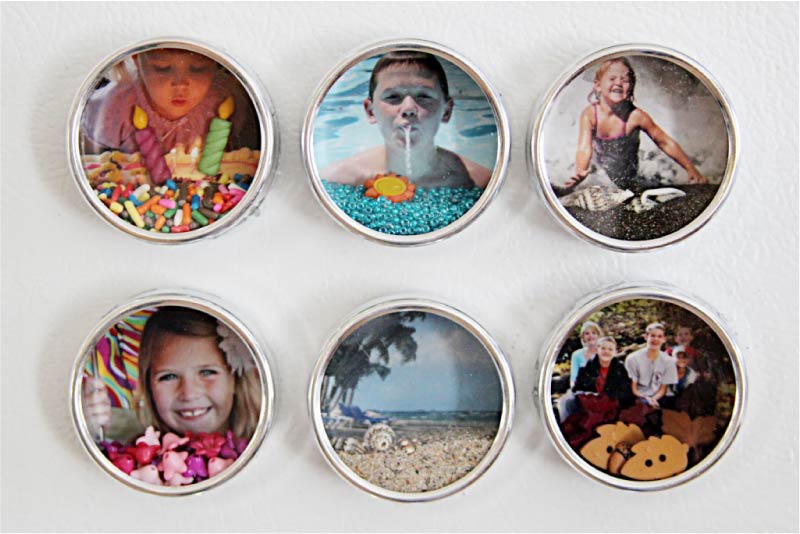
For example, family photos or just nice paper can be pasted into the covers (trimming cards, cuttings from magazines, etc.).
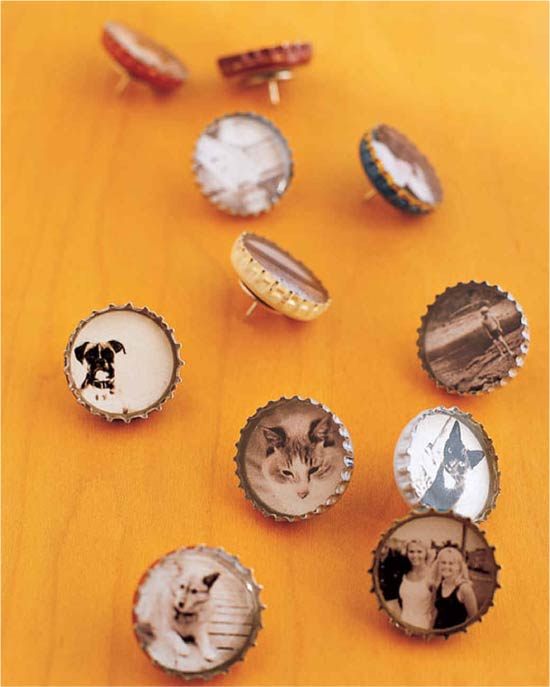
Homemade photo frame magnets
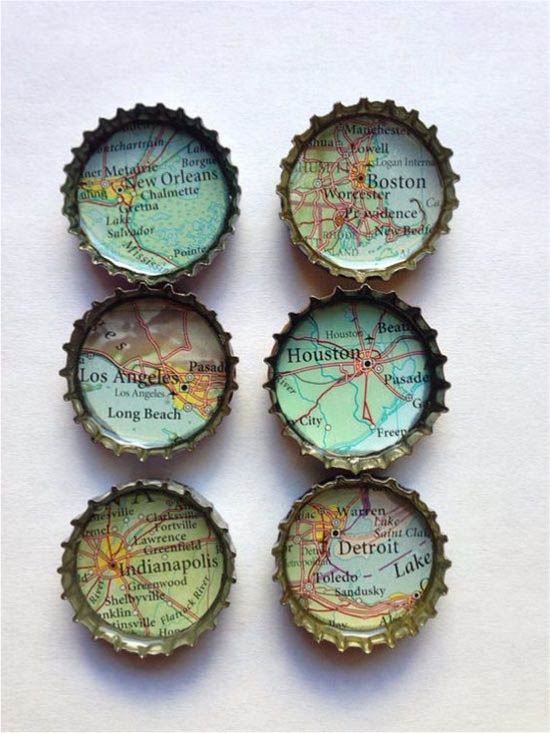
Covers can be painted, filled their inside with hot glue or cork, and then magnets can be glued to them.
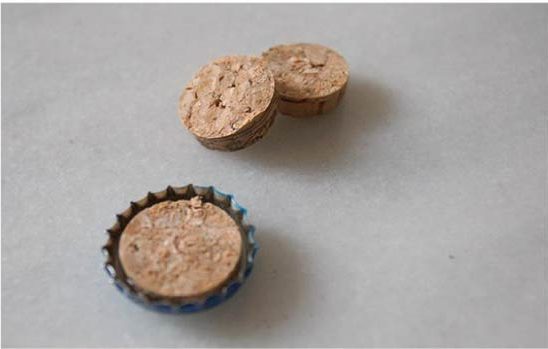

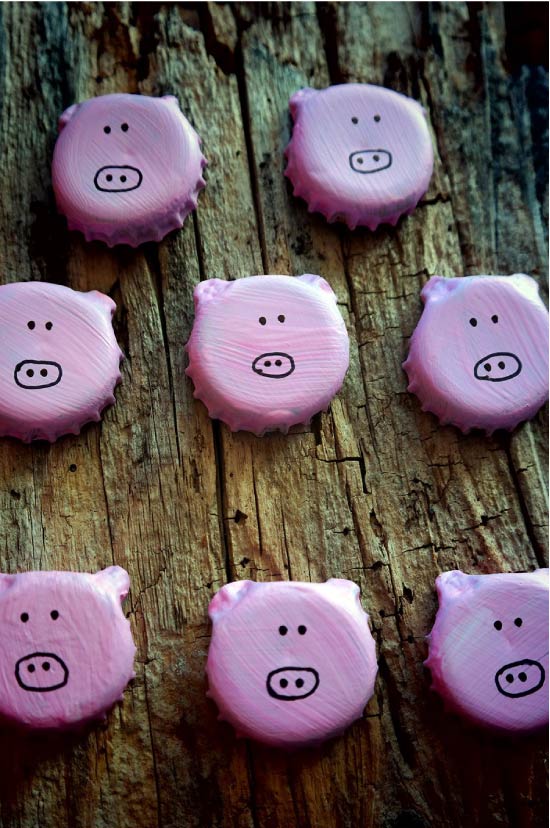
Sometimes bottle caps can not be decorated at all.
Instead of beer caps for the manufacture of magnets on the refrigerator, you can use more caps, for example, from Nutella cans or baby food.
Materials and tools:
- Scissors, and better punch for scrapbooking for cutting circles with a diameter of 2.5 cm (sold in stores for creativity and costs 200-300 rubles);
- Epoxy resin, solution preparation tank and mixing stick;
- PVA glue and superglue;
- Small magnets;
- Photos of suitable size or any other pictures, for example, from a magazine;
- Beer caps (it is best to use bottles with unscrewing, rather than opening, caps).
Instruction:
- Using a hole punch or scissors cut from photographs round fragments with a diameter of 2.5 cm. Of course, if you use scissors, you must first mark up using one of the caps (or a plastic cap from a plastic bottle) as a template.
- Glue the pictures to the inside of each cover with the help of PVA glue (glue should be applied over the picture as well). Let the glue dry completely (!).
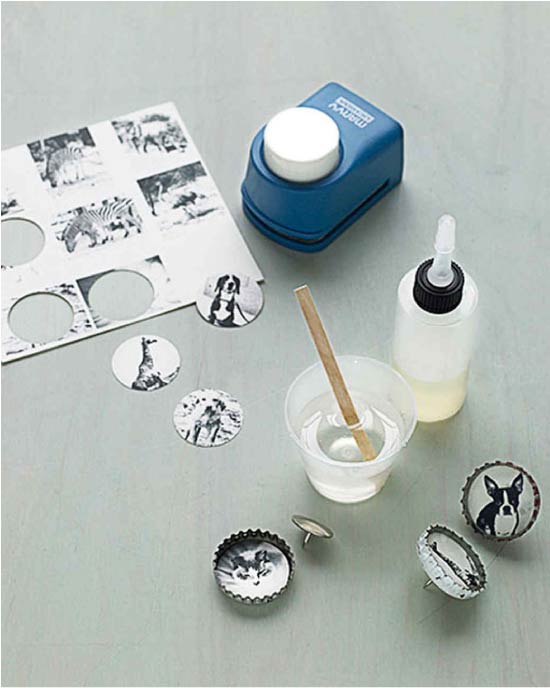
- Following the manufacturer's instructions, prepare the epoxy resin in the quantity you need. To find out exactly how much resin you need, pour water into one of the caps, then multiply the volume by the number of caps. Cover the work surface to protect it from spills, then fill each lid to the brim. Let the craft dry overnight.
- Glue the magnets to the blanks. Done!
See also: Crafts from bottle caps for adults and children
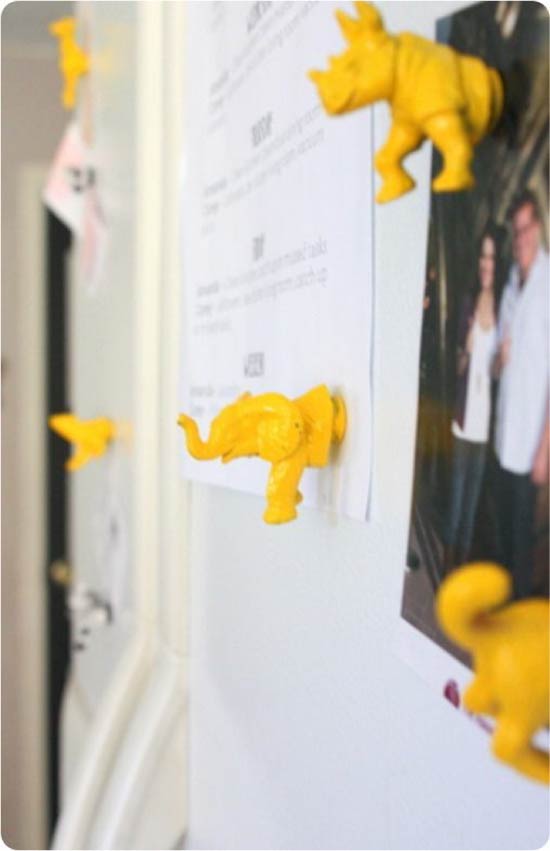
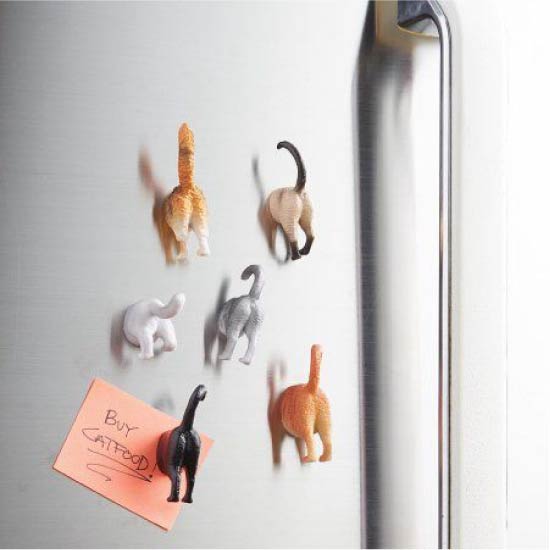
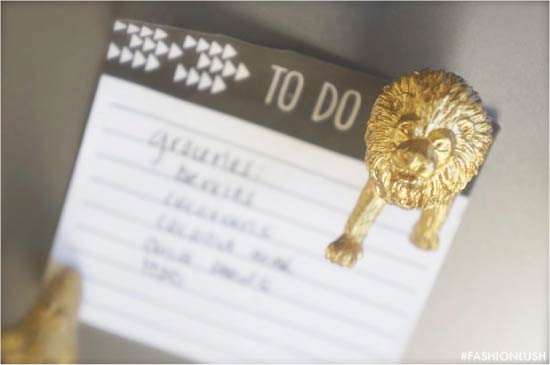
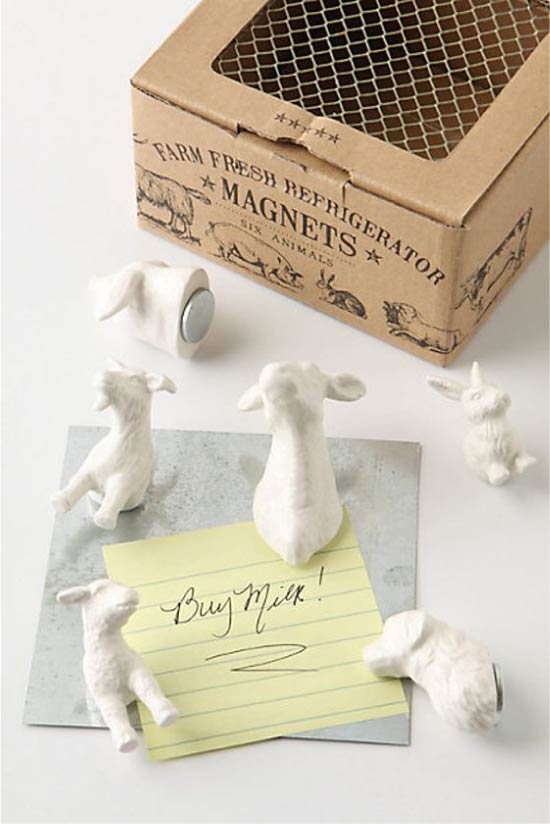
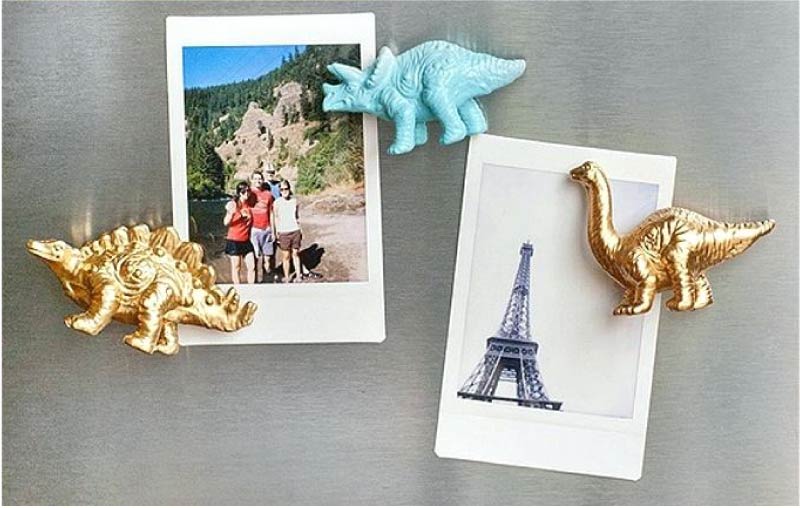
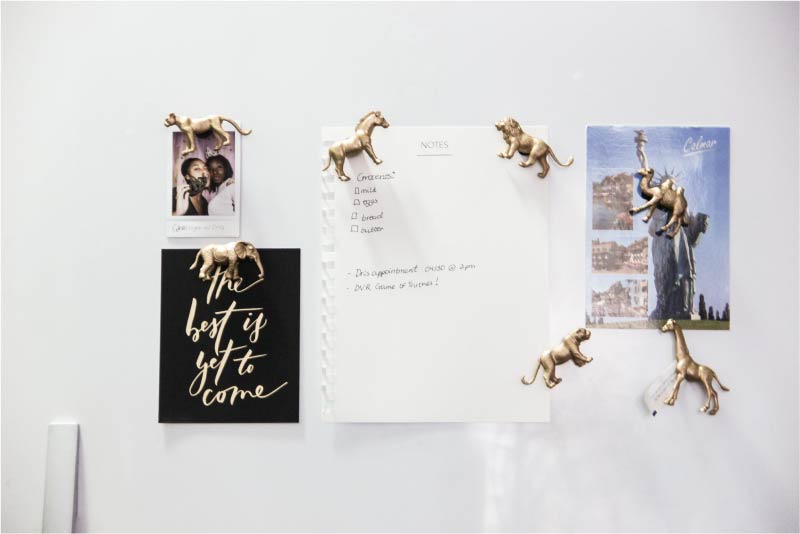
Master class 4. Magnets from plastic mini-toys
The most stylish magnets are easy to make from plastic toys, namely animal figures.
Materials and tools:
- Scissors or sharp knife;
- Thermo-glue in the gun;
- Paint and brush if necessary;
- Small magnets;
- Plastic animal figures.
Instruction:
- Cut the toy in half or along.
- Pour hot glue to the inside of the resulting billet to the very edges and leave to dry.
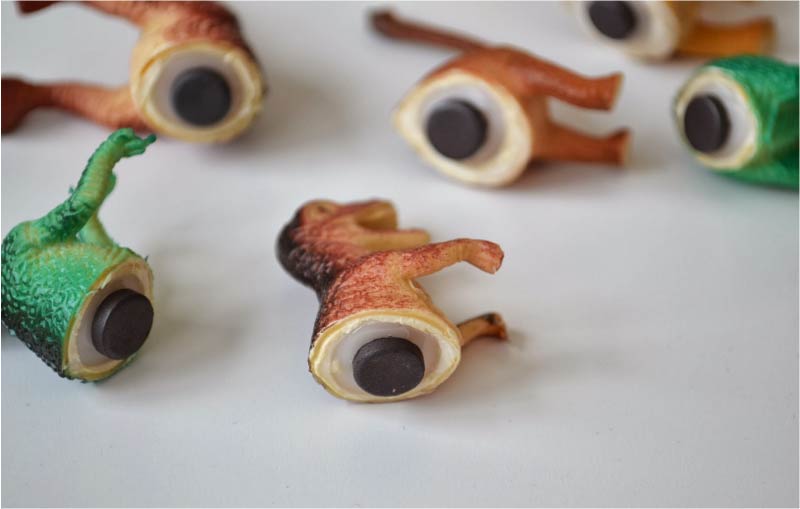
- When the glue hardens, proceed to painting crafts (including "filling") in 1-3 layers. At the end it can be further varnished.
- Now just stick a magnet to the figure and enjoy the result!
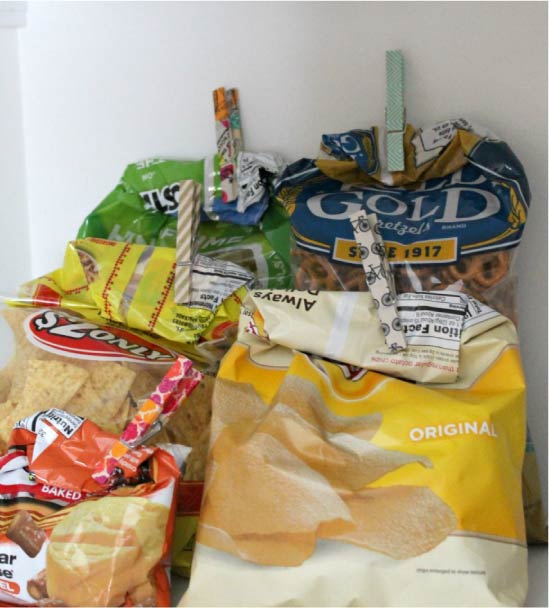
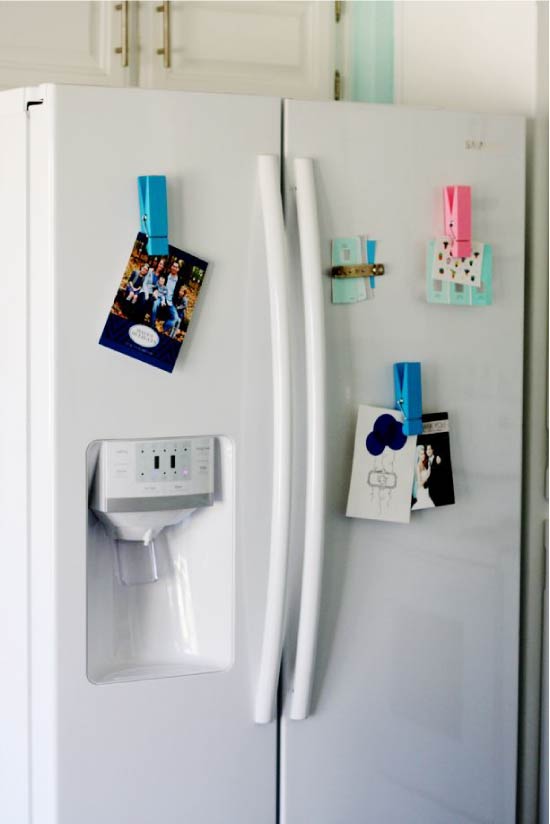
Master class 5. Magnets from clothespins
Let's open you a little life hacking - magnets from clothespins can not only store lists and bills, but also clamp food bags as shown in the photo below. It turns out very conveniently - he removed the clothespin from the refrigerator and immediately fixed her bag.
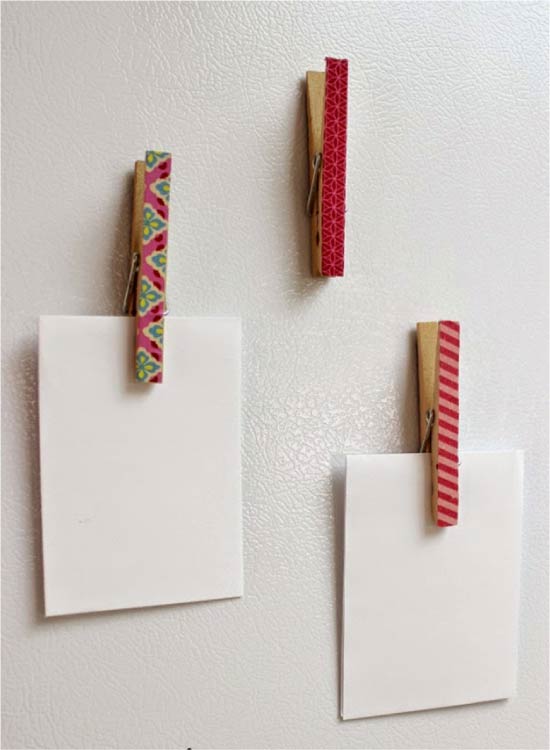
And also wooden clothespins can hold a piece of paper on the refrigerator door and at the same time clamp something between the teeth.
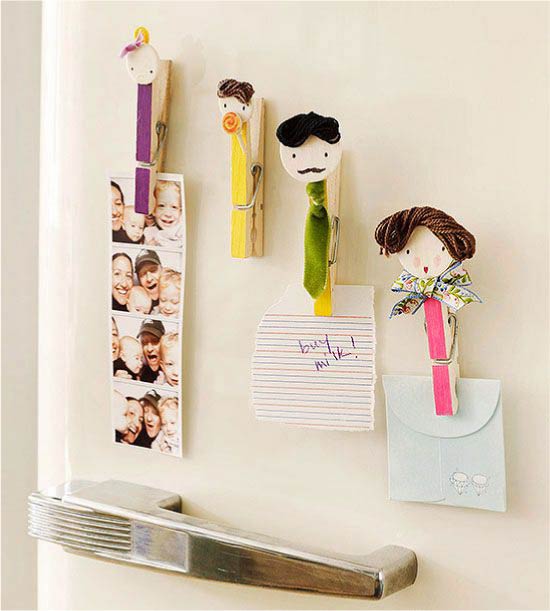
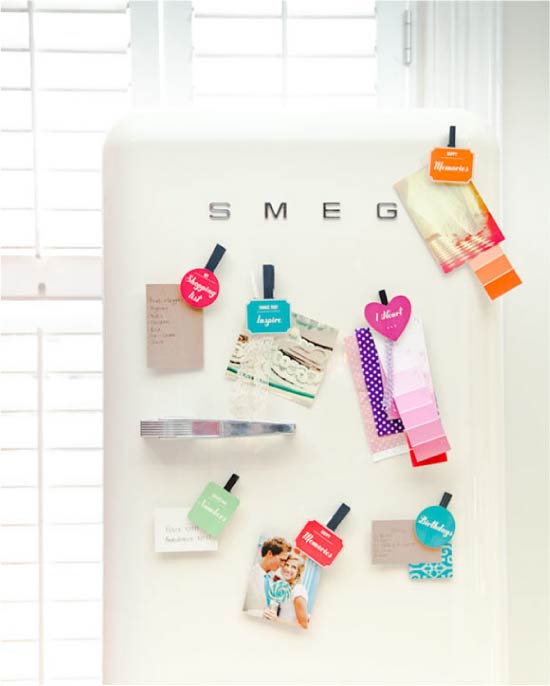
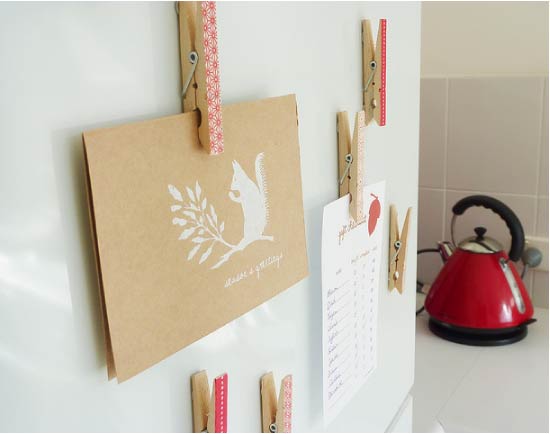
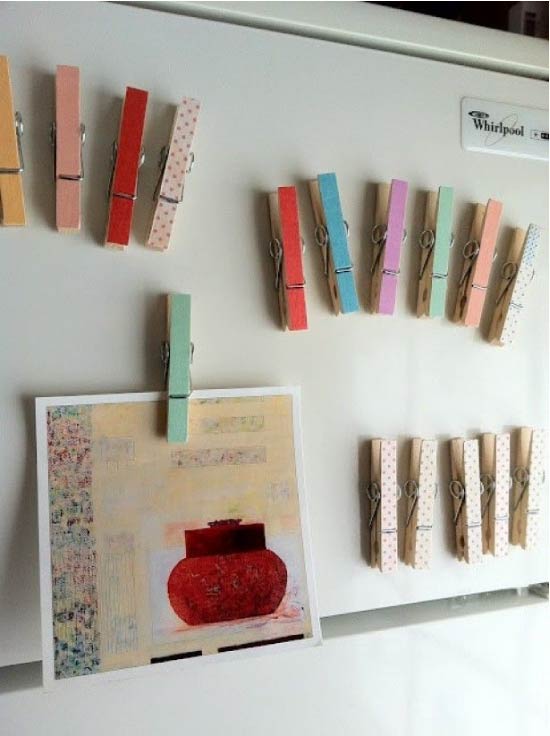
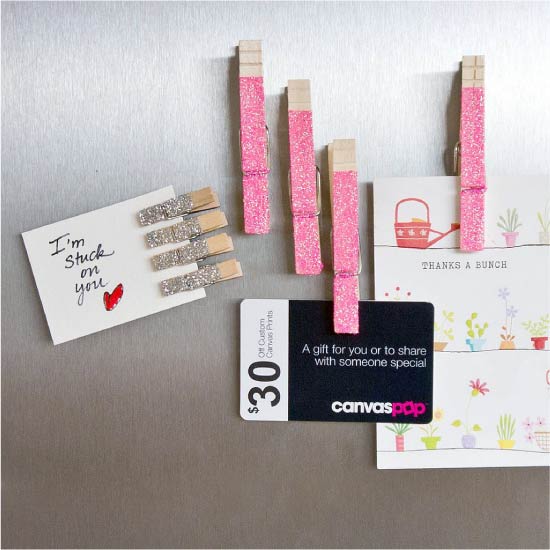
Clothespins can be dyed, decorated with sequins, pasted over with colored tape or appliqués, or you can decorate using decoupage technique, following the following simple instructions.
Materials and tools:
- Wooden or bamboo clothespins (you can take the usual or decorative for scrapbooking);
- Scissors;
- Double-layered napkin with a pattern;
- Brush for applying glue and one brush for varnish;
- PVA glue;
- Glue "Moment" or its equivalent;
- Matt acrylic lacquer;
- Small magnets.
Instruction:
- Separate the patterned layer from the napkin, then cut a strip of a size slightly larger than the end of the clothespin from it.
- Glue the cut out strip to one of the ends of the clothespin with the help of PVA glue, then with a brush, gently spread the glue and over the napkin. Leave the craft to dry.
- Trim excess napkin with scissors.
- Varnish the clothespin and wait about 2 hours for it to dry.
- Glue a magnet to the peg. Voila! Crafts are ready!
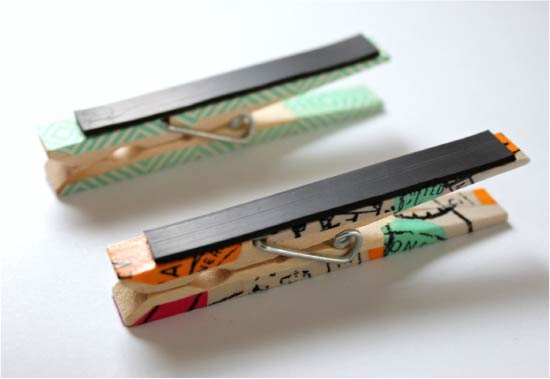
Photo gallery of ideas
In this photo gallery you can learn other original ideas from magnets that you can easily make with your own hands from available materials.


 (Rate the material! Already voted:6 average rating: 5,00 from 5)
- How to arrange the refrigerator in the kitchen
- How to paint the walls or decorate them with drawings
- Kitchen wall decor - 12 super ideas
- 10 tips to help decorate the kitchen with paintings
- 12 super ideas for home and kitchen
- Panels for the kitchen - ideas and instructions