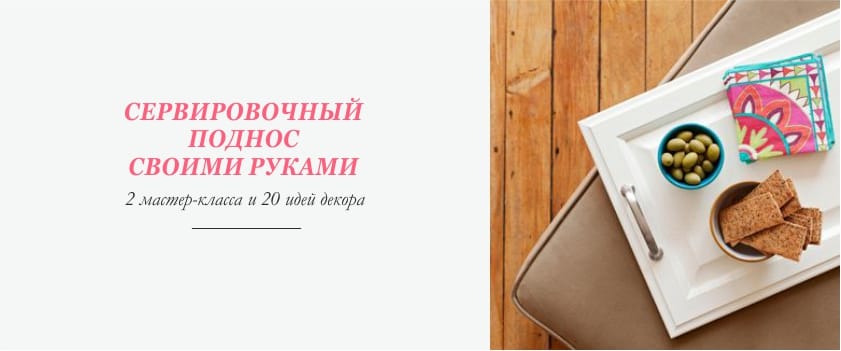
This material is for romantics who love to arrange surprises and do not mind having breakfast in bed or just having a snack while sitting on a soft sofa. We have already talked about how from polymer clay to make a serving board, and now it is time to make a serving tray - and this time from wood. We have selected the easiest and most affordable methods, so you will not need carpenter talent.
Master class number 1. Tray from a photo frame for 1 evening
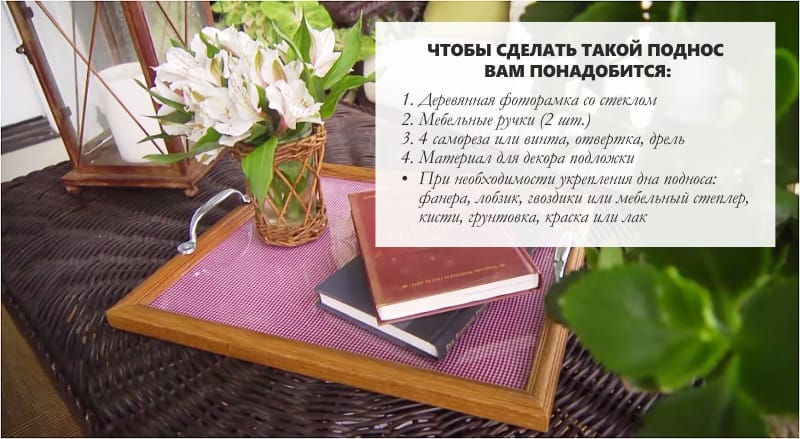
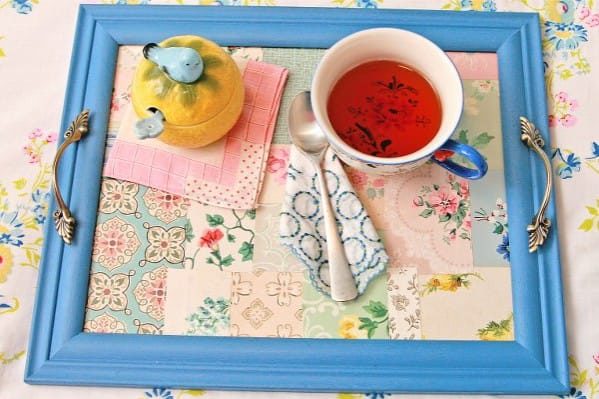
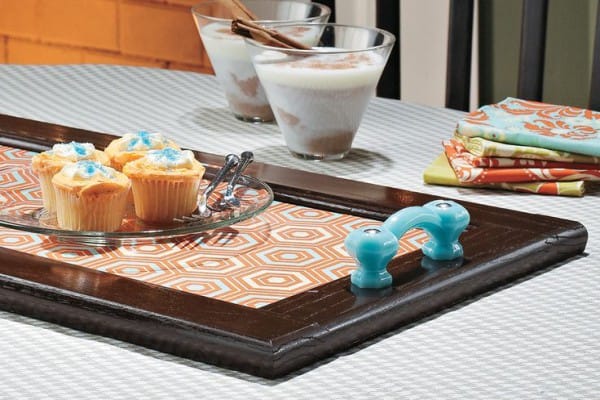
The easiest way to make a tray with your own hands is to convert an ordinary photo frame into it.
Buy or remove a suitable wooden photo frame from the wall. Well, if you find a frame with a strong bottom and secure fittings, then you will not have to change the substrate, and you can update the decor of the tray according to your mood.
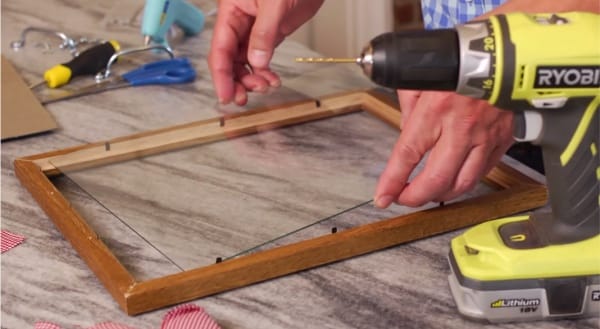
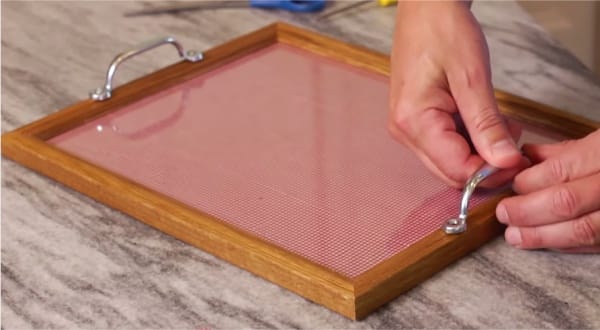
So let's get started. Remove the cardboard backing, remove all excess and put the glass in place.
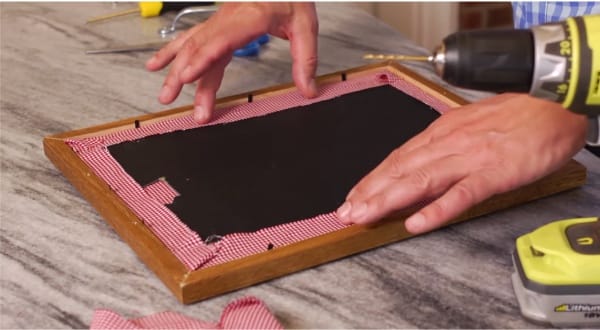
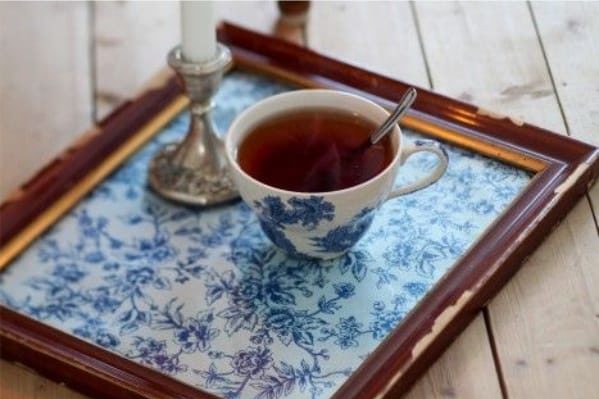
Now you need to decorate the cardboard from the photo frame as you like. You can glue or simply overlay the decor of various materials. It can be: bright fabric, a piece of wallpaper, postcards, yellowed pages, a herbarium, etc. In our master class, the substrate is simply covered with a cloth and glued with a glue-gun. Instead, you can use PVA or any other glue. After the decor is ready, put the substrate on the glass and fix it (scroll the photo to the right).

And now you need to fasten beautiful furniture handles of a suitable size. You can fasten them either on the side or on the top of the frame. To do this you need the actual handles, 4 screws, a drill with a small drill and, of course, a screwdriver. First you need to attach the handles to the frame, align them, then mark the holes with a pencil, drill them with a suitable drill and finally fasten the handles to the screws using a screwdriver as shown in the photo below.
Well, that's it, your serving tray is ready! Or ... almost ready.
- For reliability and gravity of our tray (so that it stands exactly on a soft surface) it is better to additionally strengthen it from below. To do this, take plywood, attach a frame to it, cut it around the contour and cut it with a jigsaw. The resulting workpiece must be polished around the edges, and then painted in a suitable color (pre-primed). Once the plywood is dry, you just need to attach the plywood to the frame with small screws, studs, screws, or a furniture stapler. Such a tray can withstand even the heaviest breakfast in bed.
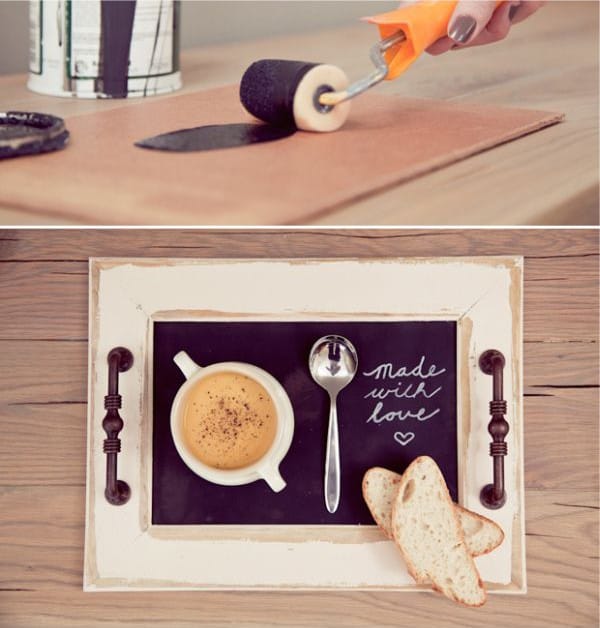
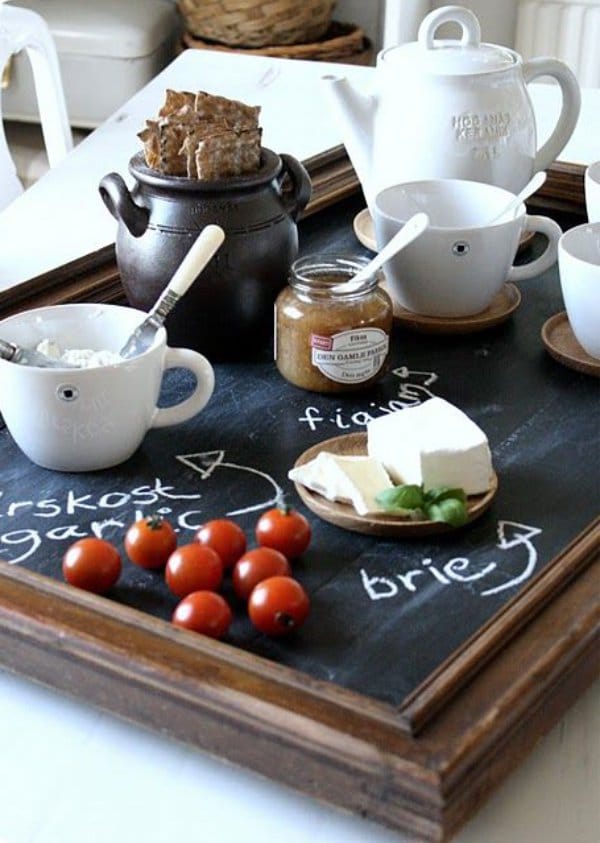
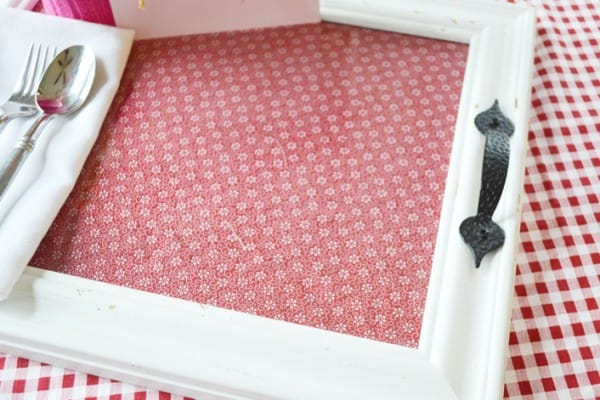
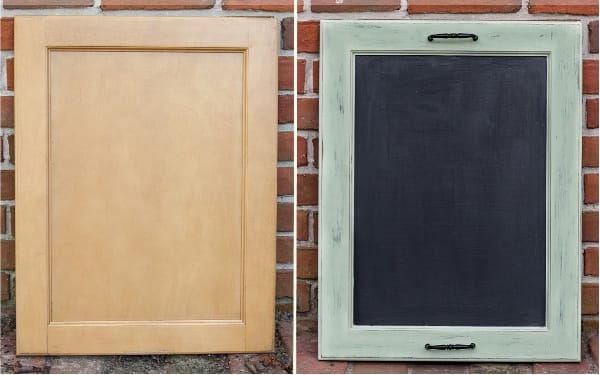
On the basis of this master class, you can make beautiful trays with a variety of decor. For example, you can make such a serving tray with a slate bottom on which you can write romantic notes with chalk.
- The substrate can be painted either with slate paint or glued with chalk wallpaper.
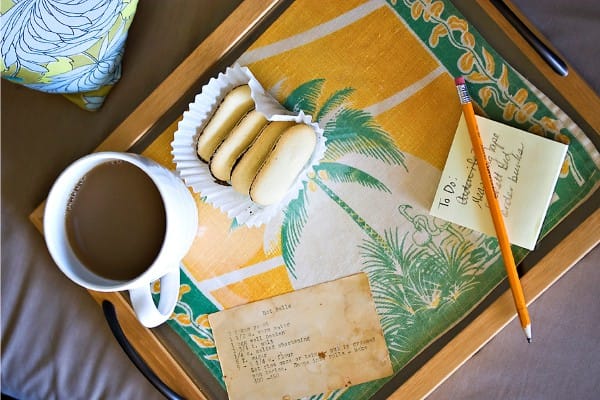
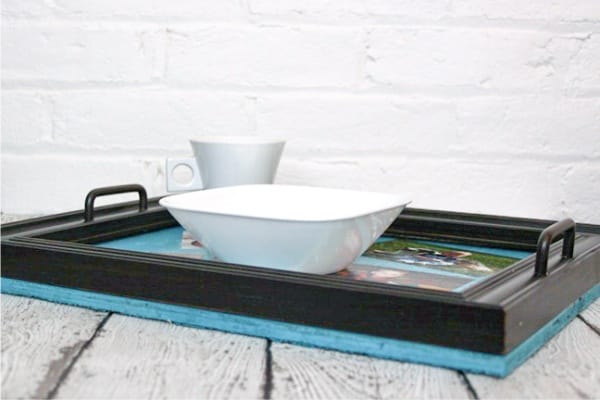
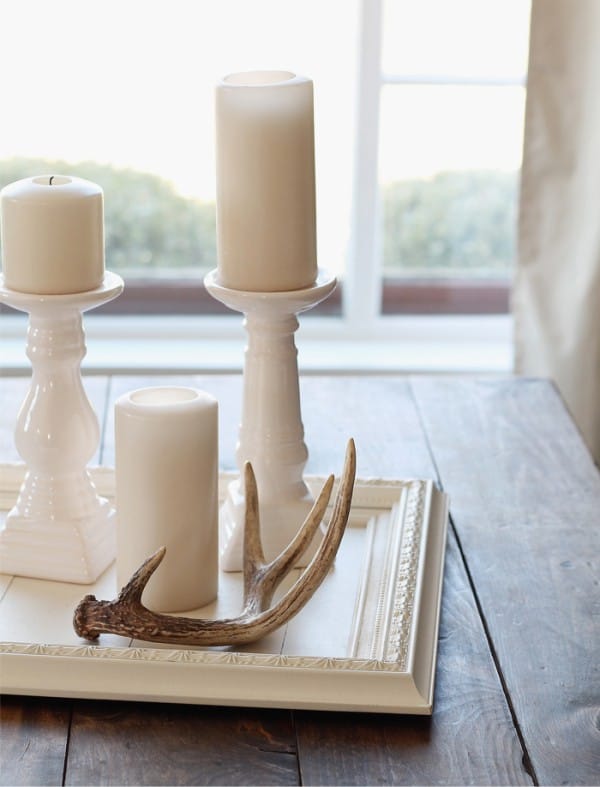
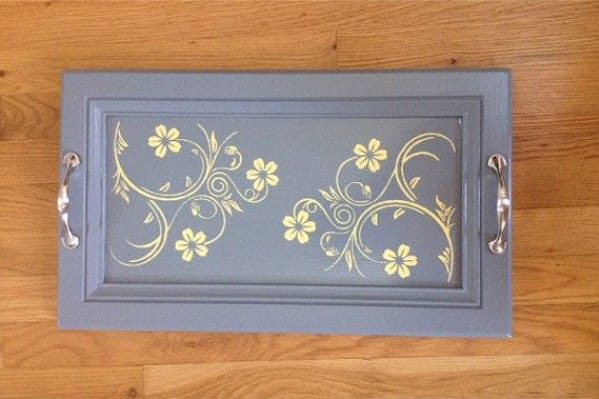
And here are other ideas for the decor of both the frame itself and the substrate.As you can see, you can come up with a variety of designs - in vintage style like Provence or Shabby chic, in classical style or in modern, using cloth, photos, colored paper, wallpaper, pages from books (scroll the photo to the right).
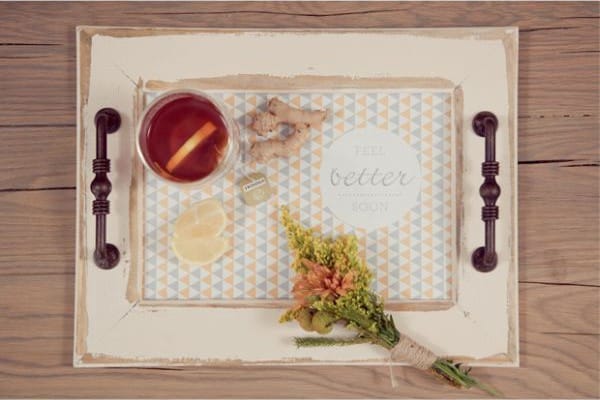
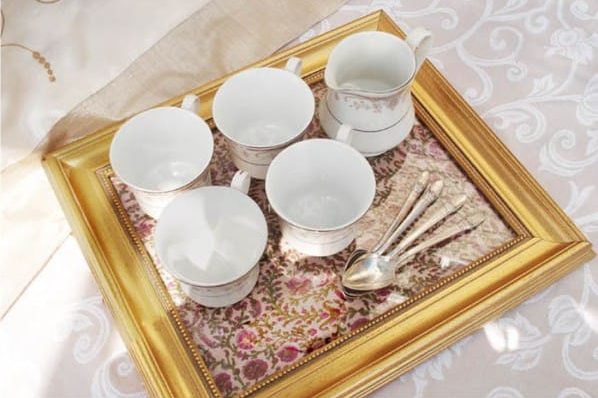
Also, this master class will be useful to you for the manufacture of interior trays for coffee or dressing tables, where candles and books can find their place, or jewelry, cosmetics and perfumes.

Master class number 2. Tray from the kitchen door for 2 pm
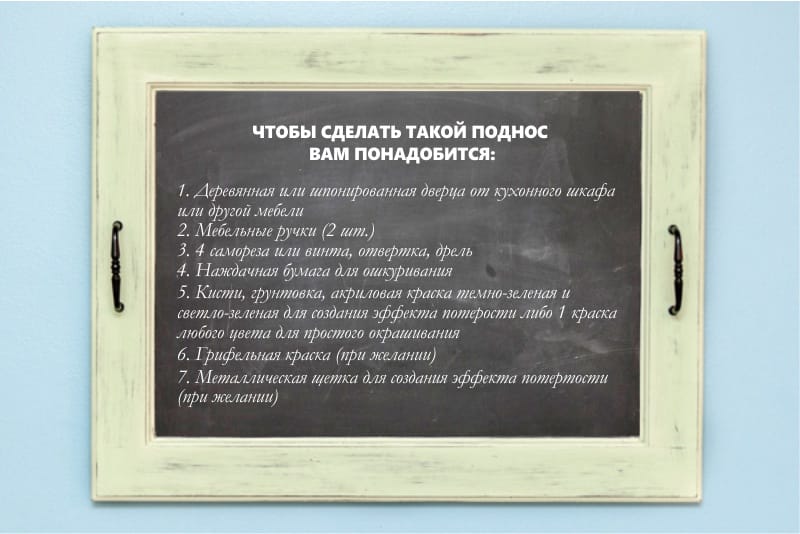
You can make a serving tray with your own hands not only from the photo frame, but also from the old door of the kitchen cabinet, dresser, bedside tables and other furniture. This tray is a little longer, but it will be much safer, more practical, more durable and will fit more goodies for breakfast!
The procedure is as follows:
- Remove all loops.
- Remove the old coating with sandpaper coarse grains.
- At this stage, if desired, the outer part of the tray can be brushed with a metal brush to remove the soft fibers from the wood.
- This technique will make the surface of the door even more “old” and coarse, but, on the other hand, the effect of decay in the style of shebby chic and Provence can be achieved without it.
- We clean the door and from its reverse side, close the loop holes with wood putty or polyester putty. The patches are also slightly polished and again clean the entire door. In principle, this stage is not necessary if the holes from the fasteners do not bother you.
- A clean, dry door is covered with a primer for wood in 1-2 layers. Each layer must dry thoroughly.
- Now you need to again take the sandpaper, but the average grain and walk it over the entire surface.

- Again, wipe the door clean and dry, and then begin to paint our future tray. A small brush (non-inflating!) Covers the surface with 1 layer of paint. And here you need to note a couple of nuances:
- if you want to make a tray Provence style or chebbi chicthen the first layer of paint should be dark, and the second and third - light;
- if you want to paint the bottom of the tray with slate paint as in this master class, then, before applying the dark green paint, glue the bottom contour with masking tape (see photo above);
- if you do not have a brush, then a clean cotton rag will fit perfectly for work.
- When the first coat of paint dries completely, cover the door with a finish paint that is lighter.
- At this stage (or after it), it is necessary to apply slate paint first in a layer for the manufacture of a “chalky” tray, first in 1 layer, giving it time for drying, and then 2 layer. After the 2nd layer dries, we glue the borders of the slate bottom again with tape and start to paint the door with the finishing paint (you can do the opposite - first apply the finishing paint, wait until it dries, and then apply the slate).
- And now the surface of the tray must be sanded with fine-grained sandpaper, in some places exposing a layer of dark paint (again, if desired).
- And finally, fasten the handles: mark the attachment points for them and tighten the screws. Wu-ala, serving tray for breakfast in bed ready!
By the way, if you painted the bottom with slate paint like in this master class, then the resulting tray can be used not only as a serving tray with messages, but also as a board for menus and homemade notes.
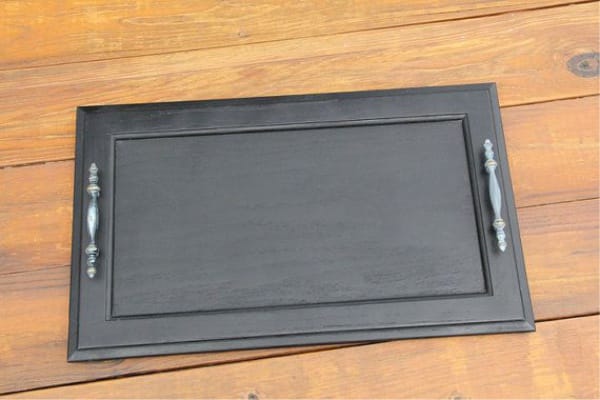
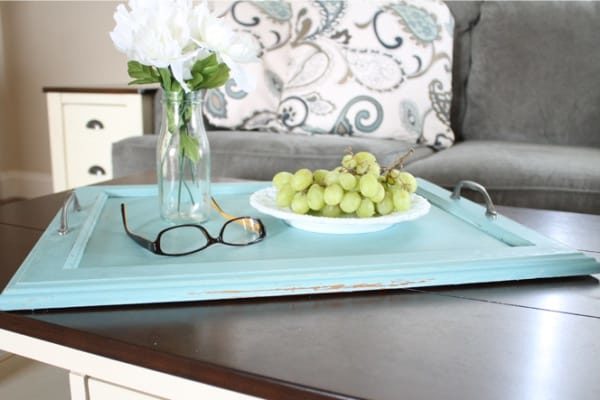
And here are other ideas for making beautiful trays with your own hands from old wooden doors (go through!).


Pay attention also to our site guide in the section. Kitchen decoration and decor - site guide.
 (Rate the material! Already voted:3 average rating: 5,00 from 5)
- Kitchen wall decor - 12 super ideas
- 12 super ideas for home and kitchen
- Panels for the kitchen - ideas and instructions
- All about sewing an apron for the kitchen - instructions, tips and photos for inspiration
- Home-made shelves for the kitchen - stylish, convenient, easy