As we grow older, we increasingly appreciate moments that unite us with friends and family. We like it when there is a reason to get together all together, or when we sit down at the table, turning an ordinary dinner into something more. It is great if there is time to prepare, because you can manage to prepare some decorations and make the dining table more stylish and elegant. But what to do when time is limited? In this case, polymer clay crafts and original, stylish serving of food can turn everyday meals into something really special.
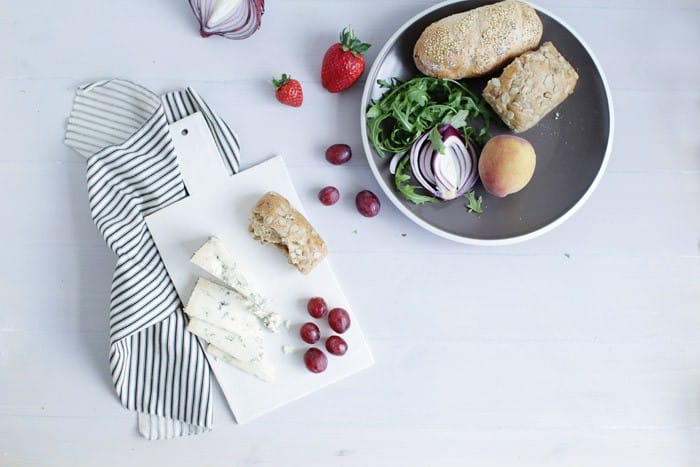
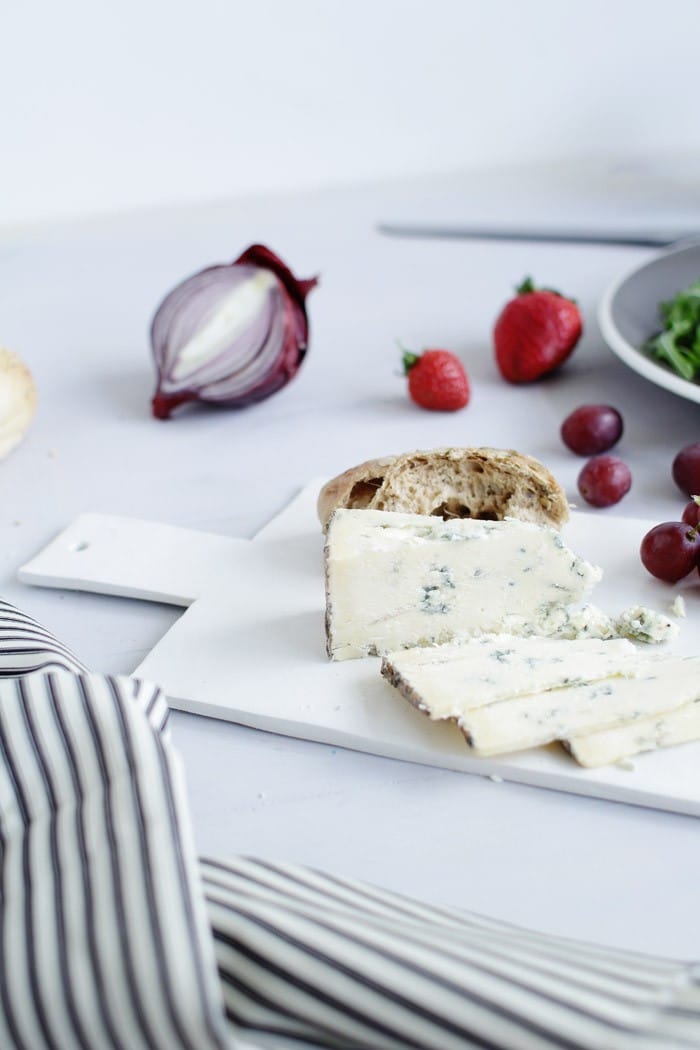
Serving boards are a nice and cozy way to serve food to the table, and besides, your guests will be happy to take food from there. You can make such a board with your own hands out of ordinary polymer clay.
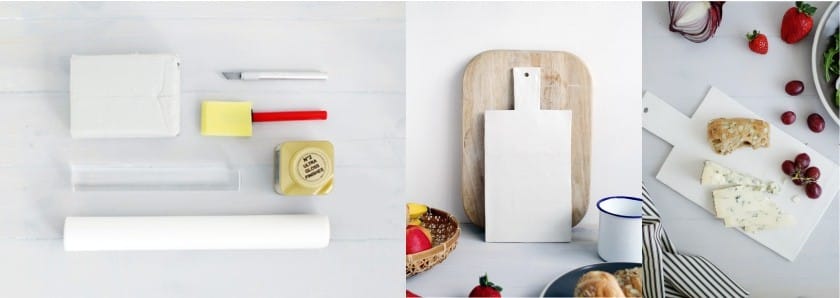
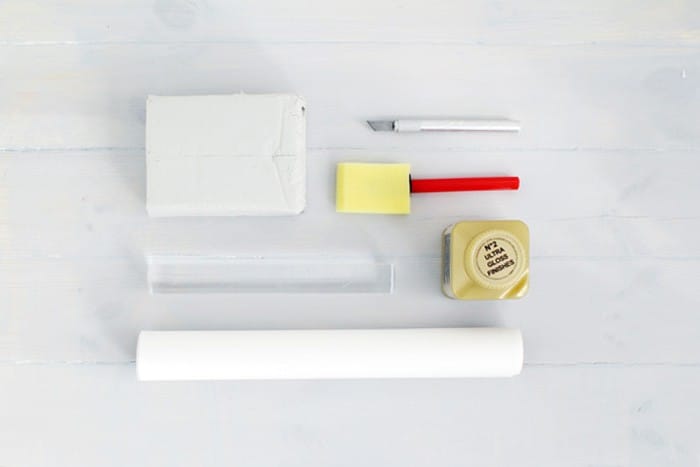
Materials that we need:
- white self-hardening polymer clay;
- special rolling pin for polymer clay;
- convenient stationery knife of small size;
- sponge brush;
- protective glossy varnish for polymer clay (for example, from the brand Decopatch);
- baking paper.
Polymer clay, rolling pin and a suitable knife can be found in shops for creativity or ordered online.
Instruction
So let's get started:
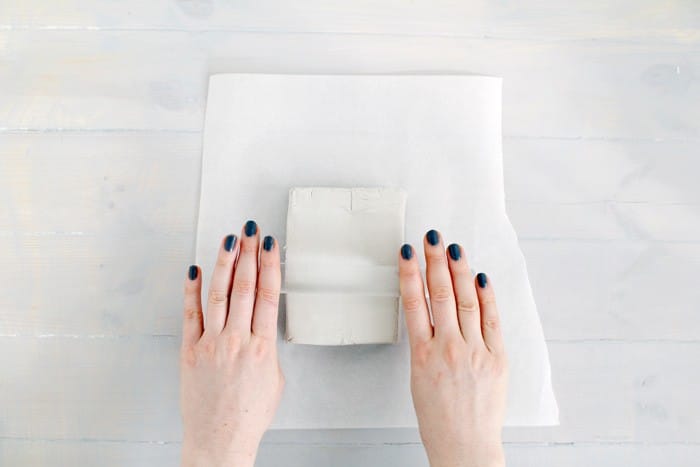
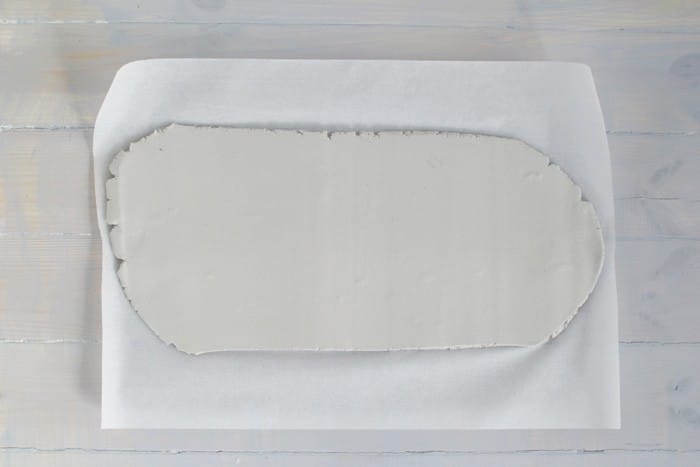
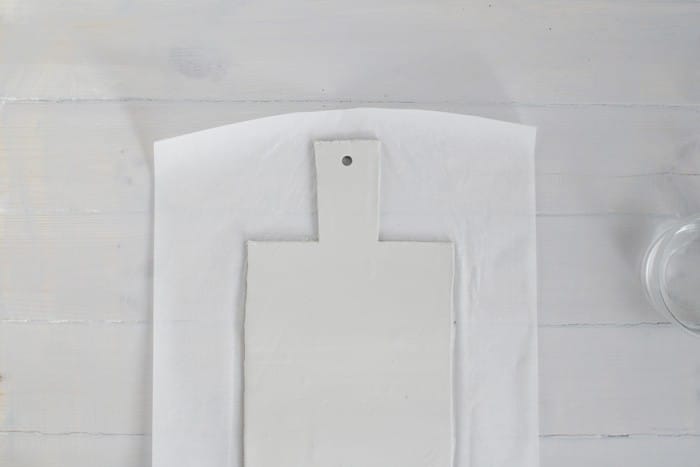
- Place a sheet of baking paper on a firm, level surface. We need paper to keep the clay from sticking to the surface on which we are making needlework. And to wield clay will be easier when you roll it. Using a rolling pin, gradually and evenly roll the clay into a large rectangle until it becomes about 6 millimeters thick.
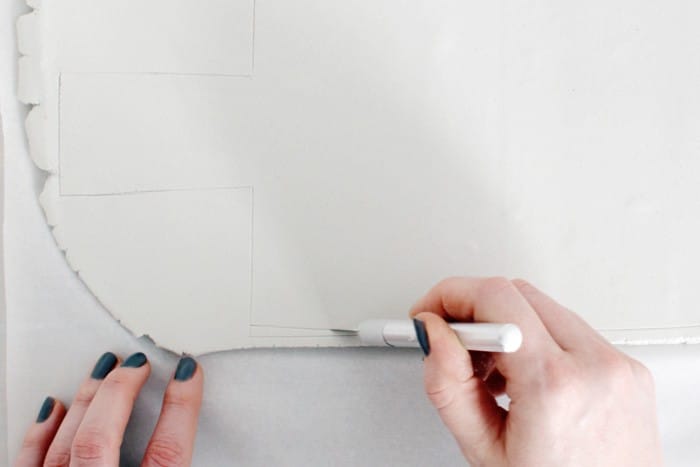
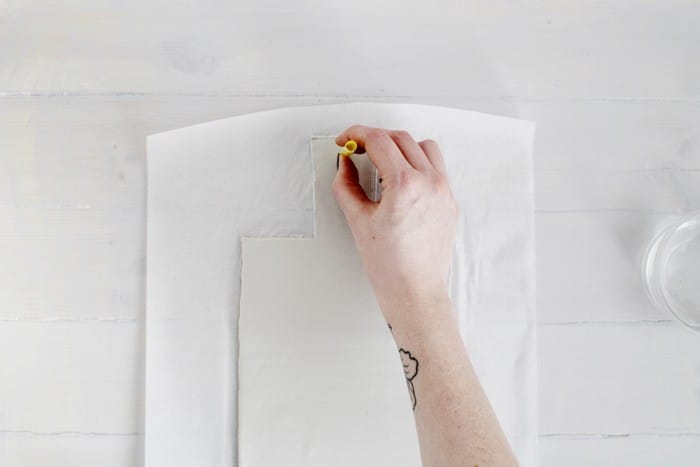
- Using a stationery knife, carefully circle the shape of your future board for serving dishes. Just slide lightly over the surface so that if you make a mistake you can correct the situation by smoothing the clay back.
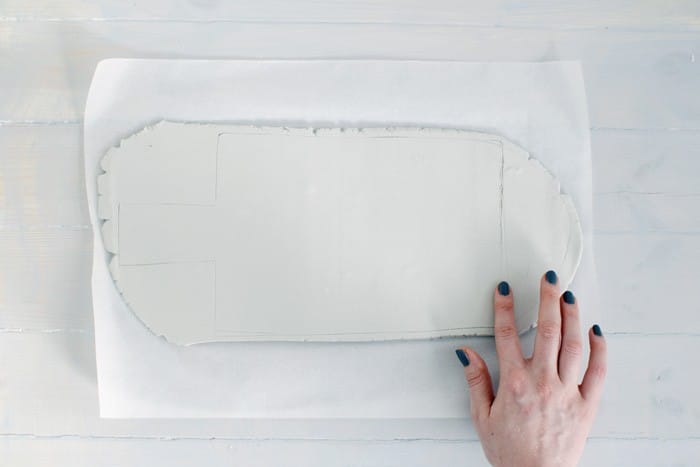
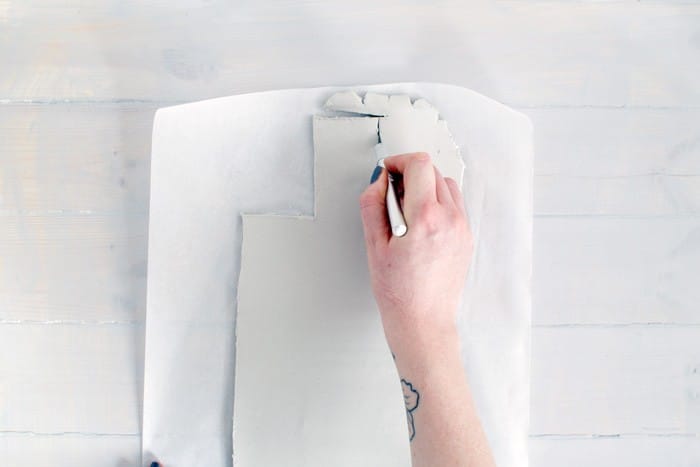
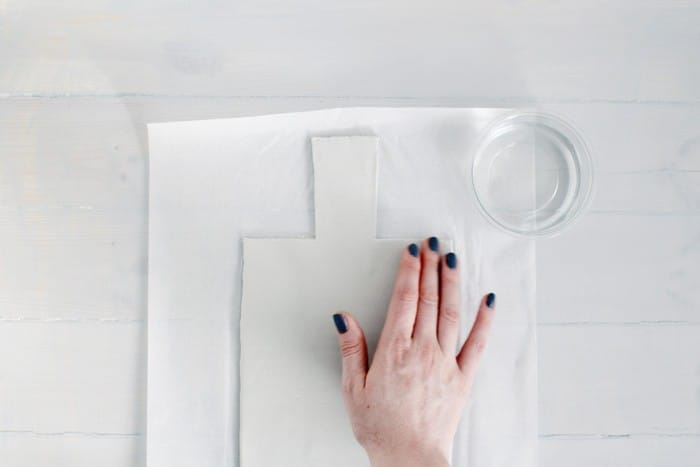
- Once you are satisfied with the shape and size of the board, finally cut it out with a knife.
- Smooth out any cracks, wetting the clay with water and processing imperfections with your finger.
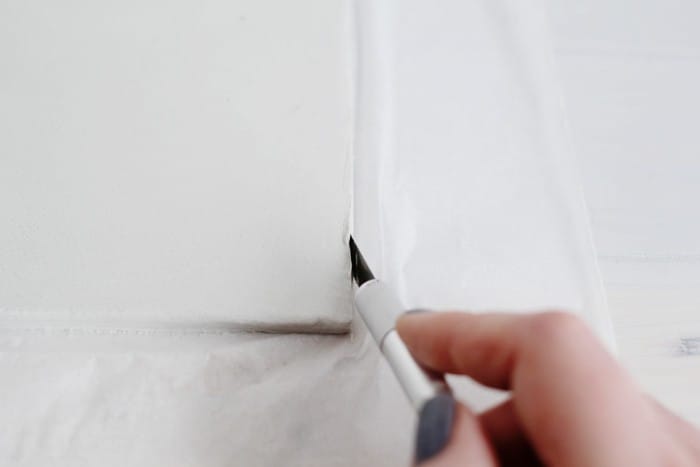
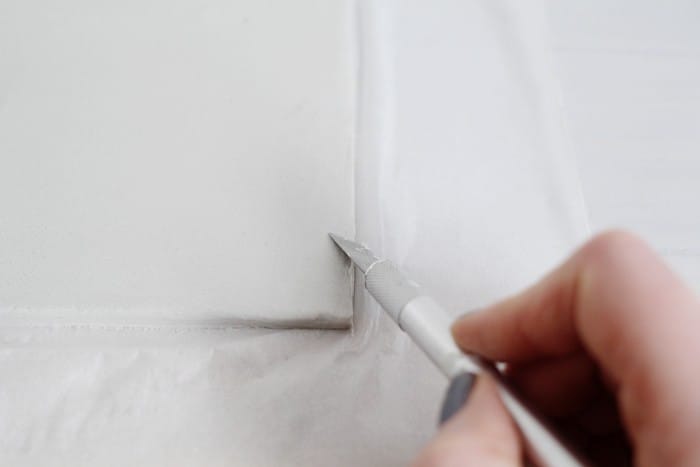
To give the dish a clear edge, hold the flat edge of the knife on the wetted clay, removing excess.
- Use a small cylindrical object to create a hole on the handle.
Now leave the board to dry for 48 hours, and do not forget to turn it every 24 hours.
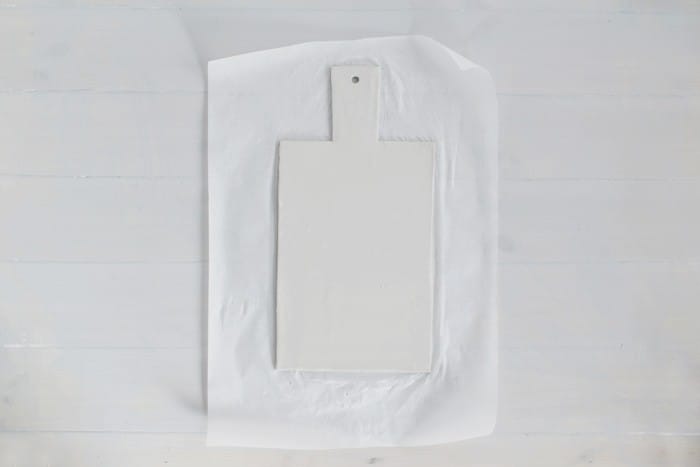
- After the clay dries and becomes bright white, its surface is ready for preparation for varnishing. Take the middle class sandpaper and sand the edges and any imperfections on the surface of the board.

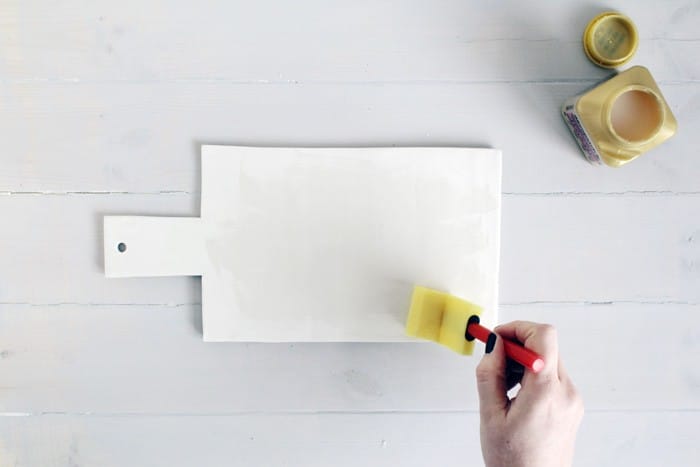
- For processing boards, we used a waterproof, harmless varnish for decoupage. Waterproof lacquer contributes to the fact that the board can safely come into contact with food. Use a sponge brush to apply a very thin layer to your future serving platter. We used a sponge brush because it will absorb excess lacquer, which will help in the end to avoid the yellow shade. Apply 4-5 layers. Let the layers be thin and light, and let them dry in between.
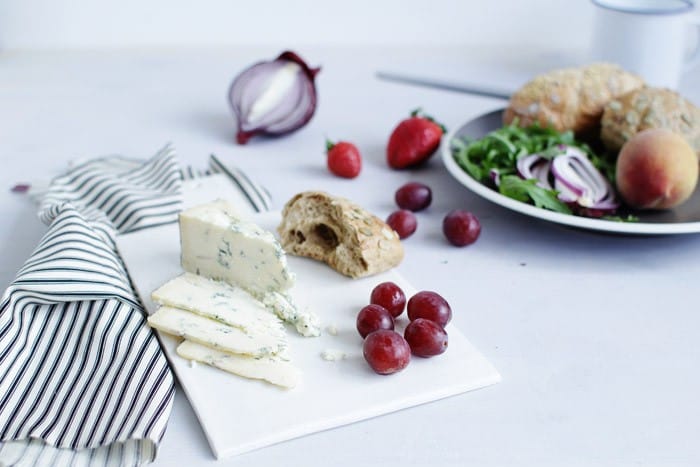
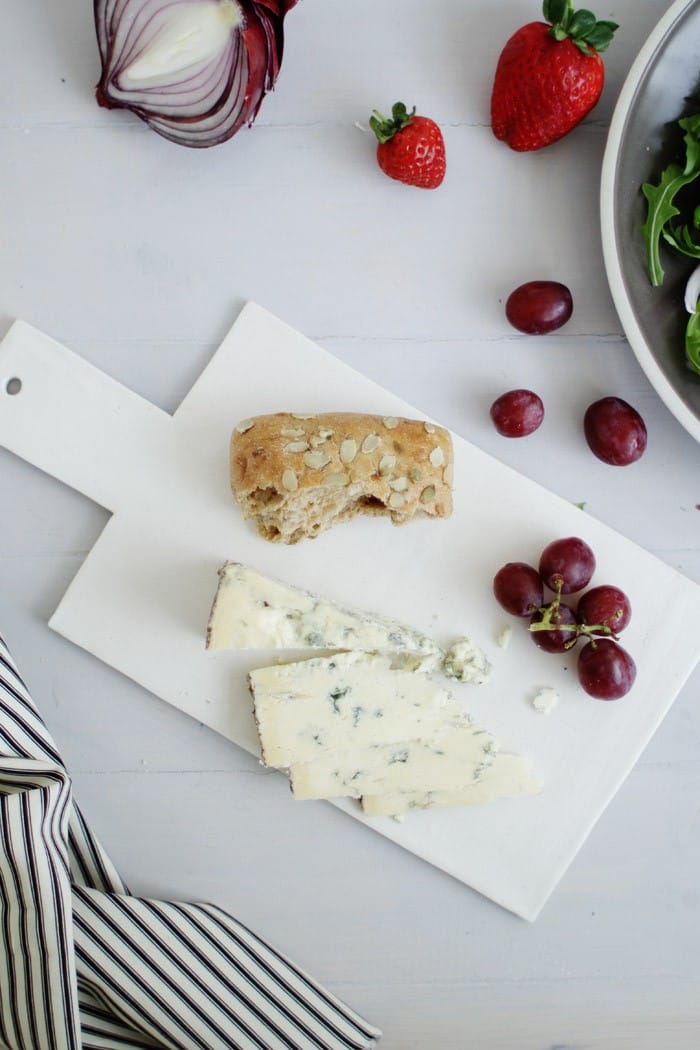
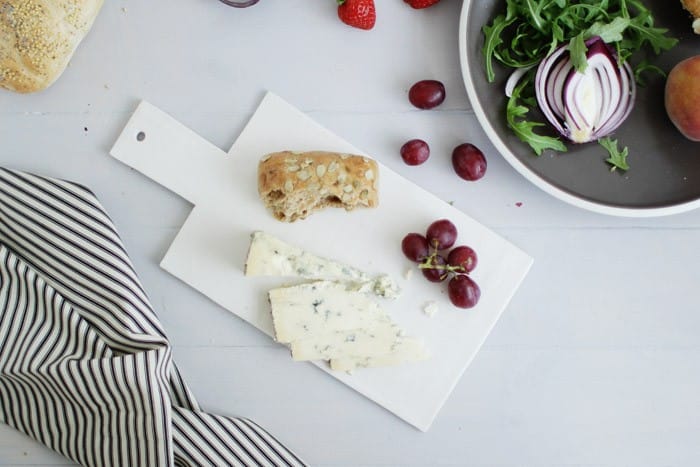
After the varnish dries, wipe the board, but keep in mind that it is “afraid” of water.Use a dry or slightly damp cloth. Your charming serving dish is ready!


 (Rate the material! Already voted:7 average rating: 4,43 from 5)
- Which cutting board is better?
- Kitchen decoration and decor - site guide
- DIY serving tray - ideas and workshops
- 12 super ideas for home and kitchen
- Panels for the kitchen - ideas and instructions
- Potted flowers and plants for the kitchen
- All about sewing an apron for the kitchen - instructions, tips and photos for inspiration
A great idea that you want to add some painting, for example, in the style of Gzhel or Khokhloma.
Marina, if you realize, tell us about it with photos))
Wow! Itself would never have thought of this before. Thanks for the idea.