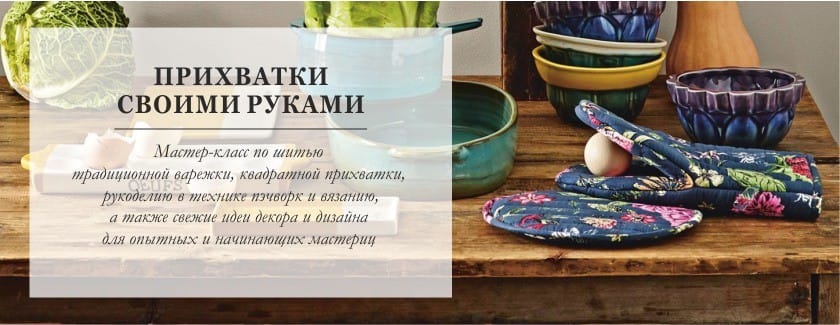
Since the kitchen gloves and tacks are always in sight, they must be neat and beautiful. Therefore, it is better when there are many of them in the household so that from time to time it is possible to change them.
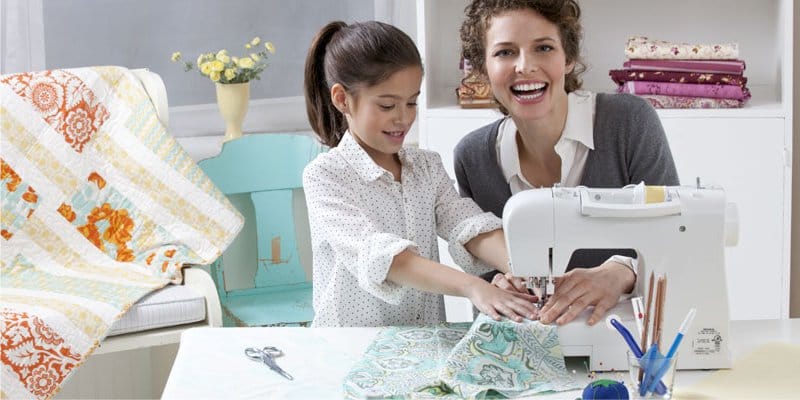
- In addition, to sew the pot holders for the kitchen with your own hands, you do not need to have serious experience and skills in needlework, so you can sew them together with the child.
- And also original homemade pot holders are a great idea for a gift and even ... a small hand-made business at sites like “Masters Fair” or Etsy.
Choosing a fabric and filler
The main thing in making tacks with your own hands is the right choice of fabric and filler.
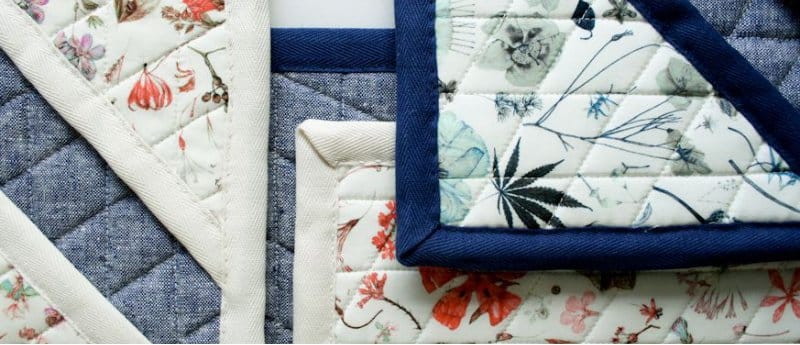
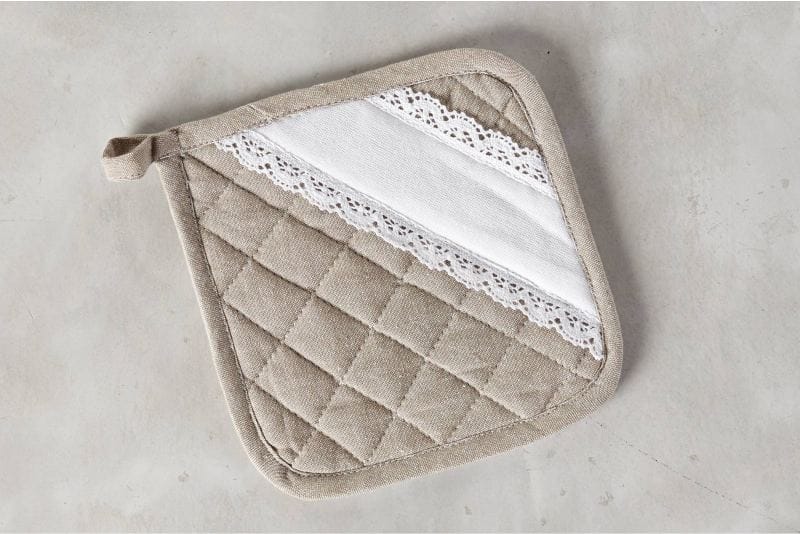
- The best fabrics for tacks are natural, such as flax, chintz or cotton. But try to choose thick fabrics - they will last longer.
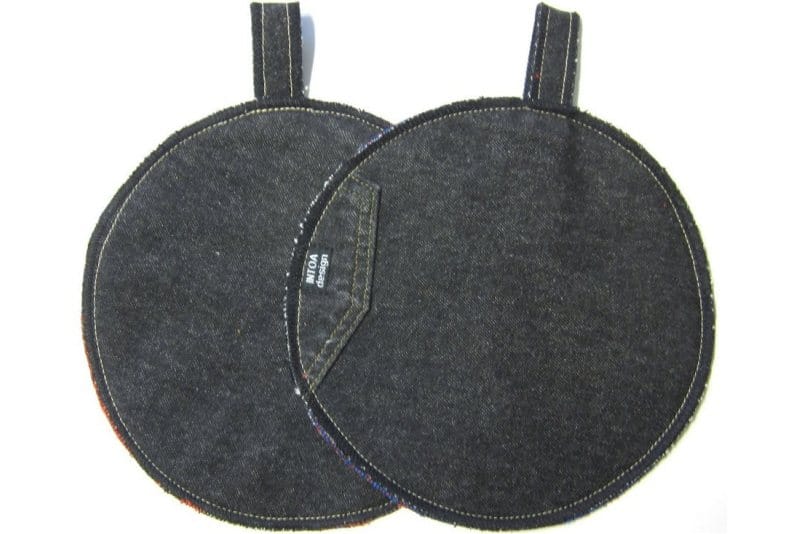
Tip: in the course you can start up and trim old jeans.
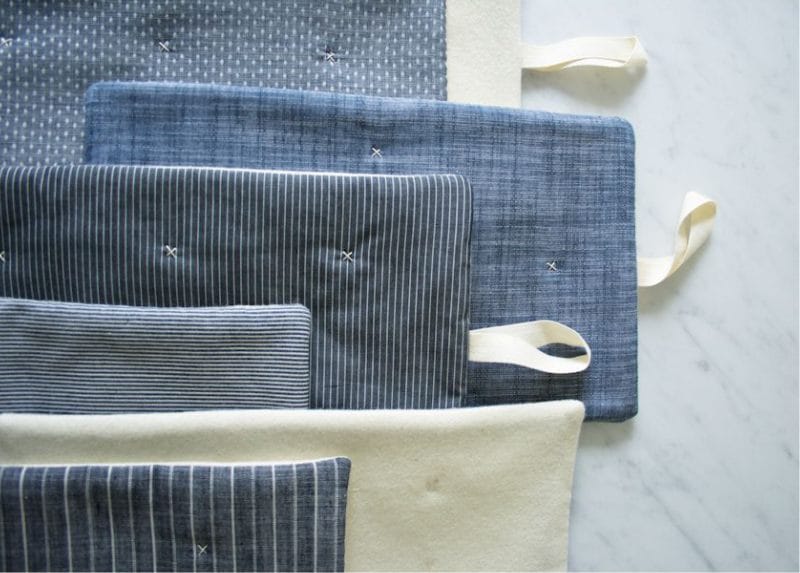
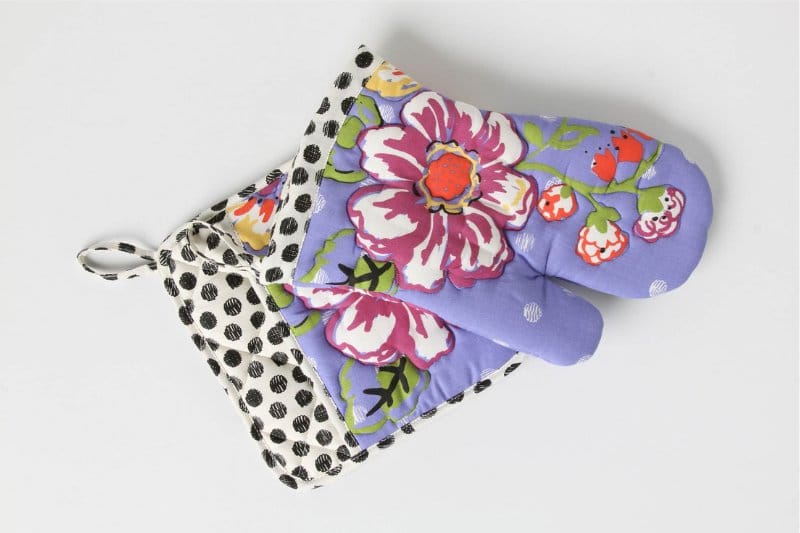
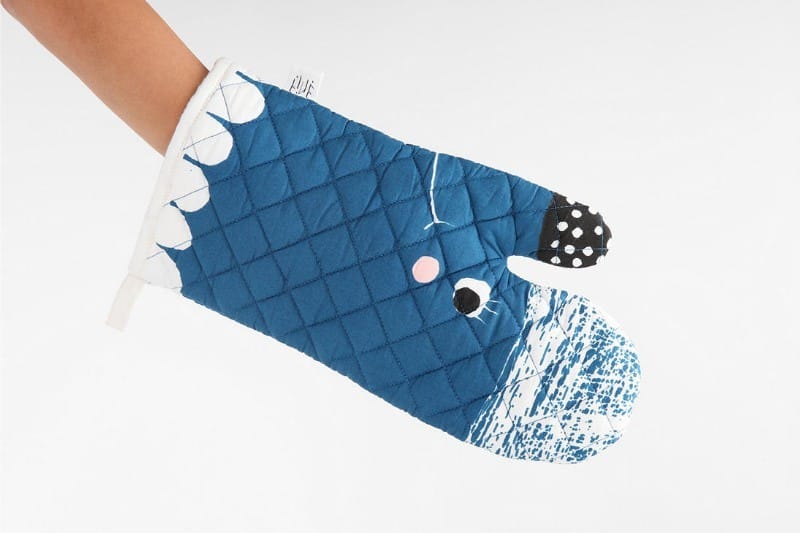
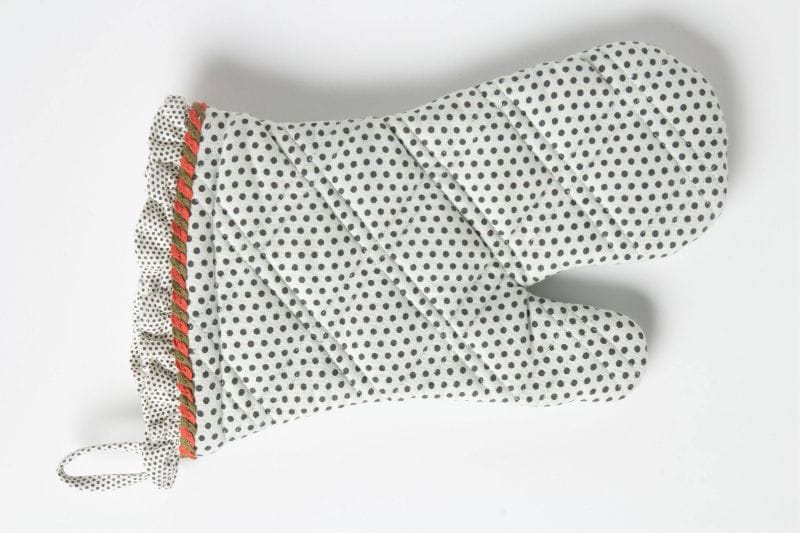
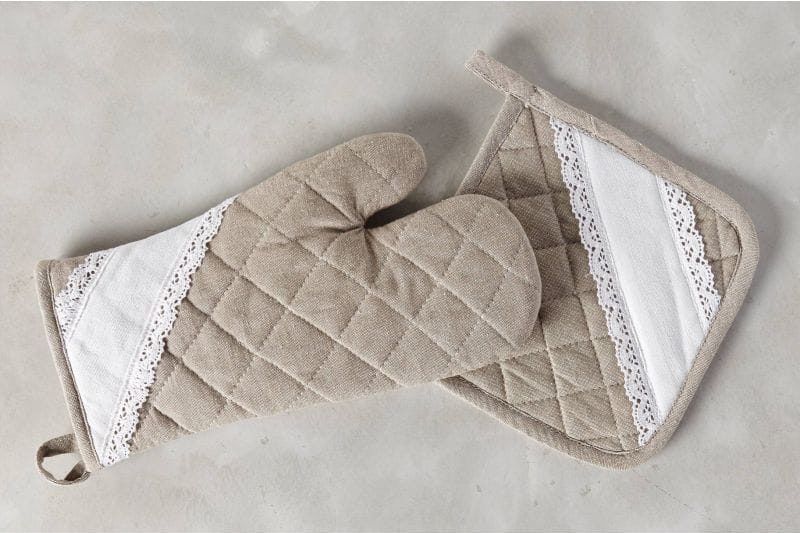
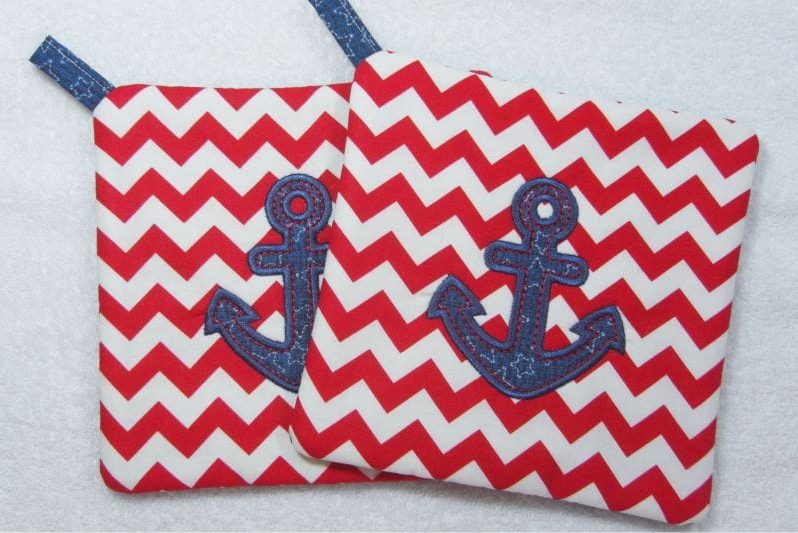
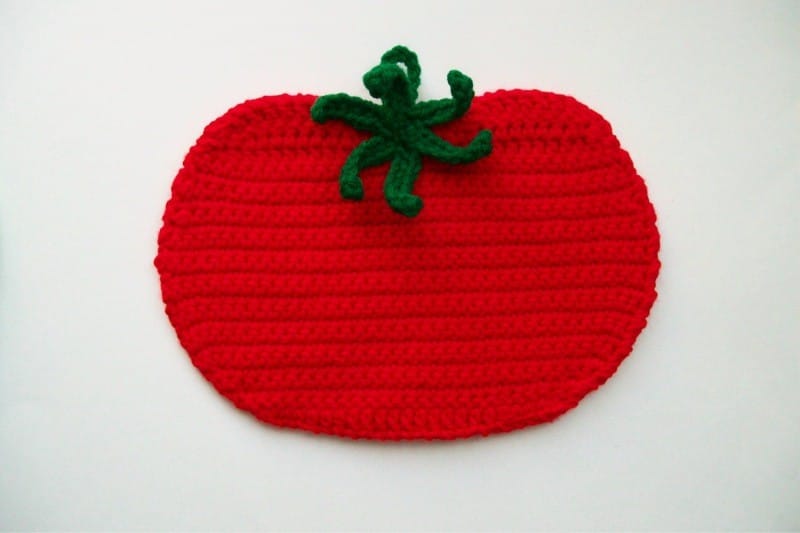
- You can choose not only original fabrics, but also shapes - hearts and gloves, strawberries and Christmas trees, squares and asterisks. Also keep in mind that different forms of tacks differ in functionality, which means it is best to make a full-fledged universal set: a few squares, a long tack for pans, a mitten.
- Inside tacks necessarily insert the filler. Most often it is a synthetic winterizer, batting, felt or drape. Batting and other thick, thick natural materials for sewing tacks are more suitable, since the synthetic winterizer has a high thermal conductivity and at the same time - a low melting threshold.
Tip: as a filler, you can use an old terry towel folded in several layers.
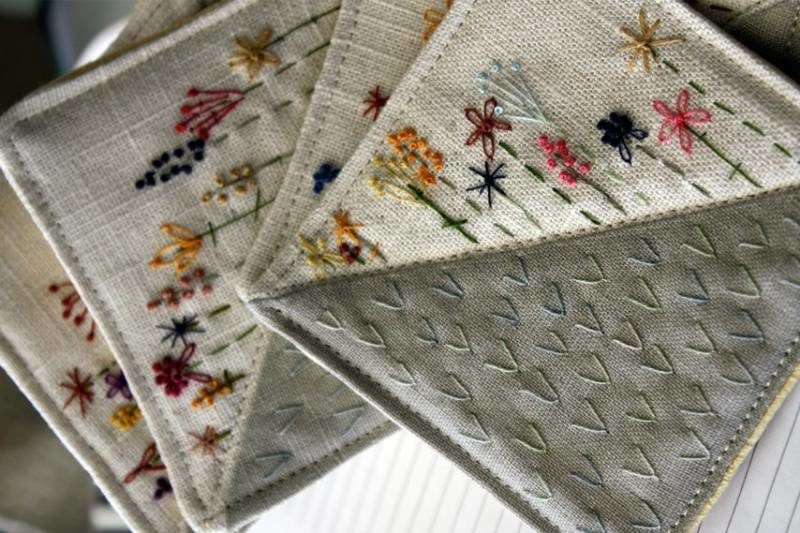
- Embroidery, appliqués, ruffles, etc. are used as decorations.
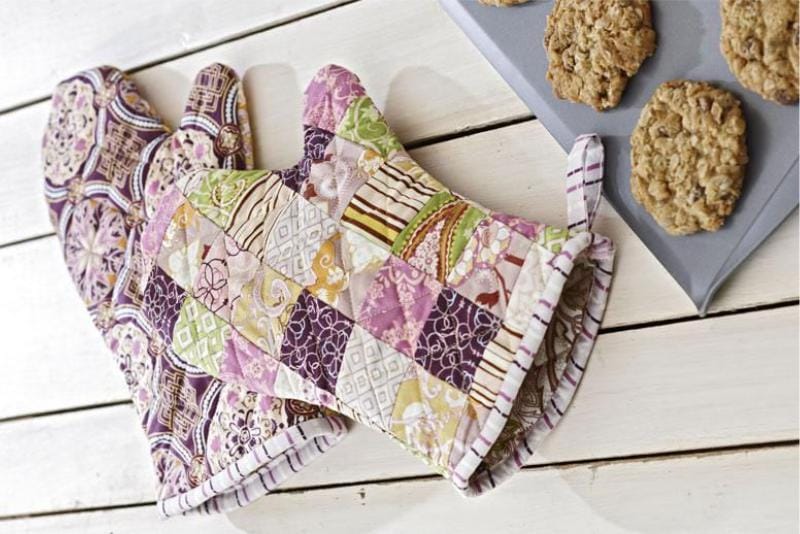
How to sew a tack mitten
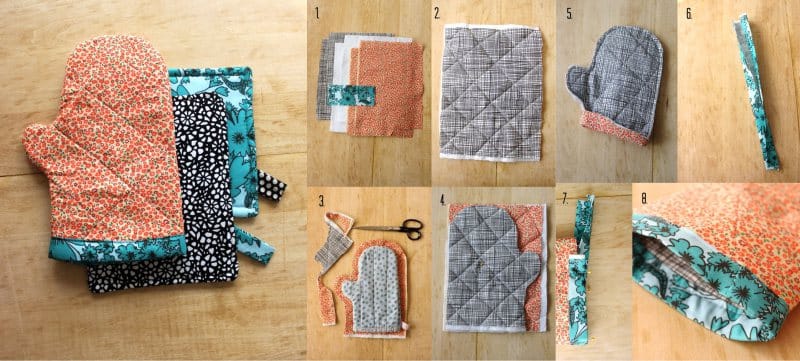
So, how to sew a tack quickly and easily? Let's first sew just such a traditional mitten with edging and eyelet.
There are many ways of sewing mittens, but the principle is about the same - using 6 layers - 4 pieces of fabric and 2 pieces of filler.
Steps:

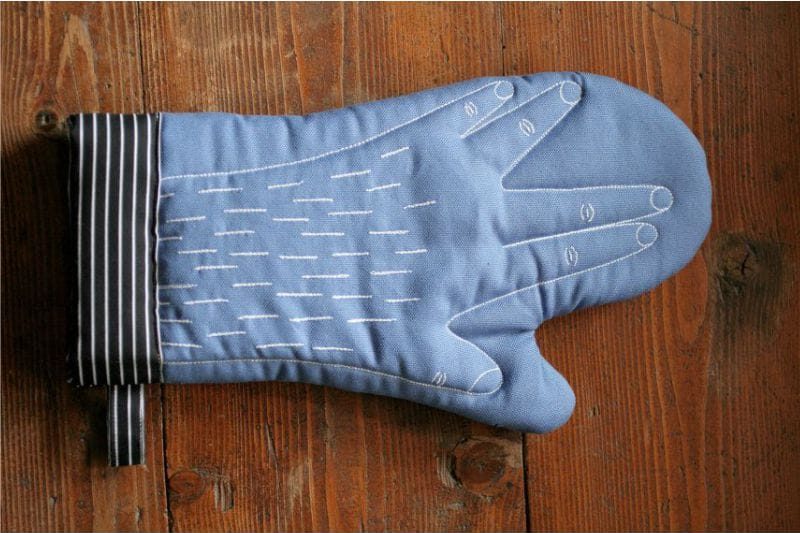
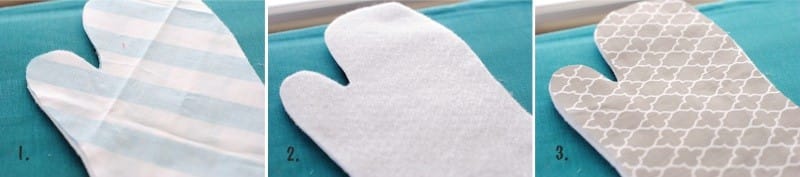
- First we need to make a tack pattern. Put your palm on the paper (or directly on the fabric), making indents of 2.5-4 cm from it, schematically draw the contours of the mittens as in the photo on the right, and then cut the resulting pattern.
- Cut out 2 pieces of lining material and 2 pieces of facial tissue according to your pattern. You can cut all 4 pieces of the same material, but it’s better for the inside of the mitten to choose a soft, natural, pleasant to the touch fabric, and for the front side - thick, beautiful, colorful, so that the spots on it are less noticeable. We chose cotton fabrics of a different type for the inside of the mitten and its front part for the originality and clarity of the example.
- Now, also in the form of a mitten, cut 2 pieces of filler. We remind you that it is better to refuse synthetic materials. In our case, ordinary white fleece is used, but it is better to take the fabric more tightly and thicker, for example, the same batting.
- And now you need to put all the details in a puff sandwich in the following order:
- We fold two blanks of facial tissue to each other "face" as in the photo №1.
- Now, above and below the already folded facial parts, we put blanks-mittens from the filler (photo No. 2).
- And finally, we put the seamy fabric in the upper layer “face” up, and in the lowermost layer we place the last blank (seamy) “face” on the table (photo №3).
- Now proceed to sewing. All edges are stitched with an indent of 5-7 mm, and as a result we get an inverted tack.
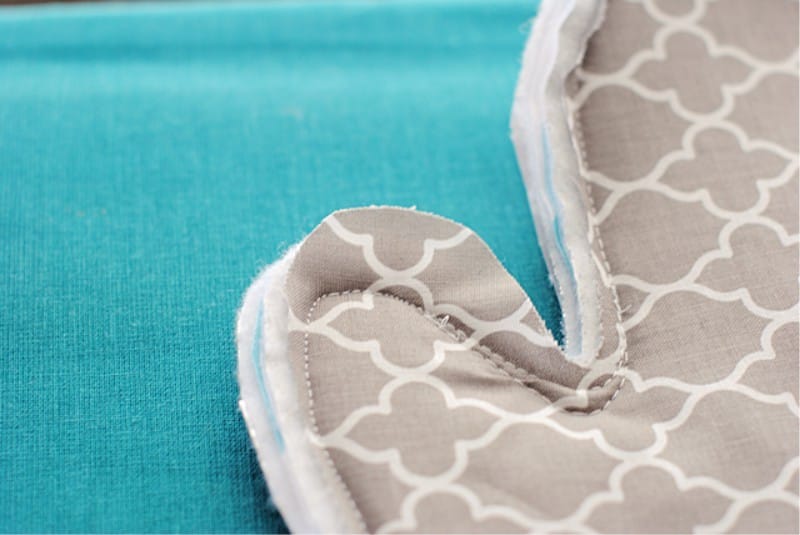
- Now we cut off the excess fabric along the edges (approximately 3 mm from the seam) and make cuts in all the rounding points (photo below) so that our mitten is carefully twisted.
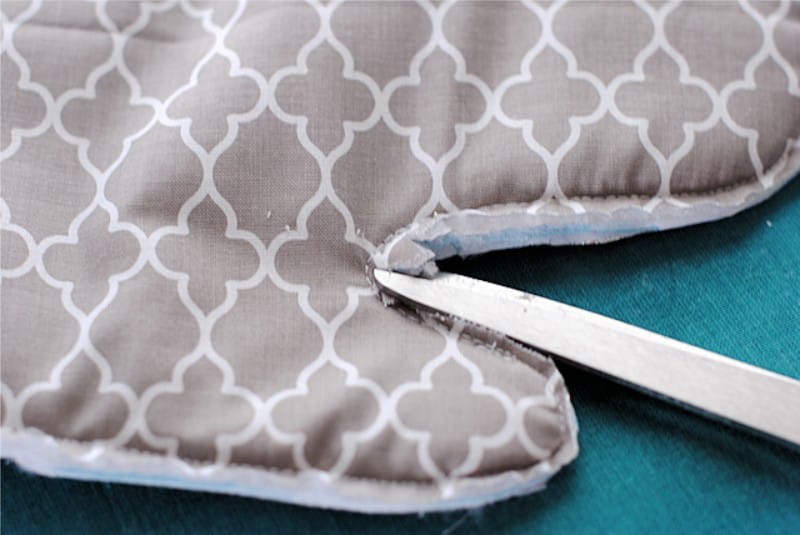
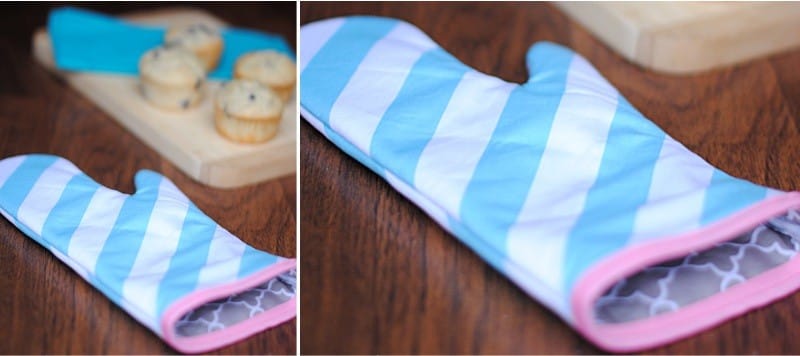
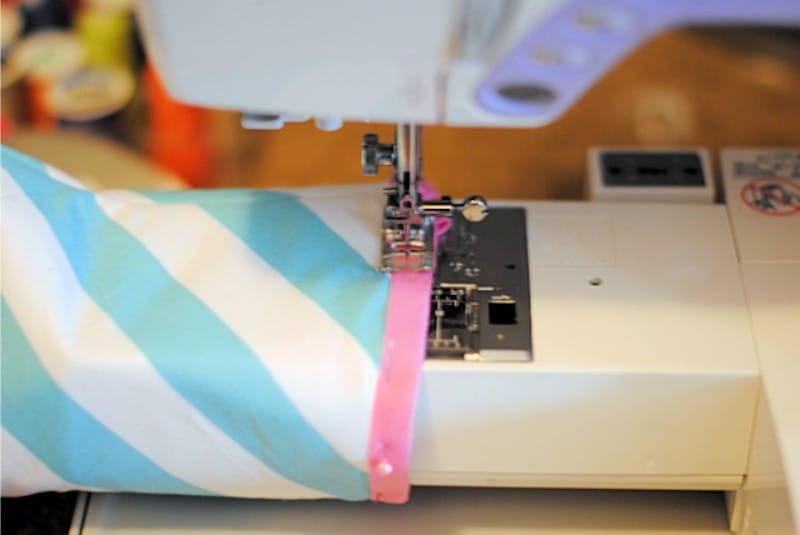
- Now turn out the product and decorate the sleeve with a piping - oblique piping (preferably cotton, not satin, but preferably), a strip of fabric, a braid or a ribbon. Since our goal is to show the easiest and fastest way to sew tacks with our own hands, we use a ready-made bright tape and simply wrap our mitten with it, fasten with pins and stitch. If you are using a cloth, it should be attached with a bend of the edges. At the end we sew a loop from the same bei and our mitten is ready.
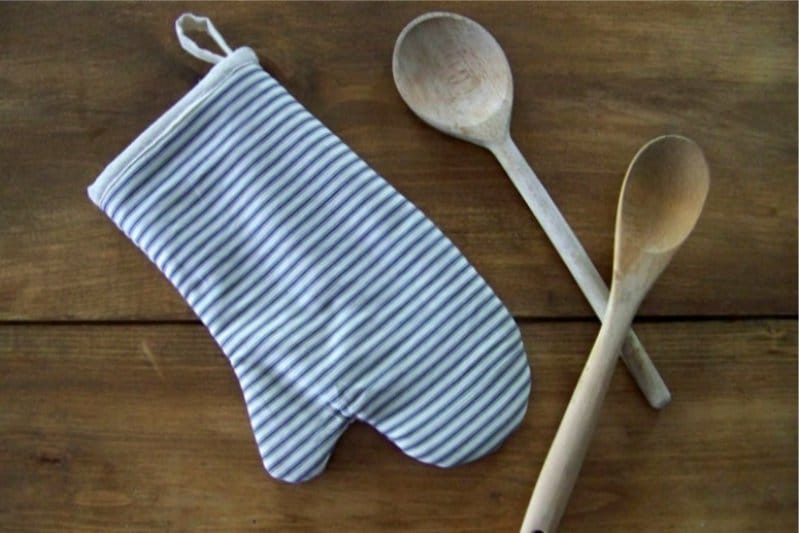
Here is another nice pot holder, made by the described method.
If you want to slightly complicate the task and make the mitten quilted, then you need to slightly change the sewing process as follows:
First, you need to "quilting" one three-layer blank simply from rectangular edges of the fabric, folded in the same order as described in the instructions in Section 4, and then the second. Keep in mind that the thread should be in the tone of the facial matter of mittens. You will have 2 quilted rectangular pieces of future tacks that need to be folded with each other so that the back sides look outward from the bottom and top of the “sandwich”. And finally, we stitch the folded parts along the contour of the mitten pattern (see p. 1). Then we process the edges of her sleeve with a braid or cloth and sew a loop.
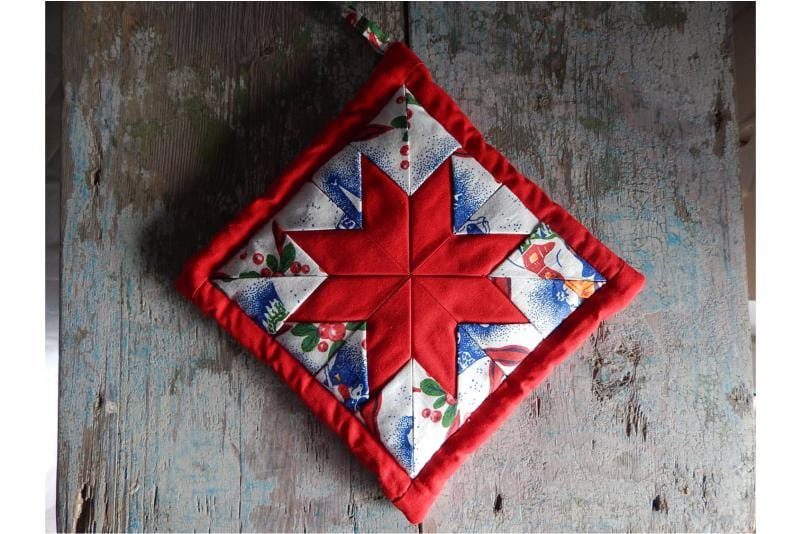
We sew a square tack or stand hot
Now let's start sewing square tacks, which are very, very easy to sew - unlike mittens, they use here: 2 pieces of batting and 2 pieces of facial tissue. Patterns are made of all parts with the size of 20x25 cm (or any other). You also need a strip of cloth for the eyelet - 8x15 cm, and of course ironing board, iron, needle and thread, sewing machine and scissors.

Works are carried out according to the following algorithm:
- A “sandwich” is made from fabric again: 1 layer - batting, 2 layer - fabric face up, 3 layer - fabric face down, 4 layer - batting. Such puff blanks need to make 2 pcs.
- Two blanks are stitched together from 3 sides, and the lining should still be outward.
- The tack is turned on the outside, proglazhivaetsya.
- The loop is sewed and got accustomed.
- The fourth side is stitched.
Tips:
- Square tack can also be quilted if desired;
- You can also sew the pocket to one side;
- according to the same principle, you can sew homemade hearths, circles, stars and etc.
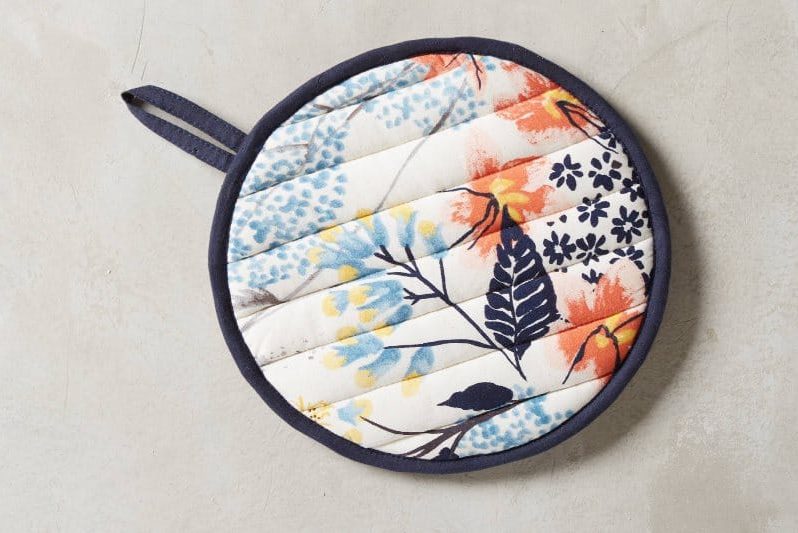
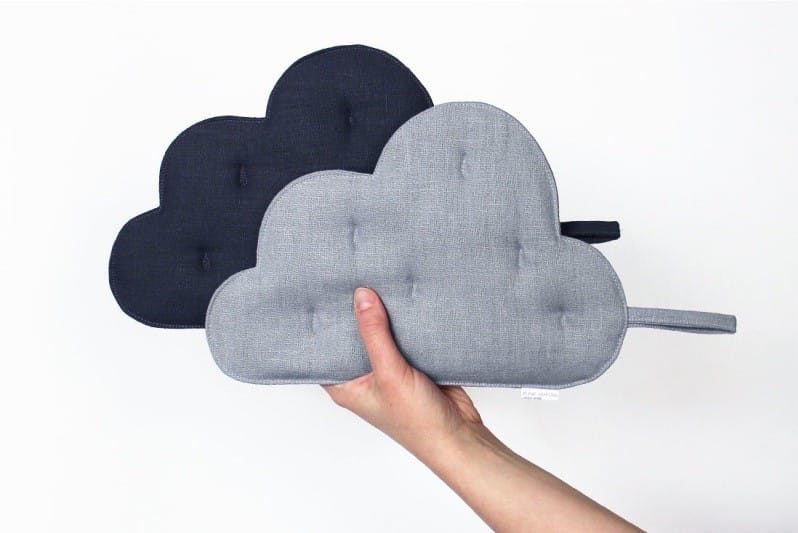
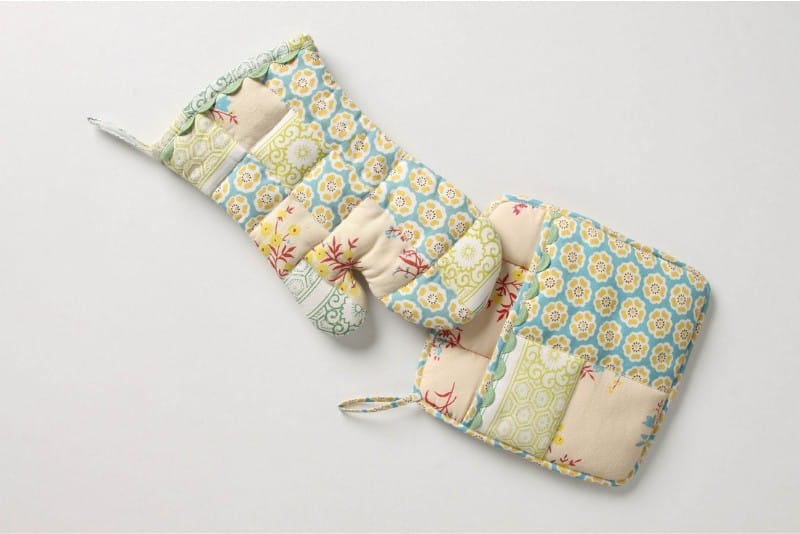
Here are a few ideas for sewing your gloves with your own hands according to the basic principle described above (scroll the photo to the right).
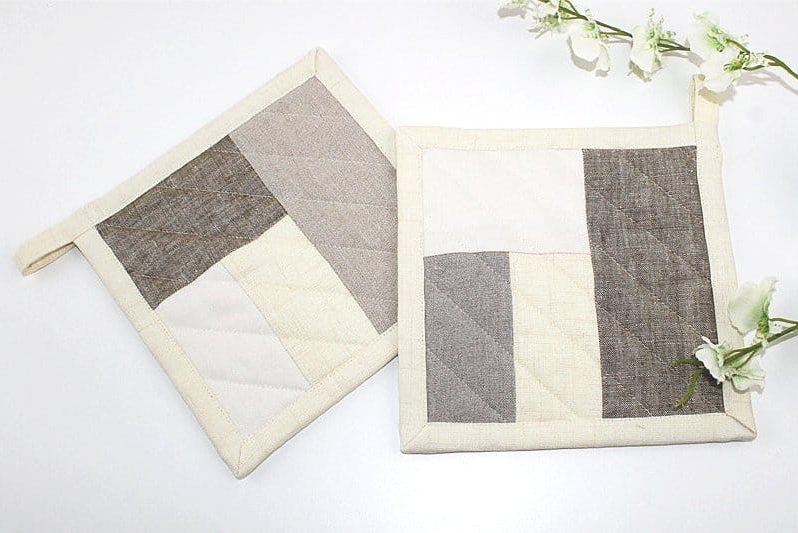
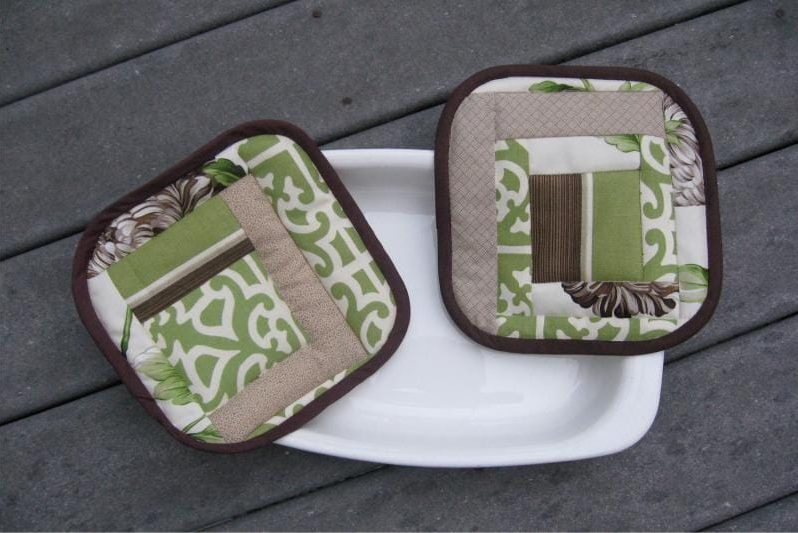
Tacks in patchwork style
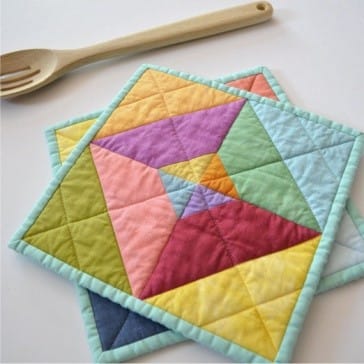
Tacks patchwork look unusual, but before you begin to sew, you should decide on the technique of connecting patches. Here are 3 main ways:
- Standard blocks - you will need to make square elements, and then process them on a typewriter.
- Patterned Sewing - The pieces are cut according to special patterns. These are elements such as birds, leaves, hearts.
- Sewing based - here the elements are not sewn together, but sewn onto a previously prepared base.
To make a simple product in the technique of patchwork, you need to prepare three colors of fabric, knife, thread, corresponding to the color of matter, pins and ruler. Then prepare the scraps - squares with a side of 10 cm.Each of the squares is cut into triangles, and they are already laid as required by the scheme. All triangles are stitched together, and one side of the product is obtained. By the same principle, the second side is made, and the lining material is placed between them. Then the edges are carefully sewn up, and a loop is attached to the corner - that's all, the tack is ready.
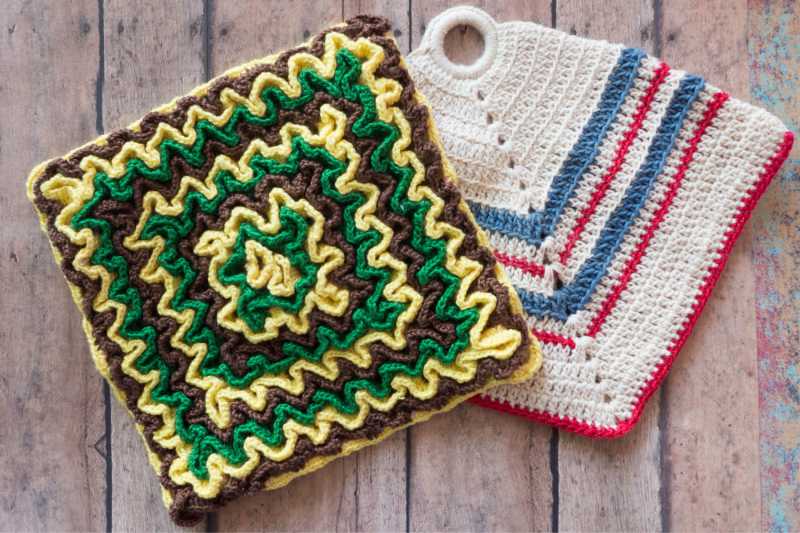
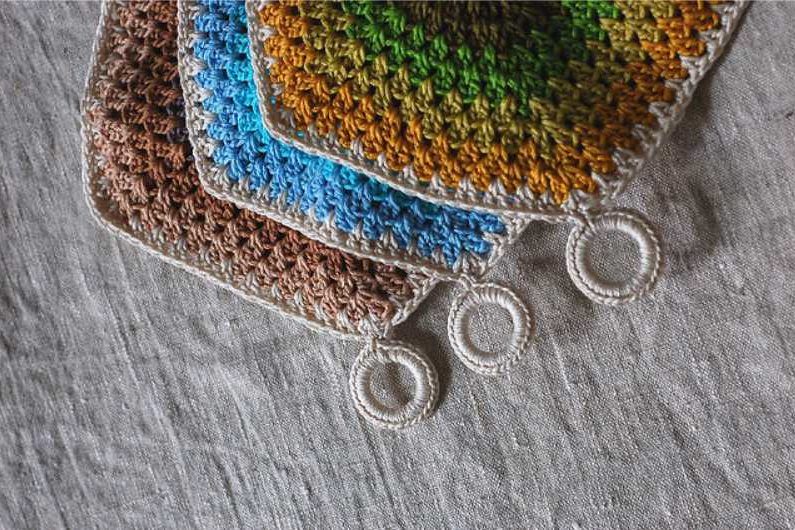
But a selection of fresh tack ideas for experienced and novice needlewomen in the patchwork technique (scroll the photo to the right).

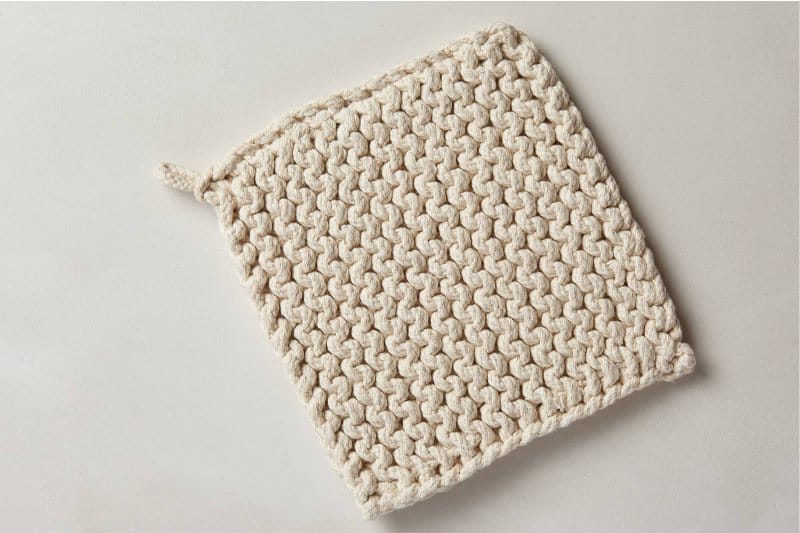
Nuances of knitting tacks
Knitting tacks is another way to create practical kitchen accessories. Even the simplest pattern will help create a beautiful product. However, do not forget that too voluminous schemes are not suitable for tacks - it will be inconvenient to use them.
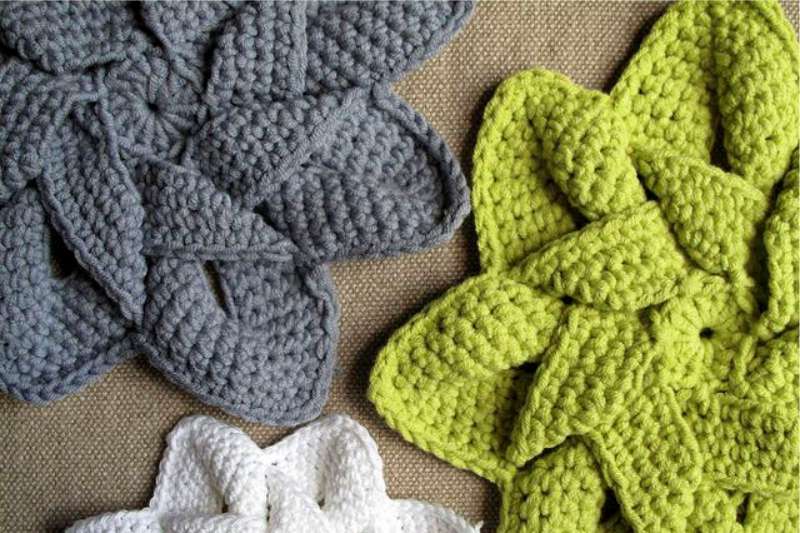
Hook and knitting can be made simple or curly products as in the photo below (scroll to the right).

 (Rate the material! Already voted:42 average rating: 4,60 from 5)
You can watch crochet tacks in the following video:
- We sew a kitchen towel - a master class and do-it-yourself decor ideas
- All about sewing an apron for the kitchen - instructions, tips and photos for inspiration
- Sewing a children's apron: a master class, ideas and 70 photos for inspiration
- Kitchen wall decor - 12 super ideas
- We sew a tablecloth for 1 evening: a master class for beginners
My favorite activity is sewing stitches and fartushki! All friends know in advance that I will give them on March 8. I choose a fabric depending on their tastes and characters. Now here I saw a funny tack in a patchwork style: so funny, there are so many bright colors in it! And I just have a lot of different patches left - I will need to try to sew such ones myself.
I did a tack of old blankets. It served as a filler, and externally designed the product with a dense fabric with polka dots. It looks very beautiful. I haven't tried knitting tacks yet, but I liked the idea.
It is easy enough to learn how to do oven gloves, mittens a bit more difficult. At home, everyone has a bunch of unnecessary old dresses or other things that might be suitable for this exciting activity. I periodically do my gloves, sometimes I even give them to friends. At all about all the crafts a couple of hours go.