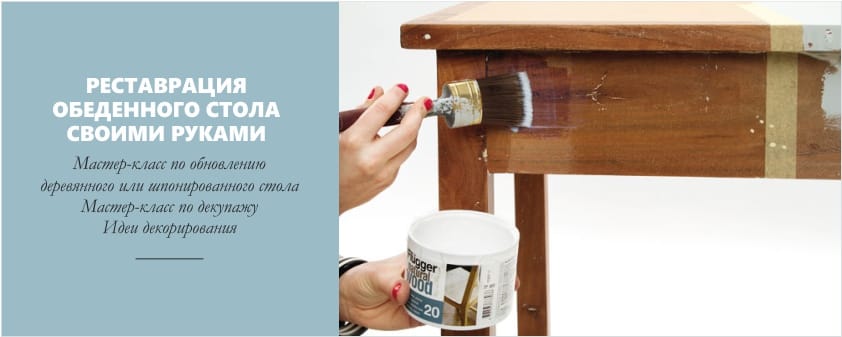
If you have an old dining table, which is dear to you as a memory, or you just want to reasonably save on the purchase of new furniture, then you have an interesting job in the quality of a restorer or decorator.
Keep in mind that the restoration of the kitchen table with your own hands is not the easiest thing and, in some cases, not justified, because not every table can be repaired, and it is better to entrust antiques to professionals. But more often than not, the right “upgrade” can bring your old friend back to life and transform it beyond recognition.
What are some ways to upgrade the table?
To update the kitchen table with your own hands, you can use one of the following proven technologies:
- Traditional painting - this is the method we will look at in detail in a step-by-step master class.
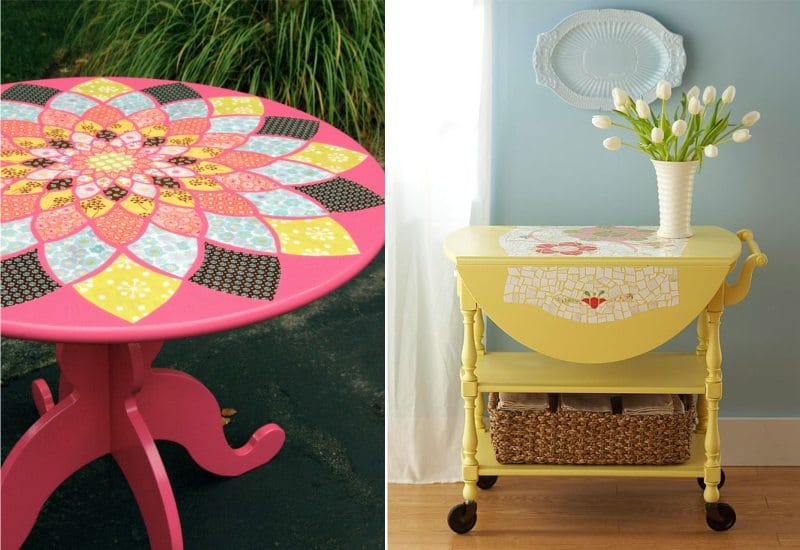
- An interesting way to decorate and paint furniture is dyeing through tulle - the table top is painted through it, and a lace pattern is formed on the basis of the stencil principle.

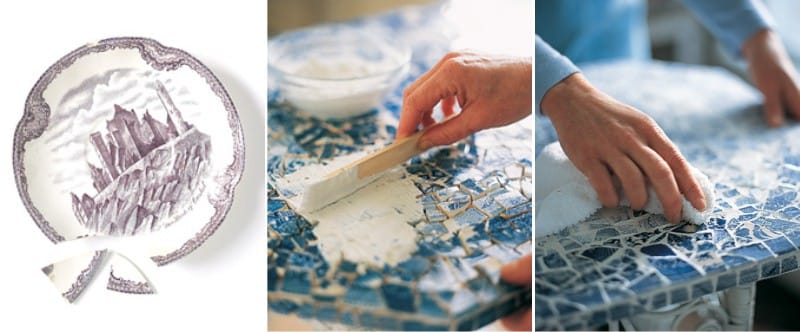
- Ceramic tiles will decorate a dilapidated, heavily damaged tabletop and make it more practical - you can put it on a hot surface and wash it in any way.
- You can update the old table using decoupage technique. We will also talk about it in more detail.
- An easy way to customize a table with your own hands is quick and budget - to glue it over with a self-adhesive film.
- Burning out will allow to renew a non-damaged wooden surface.
Master class - 6 steps towards a new life
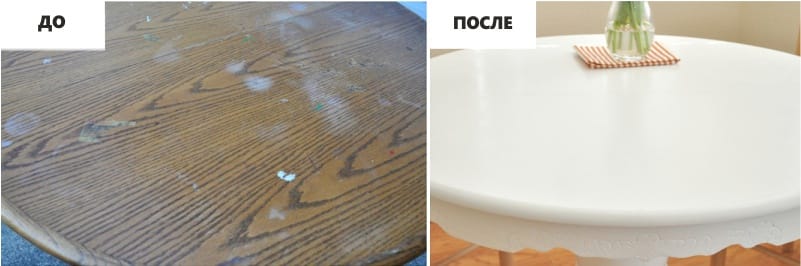
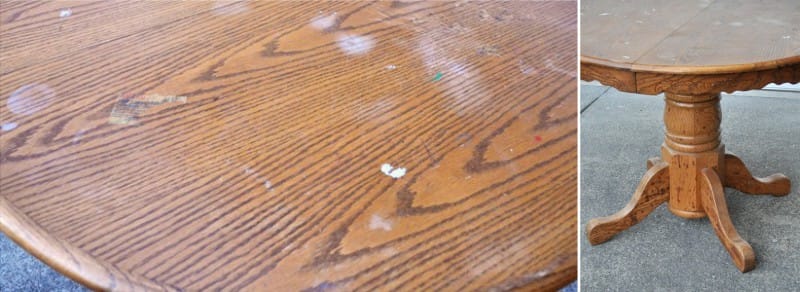
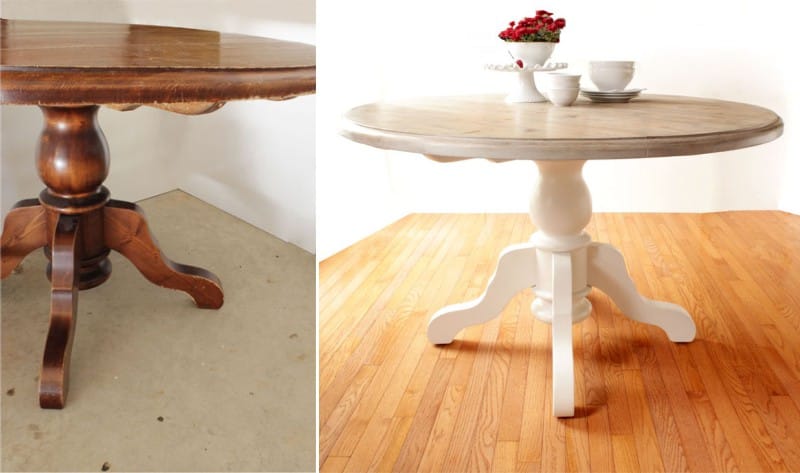
In this workshop on the simple restoration of the dining table with our own hands, we will update, repair and repaint this old veneered table with a moderate number of defects.
So, to update the kitchen table you need:
- a grinder or sandpaper of coarse, medium and fine grit, as well as goggles, a respirator and gloves;
- alkyd enamel paint of the desired color (or another desired coating, for example, wood stain), as well as a flat non-fading paint or art brush;
- wood primer and small roller / primer brush;
- wax paste or varnish.
Step 1. Inspect and repair parts
Carefully inspect all fastenings in the construction and defects of the tabletop - how much the veneer has been delaminated or the wood has been damaged.
If the table is a bit loose, you just need to tighten all the screws. If it requires a more serious restoration, then you need to completely disassemble the table, reattach all the parts or clean and sand all the grooves and joints so that the new glue grabs better, fix the glued parts with clamps or screws, and then remove them after 15 hours, when the glue dries completely.
- Sometimes the underframe requires replacement, not only because its parts are very dilapidated, but also because the legs will be able to completely modify your old table. For example, if before the legs were simple, now you can replace them with beautiful carved balusters.
- Analyzing the furniture, do not forget to mark the place of installation of each of the parts, so you will not get confused and quickly cope with the task.
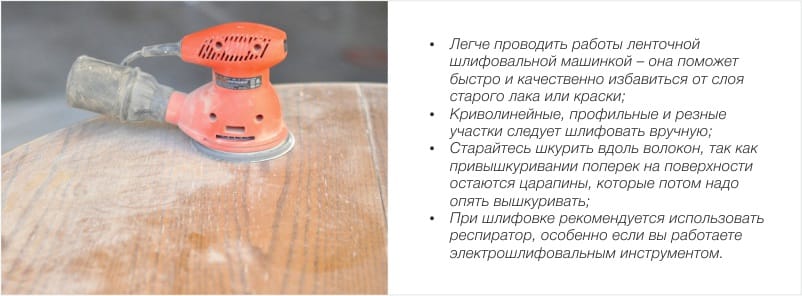
Step 2. Remove the old coating
Now put on goggles and prepare 2 types of emery paper: coarse - for preprocessing and fine - for smoothness. Get ready for a long and time-consuming work - removing old paint or varnish is not easy.
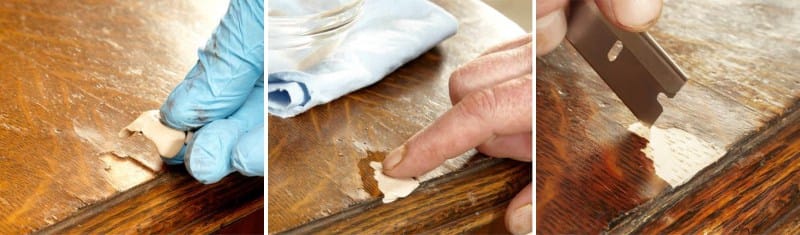
Step 3. Seal cracks and chips
After grinding, thoroughly clean the table from dust, inspect the tabletop and look for defects. Keep in mind that even the smallest damage will be noticeable after painting. All chips and cracks need to be locally filled with wood putty or polyester putty, and then the whole surface must be sanded again when the “patches” have dried.
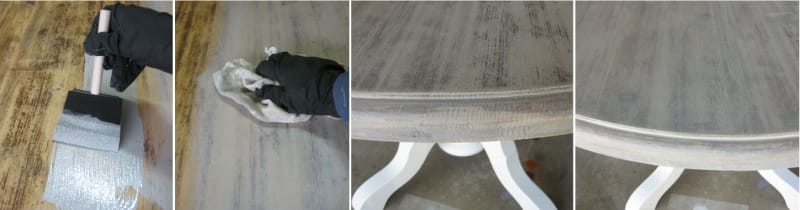
Note - cover the table with a stain:
- if the tabletop does not have a strong damage, then you can not hide the natural beauty of the tree and cover it with stain, and then varnish, shellac or wax. In the photo below is an example of a renovated table with a tabletop, stained in the color “Bleached Oak”.
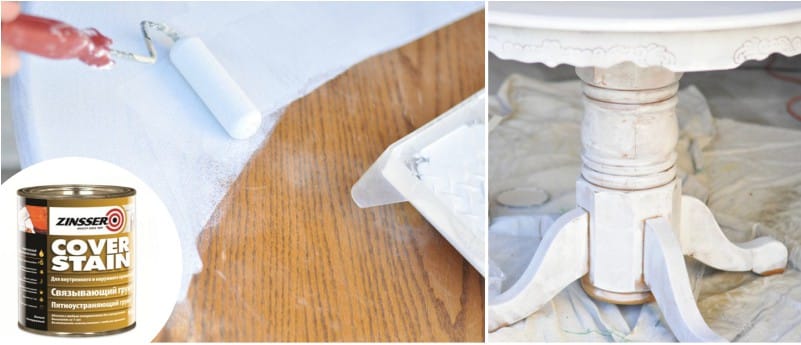
Step 4. Ground and grind again
We continue to work. Now we need not only to clean the table, but also to degrease it. And after the table dries, proceed to the primer. This stage is obligatory, because without it the paintwork will fall unevenly and quickly damaged. You can use alkyd or shellac primer for wood. In this workshop, the Zinsser Cover Stain universal alkyd primer was used (pictured below), which dries in just 1 hour, protects the wood well and prepares it for painting. It costs about 500-600 rubles, but is not sold everywhere. The table can be primed in 1-2 layers using a small spongy roller, with each layer should dry completely.
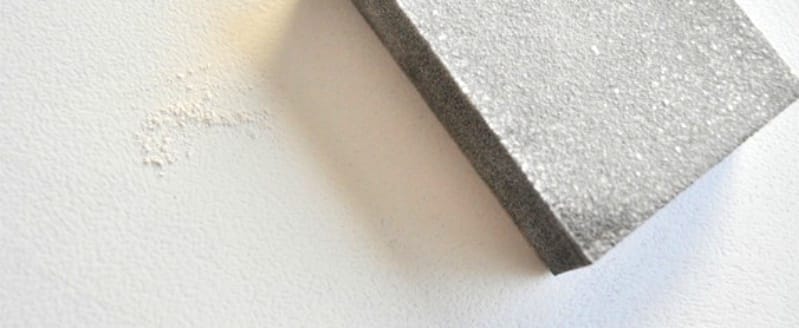
When the primer is dry (1 day), sand the tabletop again with sandpaper or a medium-sized sanding sponge to smooth out the primed surface and prepare it for painting. And do not forget to wear a respirator again!
Step 5. And now proceed to painting.
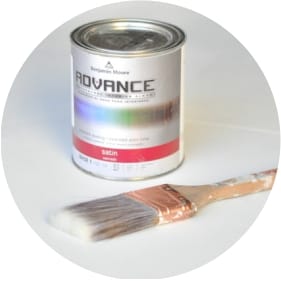
It is very important to choose the right paint and its color. Avoid cheap paints, because it is a dining table, which means that the tabletop should be well tolerated in frequent washing, wiping, striking, and so on. In this case, water-based premium-grade alkyd paint is used with a satin finish, but you can choose a more eco-friendly acrylic-based enamel. Also with predilection choose a quality brush so that it does not fade in the process. Perfect not paint, but a large flat artistic brush.
The paint should be applied in 2 thin layers, while the finishing layer is better left to dry for 3-4 days.
- If you chose a dark color of paint, then it is better to put it in 3 thin layers;
- To create scuffs in style chebbi chic paint can be sanded in some places, for example, on the ends of the table;
- Also, to create an effect "antique", the table can be patinated.
Step 6. Apply a protective coating
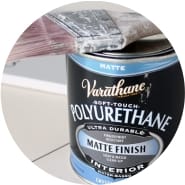
As we have already said, you can protect the surface of the table with a varnish, for example, with matt polyurethane on a water basis (in the photo on the left a great varnish from Varathane). It should be applied evenly in 2-3 thin layers, lightly sanding each layer before applying the next layer of varnish. Of course, all layers before sanding should be completely dry (4 hours).
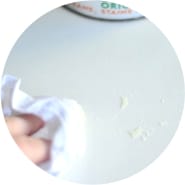
The second option is wax protection, which will make the countertop matt and it can be rubbed to a shine. To do this, gently rub the wax with cotton cloth into the wood, then let the first layer dry for at least 1 hour. After that, polish the surface with circular motions, and repeat the procedure 2 more times in one day. Well, now have patience and leave the table for 1 week for the surface to acquire the necessary operational properties.
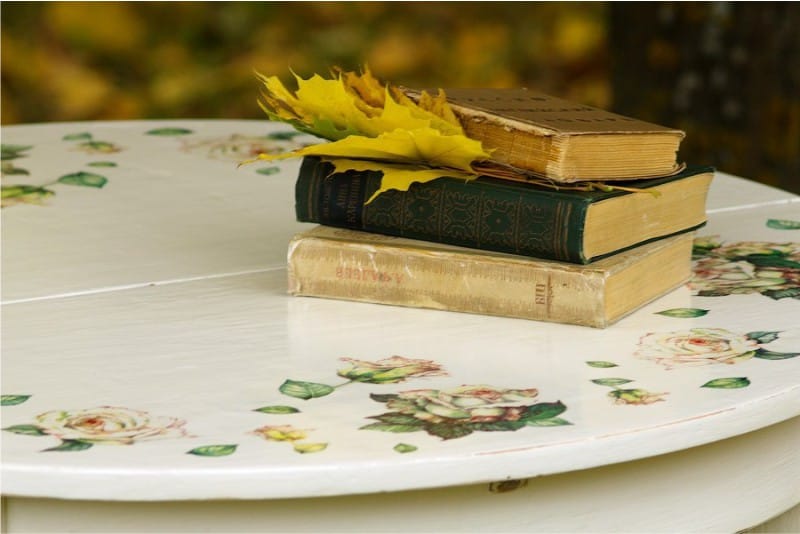
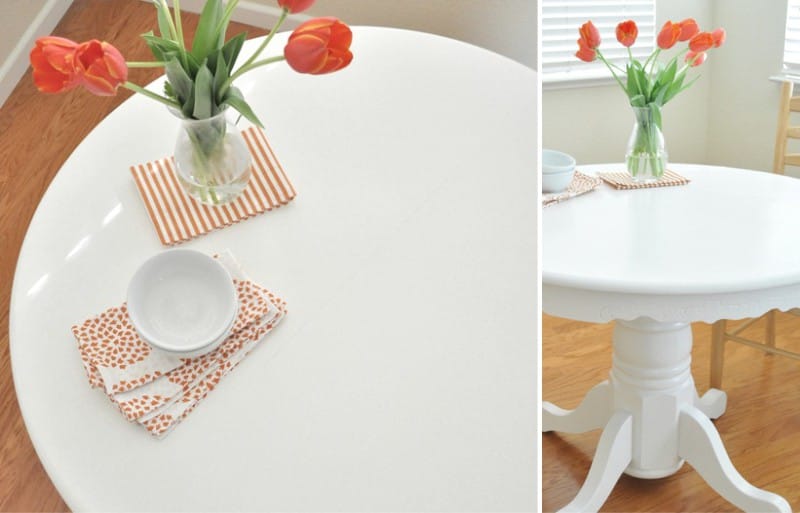
Well, that's all - the restoration is completed, and the old table has found a new life in a trendy white color.
And here is another interesting video from the program “Cheap and Angry” on the topic of restoration of the tabletop at home from improvised means.
Countertop Update with Decoupage
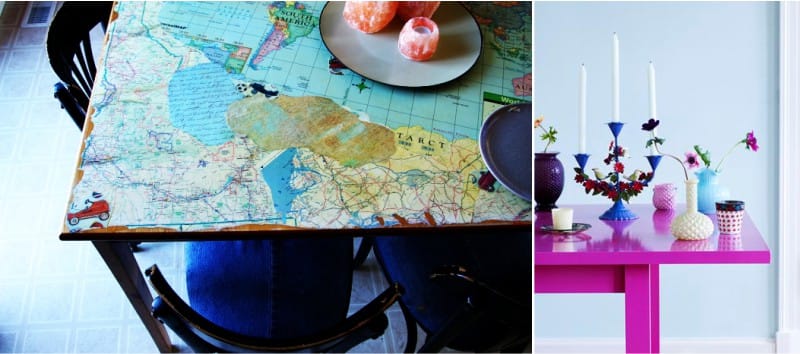
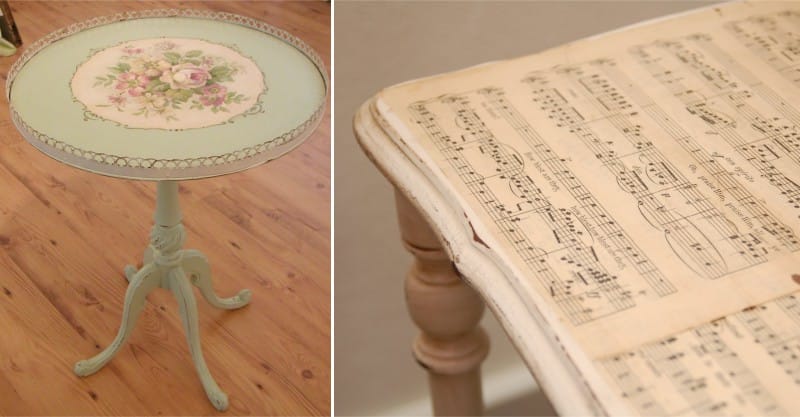
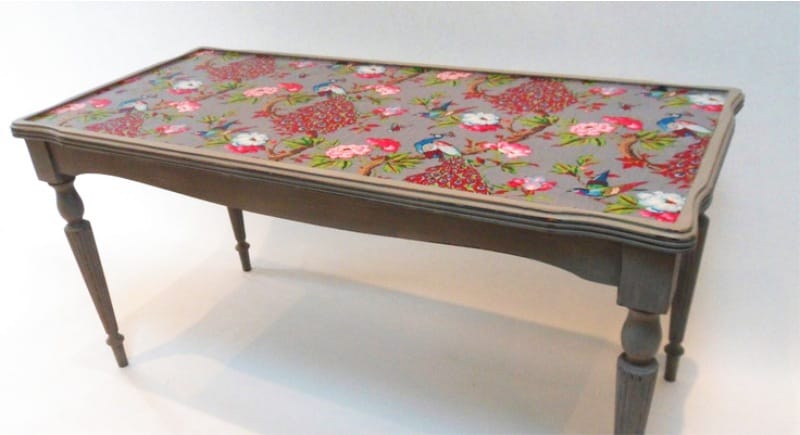
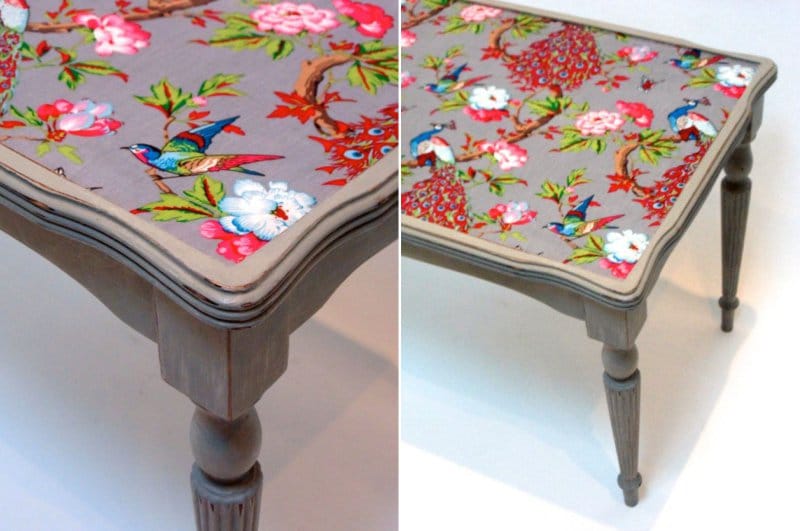
If you don’t want to stop there or your table doesn’t have serious damages, it just needs a small update, then you can decorate the table with drawings: manually paint it with acrylics, use stencils and stamps, or update the table using decoupage. Perhaps, we will take a closer look at this popular decor technique today, because decoupage will not only allow the budget and quickly transform the table or, for example, stylize it under Shebby chic (as in the photo below), but also hide some of the flawed surface.
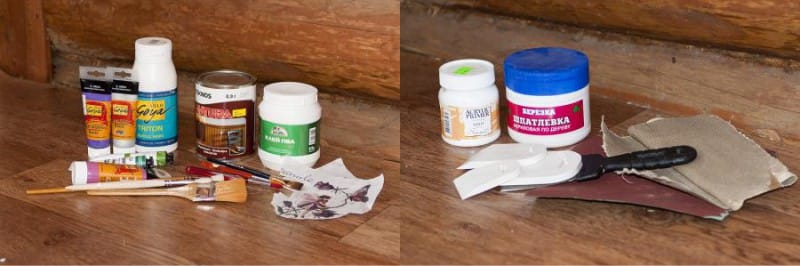
To update the table with your own hands using decoupage technique you will need:
- acrylic primer and acrylic paints - if desired;
- putty for wood beige;
- sanding machine and sandpaper of varying degrees of grain;
- rubber spatulas;
- flat and artificial artistic brushes;
- matt or semi-matt varnish for wood;
- wipes for decoupage or decoupage card;
- scissors;
- PVA glue or special glue for decoupage.
Decoupage can be started either after the priming and polishing stage (see step # 4 above), or after painting and varnishing. Then you should choose a picture - it can be any image on paper or table napkins, as well as special rice paper for decoupage.
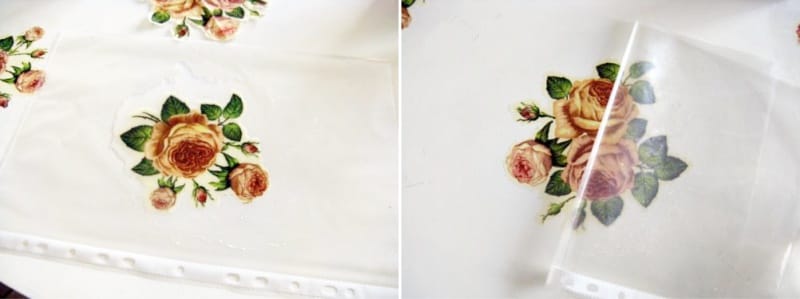
First, perform the markup, lightly marking with a pencil those places where the images will be located. In a container with water we put the cut out paper image “face” down and hold for half a minute. Then the sodden image is laid out in the same “face” down onto the polyethylene file, and all the excess paper layers roll down. Then the picture is carefully coated with glue and attached to the tabletop. The file is not removed - through it the image is smoothed to the maximum.
The surface around the pictures is decorated with paint. The final stage of decoupage - varnishing with acrylic varnish. After three days, the lacquer will dry out and the table can be fully used.
And finally, a selection of photos for your inspiration.


 (Rate the material! Already voted:32 average rating: 4,63 from 5)
- How to make a shelf with your own hands - 4 cool ways for beginners
- 4 super-ways to transform a chair and stool do it yourself
- 3 easy ways to upgrade your kitchen
- Home-made shelves for the kitchen - stylish, convenient, easy
- Rules for choosing tables and chairs for the kitchen
- Replacing kitchen fronts
The table with the stave is just fabulous. Recently saw such on the Polish site, the price is about $ 200, they thought to buy one. And here the detailed technique of execution is laid out, we will definitely use it!