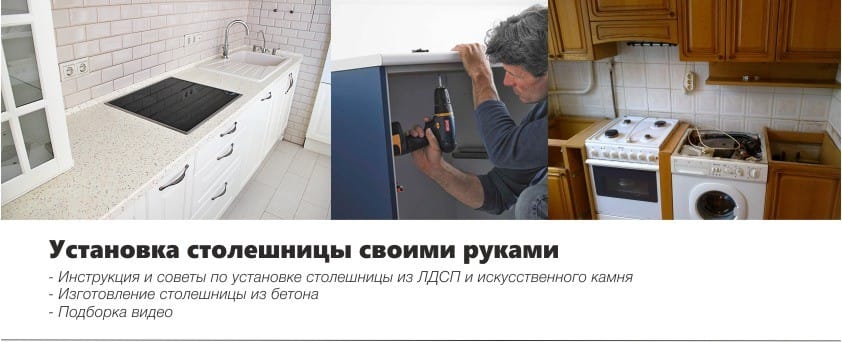
Do-it-yourself installation - the pros and cons
Let's see if it's worth taking up the installation yourself, and if you decide what's worth, we will learn how to install the tabletop.
- If you have some skills, installing a surface made of chipboard, MDF, wood or veneered wood will save you 1500-2500 rubles. - that’s how much the whole complex of works costs.
- Concrete worktop "under the stone", the surface cladding tiles better do yourself, the work will be better.
On the other hand:
- If there are no skills for working with chipboard, MDF, there is no tree, then it is better not to risk it. It is impossible to restore the previous view from chipping and other deformations;
- Countertops made of difficult to process and expensive materials, such as glass, must be installed by craftsmen;
- Sometimes installation is included in the cost of the table top.
Did you decide to do the installation yourself? Tabletop installation includes:
- Dismantling the old countertop;
- Measurements and cut new;
- Edging;
- Fastening the table top and joining two sheets, if necessary;
- Sealing and installation of plinth;
- Cutout hole under the sink and faucet;
- It is necessary to move the finished product very carefully, so that no additional stresses are created at the cutting sites - otherwise they may lead to cracks. Smooth and glossy surfaces have increased brittleness..
- Measurements are done very carefully, best on an already mounted kitchen set.
Before ordering countertops it is better to make a pattern.
The complexity of the work, depending on the materials

Self-installation of the tabletop - the event is not too complicated, but much depends on the type of material used:
- Laminated chipboard (MDF) - is actually chipboard, pasted over with high-strength laminate. The complexity of the installation is mainly only in a neat cutting of the table top. Mechanical damage on such surfaces remain unsightly traces.
- The traditional material for the kitchen is wood. Such a surface will need to be regularly restored using protective coatings or lubricated with polishes. Although, if necessary, the wooden surface can be polished with your own hands - and it will again become attractive.
- Surfaces made of metal are becoming increasingly popular - the connection of the tops of this material will not be difficult. However, with mechanical effects, they will remain scratches and marks that need to be ground with their own hands.
- Stone countertop (natural or artificial stone) resistant to moisture, temperature, scratches. However, the fastening of the table top made of natural stone can be difficult due to the large weight of the product, and cutting and cutting holes is complex and requires skills.
Installation of a surface from a chipboard, MDF, an artificial stone
The installation of the countertops made of artificial stone, chipboard, MDF do-it-yourself on the same principle.
Fastening the table top also provides for the installation of additional moisture insulating elements - jumpers, plugs, corners of aluminum and plastic. They will be required for both chipboard and artificial stone surfaces.
- At the beginning, most likely, you will need to make measurements and then, on their basis, cut the sheet. In this case, the length is measured taking into account the strap superimposed on the ends. You can cut off the excess from the sheet with your own hands using a hacksaw or a jigsaw. If there are protrusions on the wall, then all the required notches are pre-cut on the table top.

- Now we grease the ends with a silicone sealant, apply an aluminum strip and dub it flush. Then you need to fasten the bar with small screws. Excess silicone can be wiped off with acetone.

- Edge of the surface that remains closed, you need to decorate the edgeband. In order to attach it with your own hands, you first need to heat the tape, and then glue it and cut off the excess. After gluing, the edges of the tape are ground.
- On the construction level, you need to adjust the legs of the floor stands of the kitchen set. If the legs are not adjustable, you can put adjusting wedges and plastic gaskets under them.
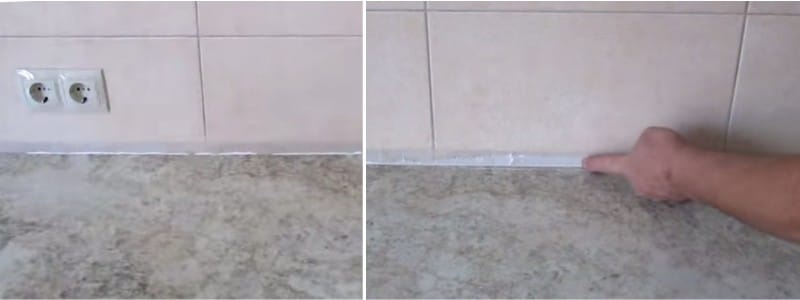
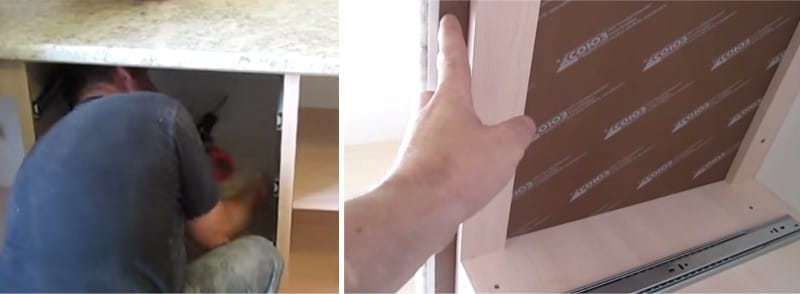
- Now fill the rear upper edge of the cabinets with sealant as shown in the photo. The back end of the table top is also richly lubricated with the same silicone. In the cabinet under the sink fasten plastic or metal corners.

- Now gently place the tabletop on the cabinets and either press it tightly against the wall, as shown in the photo, or leave a space of 5 mm from the wall, depending on how much you want the tabletop to project above the cabinets, taking into account the facades.

- Now let's make the actual fixing of the table top to the kitchen set (not to the wall). To do this, under the worktop into the existing holes we screw in the 30 mm and 16 mm self-tapping screws under the sink.

- Now you can install the baseboard between the apron and the table top and on the sides.
- If the corner mounting of the table top is carried out, then the joint seam should be hidden with an aluminum profile. See this video for more details:
- In custom-made kitchens, the work surface is most often common for lower cabinets, but if you buy factory-made kitchen sets, you will most likely need to connect worktops, because in this case there is a separate “top” for each cabinet. So, in the plane perform all the required cuts, then insert the connecting elements into the grooves and firmly tighten them together.
- At the last stage sawn hole under the sink.
Visually about the installation of the surface of artificial stone:
How to make a replacement tabletop
If we are talking about replacing the surface on an already installed headset, you will have to act as follows:
- The old surface is dismantled without damage to the kitchen set - the sink, the plinth are removed and all fixings are removed.

- The new surface must be fitted along the wall and under the existing dimensions of the furniture.
- The height is controlled very carefully, since it is important that the structure is evenly supported by existing pieces of furniture.
- The resulting edges on the surface of chipboard, artificial stone, wood must be sealed. This is especially important for laminated surfaces - ingress of moisture inside will lead to swelling and destruction of the structure.
- Fastening the table top also means connecting several elements into one, so that their height along the wall is the same, and there are no gaps between the elements.
In this video, the wizard shows how to replace the surfaces of separate thumbs with a single tabletop without joints.
How to mount a concrete countertop
In the kitchen, you can install a concrete countertop, and then revet it with tiles or polish it under artificial stone. Production and installation in this case is performed simultaneously. Here is how it is done:
- The lockers are aligned so that their height along the wall is the same, after which the base is laid on them (made of plywood or chipboard). In this example, the concrete is completely poured onto the old tile.

- The base is securely fastened to the upper part of the furniture, after which a formwork is installed along its sides.
- The formwork is sealed with polyethylene and the fittings are laid inside it. The zone where the sink will be installed is fenced with a ring of metal strip.
- A cement mortar is being prepared - M400 cement, sand and crushed stone in a ratio of 1: 2: 2, and a plasticizer is necessarily added to it.
- For the countertop, imitating the stone, dyes are added to the solution.
- The solution is poured into the formwork, leveled (so that the height along the wall does not have drops) and is covered with polyethylene. The solution is left to dry - it will take about a week.
- Finishing the concrete worktop begins with a rough polishing, after which the tiles are glued and the joints are rubbed over. If an imitation of a stone is created, the concrete is processed by a grinder, after which a filler is applied to it.

- Wooden Counter Top Guide
- Sizes of kitchen countertops made of laminated chipboard, solid, artificial and natural stone. What you need to know before buying?
- The choice of kitchen countertops - the advantages and disadvantages of popular materials
- Stone countertops in the kitchen - practicality and natural charm
- Why plastic countertop is a great kitchen solution?
- All about planning and arranging the window sill-countertops in the kitchen
- Color kitchen countertops - selection rules and tips


 (Rate the material! Already voted:13 average rating: 4,38 from 5)