
Washing the kitchen is a serious matter. Prepare your rubber gloves and enthusiasm - in this article we will tell you how to clean the kitchen at home easily and safely for the facades, countertops and apron (including wooden ones!).
But, before proceeding to the choice of a recipe, we recommend that you familiarize yourself with the following universal rules and recommendations that are relevant to both painted / unpainted wooden kitchens, and laminated, varnished, plastic facades made of MDF and chipboard.
- For those who are in a hurry, we advise you to go straight to the recipes, using the quick navigation (at the beginning of the article).
General recommendations
- The most important rule: before starting to clean the kitchen, ALWAYS test the cleaner in an inconspicuous area. Treat it, then wipe it clean and dry, wait 1-2 minutes and see if the color of the coating has changed, whether the gloss has disappeared and so on.
- Bold coating on kitchen furniture is a mixture of dust and vapor and the smallest suspension of fat that forms during cooking. The older the raid, the harder it is to get rid of it. Therefore, the optimal schedule of “general” cleaning of the kitchen from fat is 1-2 times a year, “capital” every 2 months using soft means and, of course, when the need arises.
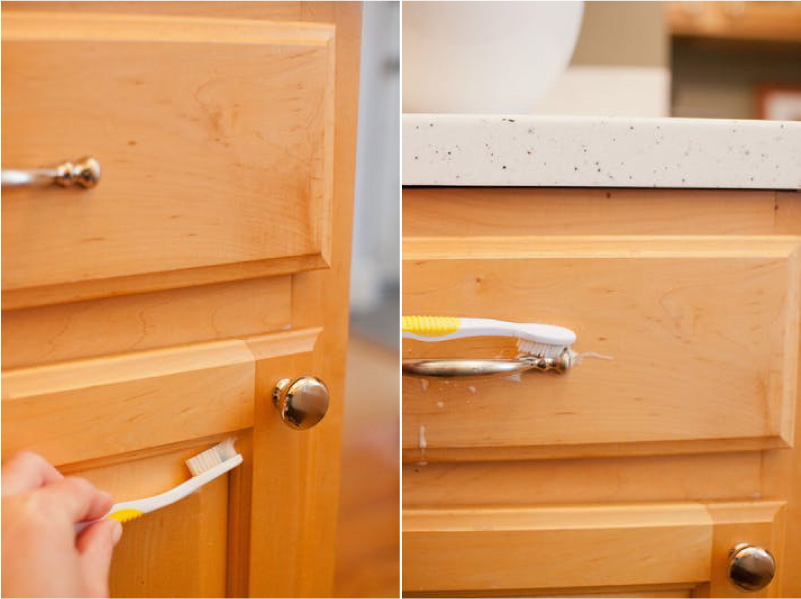
- To clean hard-to-reach places, crevices or decorative trims, use a toothbrush dipped in a cleaning product from our article. Also, narrow slits can be cleaned with a knife wrapped in cloth.
- Do not use hard abrasives, only soda, a soft toothbrush or the hard side of a regular foam sponge are permissible. This is especially true of wooden kitchens, as well as any colored headsets without top sheeting.
- To clean the kitchen is better to use a new sponge with a clean abrasive side. An old greasy sponge can do more damage.
- At the end of the cleaning, it is advisable to wipe the kitchen: clean with a damp microfiber cloth and dry with a clean, dry cloth made from microfiber. So you will avoid the divorce and remnants of the cleaning agent itself.
- Special attention during the washing of the kitchen should be given to the cabinets above the stove.
And now some special recommendations and cautions.
| For a wooden kitchen (painted stain, enamel or other types of paint, unpainted, but treated with oil / wax / polish / special impregnation / matte varnish, etc. | For all other kitchens: glossy, lacquered, plastic, laminated and painted MDF and chipboard sets |
|---|---|
| Wooden kitchen requires the most delicate care. Most "folk" means like peroxide, ammonia, alcohol or citric acid are contraindicated to it, as well as ordinary household chemicals based on alkali. | Whether you use expensive or cheap household chemicals, the main thing is that it contains alkali. It is she who most effectively copes with grease and dirt. |
| Manufacturers of wooden kitchens recommend washing facades only with special products with a neutral Ph or a solution of warm water and soap (dishwashing detergent) diluted in a ratio of 5:95. But what if the “Fae” solution does not take old fat and stubborn stains? Ideally, a thorough cleaning of the kitchen should be trusted to special cleaning services, especially if the kitchen is relatively new, with an expensive finish. Our recipes are in most cases safe for wood, but still there is some risk in them. | For washing the kitchen is convenient to use the spray. |
| When rubbing the kitchen, try to move along the wood pattern, and not against or across. This will allow better cleaning of the pores of the material and more delicate effect on the fibers. | Before applying a cleaning agent to the contaminated area, moisten it, for example, with a spray bottle. Moisture somewhat accelerate the chemical. reaction and facilitate cleaning. |
| Rag should not be too wet. Excess moisture is harmful to wooden surfaces. | |
| After washing and cleaning wooden furniture, do not forget to treat it with protective wax, oil or polish. |
Method 1. Express cleaning and polishing for running cases (soda + vegetable oil)
PURPOSE: wooden Unpainted kitchens and countertops (covered with matte varnish, oil, wax, polish, any impregnation), lacquered and laminated kitchens made of MDF and chipboard, aprons of any materials.
Especially helps this recipe, if you need to revive the old kitchen or countertop for the minimum time and money.
- With it, you can, firstly, it is easy to remove firmly adhered drops of fat, bloom and stains. Secondly, “seal” the pores of the tree, protect it from moisture and dirt. And thirdly - to give the facades a natural shine and brightness. In fact, this old homemade recipe replaces both cleaning products and furniture polish.
CAREFULLY: painted wooden kitchens and light wooden kitchens (oil can slightly yellow).
CLEANING PERIODICITY: It is important that the cleaning of the soda-oil product is carried out regularly - at least every 2 months. The fact is that the oil has the ability to oxidize and lose its protective properties, it is possible to change in color.
INSTRUCTIONS:
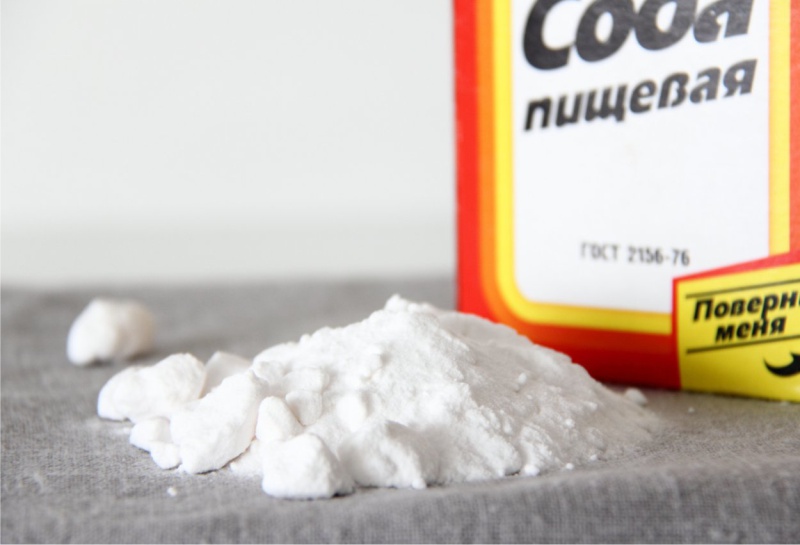
Step 1. Mix 1.5 tablespoons of soda with 1 tablespoon of vegetable oil (can be used in larger quantities in a ratio of 1.5: 1).
Step 2. Apply the “scrub” on contaminated surfaces, paying special attention to cabinets in the slab area. Soda will pour a little, and the oil will be absorbed as a polish. You will see that the tree in front of your eyes will become cleaner and slightly brighter.
Step 3. Wipe the treated area with a clean, damp microfiber cloth or soft cloth.
Step 4. Wipe the rest of the cabinets for dust and light dirt with a damp cloth. If necessary, soda-oil means you can handle the entire kitchen.
Method 2. How to remove local spots, grease and dirt (6% vinegar + warm water)
PURPOSE: For all types of surfaces, but for wood - with care.
CLEANING PERIODICITY: if necessary, but not more often than once every two to three months.
INSTRUCTIONS:
Add to the warm water 6% vinegar in a ratio of 1: 1, then remove the dirt with a sponge or spray the product from a spray bottle, wipe the treated area with a damp cloth.Finally, dry the surface with a soft, dry cloth or microfiber cloth.
Method 3. Universal recipe for deep and thorough cleaning (vinegar 6% + isopropyl alcohol)
PURPOSE: For general cleaning of old fat and other complex stains of painted and unpainted wooden kitchens, laminated, lacquered, plastic glossy facades made of MDF and chipboard, all types of worktops and aprons.
CLEANING PERIODICITY: 1-2 times a year.
INSTRUCTIONS: Step 1. Mix 6 -% - vinegar with rubbing (isopropyl) alcohol in a 7: 1 ratio and add a few drops of liquid soap to the solution. Isopropyl rubbing alcohol can be purchased at the points of sale of consumables for printers, companies selling fiber optics and special online stores. You should not experiment with other types of alcohol. Step 2. Wipe the cabinets with the mixture using a microfiber cloth. Step 3. Now clean the kitchen with a rag dipped in warm water. Step 4. Finally, rub in all surfaces a special oil for wooden furniture, which contains beeswax. This action “seals” the pores and permanently protects your kitchen from stains, dirt, moisture and grease. PURPOSE: For all types of surfaces, but for wood - with great care. CLEANING PERIODICITY: if necessary, but not more often than once every two to three months. INSTRUCTIONS: Add ammonia in warm water in a ratio of 1: 1, then remove dirt with a sponge or spray the product from a spray bottle, wipe the treated area clean with a damp cloth. Finally, dry the surface with a soft, dry cloth or microfiber cloth. PURPOSE: Only for kitchens, aprons and countertops made of MDF and chipboard. The tool will help not only to clean the kitchen from fat and dirt, but also to disinfect the areas treated by it. CLEANING PERIODICITY: If necessary. INSTRUCTIONS: Mix these ingredients in a 1: 2 ratio, treat the desired areas with a liquid using a cloth (it is best to spray the product with a spray bottle). PURPOSE: To remove burn marks on wooden unpainted facades, table top or apron. CLEANING PERIODICITY: If necessary. INSTRUCTIONS: Rub flaxseed oil into the stain with a soft, clean cloth until it disappears. PURPOSE: For rubbing small scratches, removing grease and stains from wooden kitchen furniture, countertops and apron. CLEANING PERIODICITY: If necessary and with care. INSTRUCTIONS: Rub the vinegar and vegetable oil into the scratches (dilute 1: 1) with a soft, clean cloth until the scratches disappear. PURPOSE: To remove complex and stubborn stains such as berry juice, ketchup or chocolate from wooden kitchen furniture, countertops and apron. INSTRUCTIONS: Make a creamy paste of vinegar and salt. Dip a toothbrush into the paste and lightly rub the stained area. Rinse with clean water and dry with a clean towel. PURPOSE: To remove complex and stubborn stains such as berry juice, ketchup or chocolate from wooden kitchen furniture, countertops and apron. INSTRUCTIONS: Just pour a little soda on a damp sponge and wipe the stain. You can also use a soft toothbrush. See also: Clean the microwave in 5 minutes - 6 express methods PURPOSE: To remove stale fat on all kitchen surfaces except wood (!). INSTRUCTIONS: If you have a steamer for clothes, then you can process the entire kitchen with them, starting from the facades and ending with an apron. The method is good for its simplicity and efficiency. After such a “bath”, the kitchen should be wiped with soapy water, and then with a clean damp and dry microfiber cloth. Surely you have already heard about melamine sponge or even managed to try it in business. This sponge consists of many fine fibers of melamine rubber, like an eraser, it easily catches and rolls dirt from any surface. Contrary to myths, melamine miracle eraser is harmful only when used inside. For this reason, we recommend not spongeing the internal shelves, drawers and cabinets. After cleaning, crumbs should be carefully collected, and all facades should be wiped clean. And, of course, the sponge should be kept away from children and animals. PURPOSE: To remove the old grease on all kitchen surfaces except wood (!) And any countertops. On painted facades, use with great care - there are cases when, together with stains, the melamine sponge erased the paint. INSTRUCTIONS: Wet the sponge in water, squeeze out excess moisture, then wipe the dirty areas with it. Roll up the remaining dirt carefully and discard it. Metal parts and fittings can be cleaned by any means listed in the article, except for those that imply the use of: vinegar, hydrogen peroxide, citric acid, alkalis.
Method 4. Ammonia + warm water
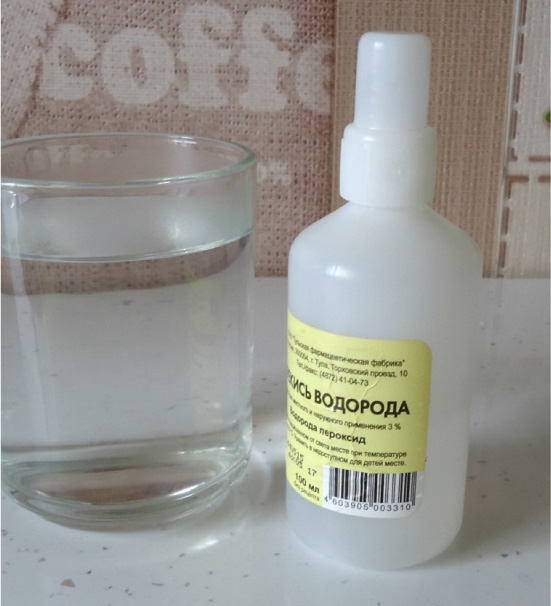
Method 5. Hydrogen peroxide + water
Method 6. How to remove burned dark cigarette spots (linseed oil)
Method 7. Remove stains and scratches (6% vinegar + vegetable oil)
Method 8. Removal of complex stains (6% vinegar + salt)
Method 9. Removal of complex stains (soda + wet sponge)
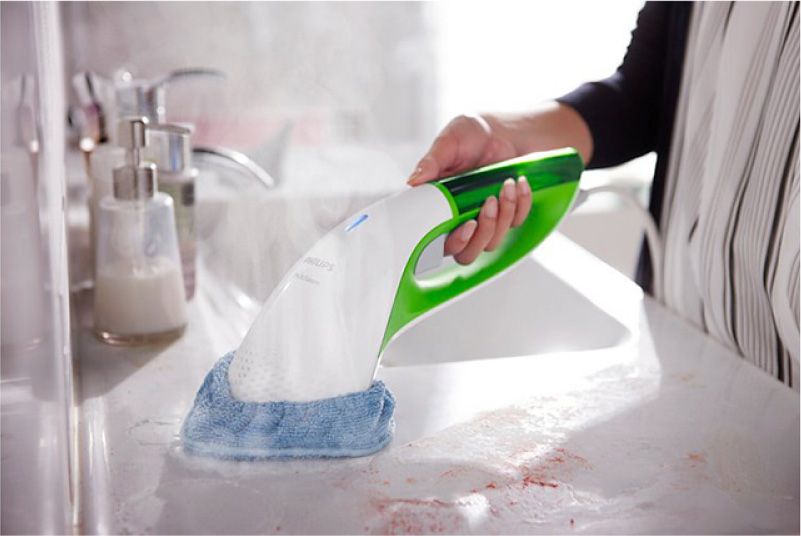
Method 10. Fat removal with a steamer
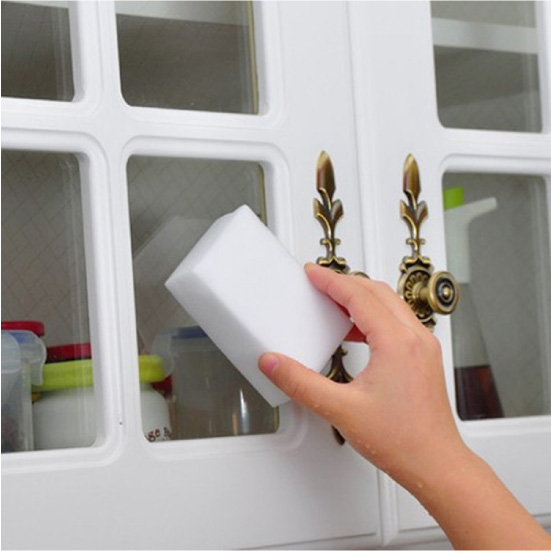
Method 11. Removal of complex contaminants with melamine sponge
How to clean metal pens and kitchen accessories

 (Rate the material! Already voted:10 average rating: 4,20 from 5)
![]() Loading...
Loading...
- How to clean the pan outside and inside - 12 best ways
- Rating washing powder 2019 and a guide to choose
- How to wash the stretch ceiling without stains in 5 steps
- How to clean the pan outside and inside - 8 simple ways for difficult cases
- How to get rid of bugs in the kitchen?
- How to remove scale from the kettle - 6 home remedies
- How to quickly clean the kitchen hood and its filter - 7 best ways
- 8 ways to clean pipes from blockages
- How to remove the smell from the refrigerator in 6 steps