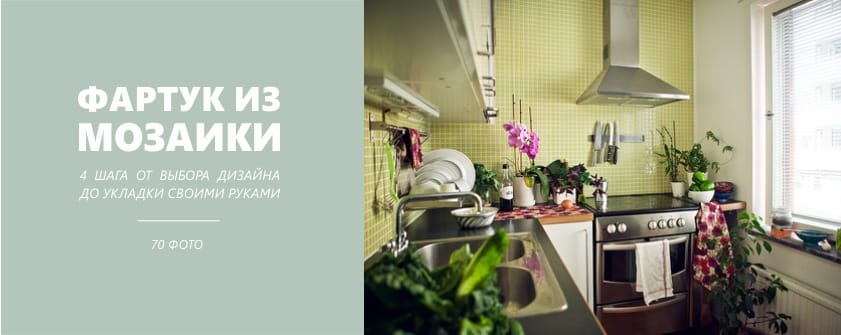
A mosaic apron is a nontrivial and at the same time time-tested alternative to aprons made from large-format ceramic tiles, porcelain stoneware, stone or glass. And although mosaic tiles are made of the same materials (and not only), the properties and appearance of such an apron have their own characteristics. Let's find out how to plan the future design of the panel, prepare for the trip to the store, calculate the consumption of materials, choose glue and grout, as well as how to lay a mosaic with your own hands.
Step 1. Choose the size and format
So, you are thinking about the design of the working area mosaic tiles. To do this, you first need to make measurements of the apron and calculate the material consumption based on the size of the tile.
- Modern mosaic, as a rule, is not sold in loose form, but in the form of blanks, that is, matrices in size: 24 × 24 cm, 28 × 28 cm, 30 × 30 cm, 31.5 × 31.5 cm, 32 × 32 cm and others. Usually on a total area of 1 sq. m. m need to buy 9 matrices.
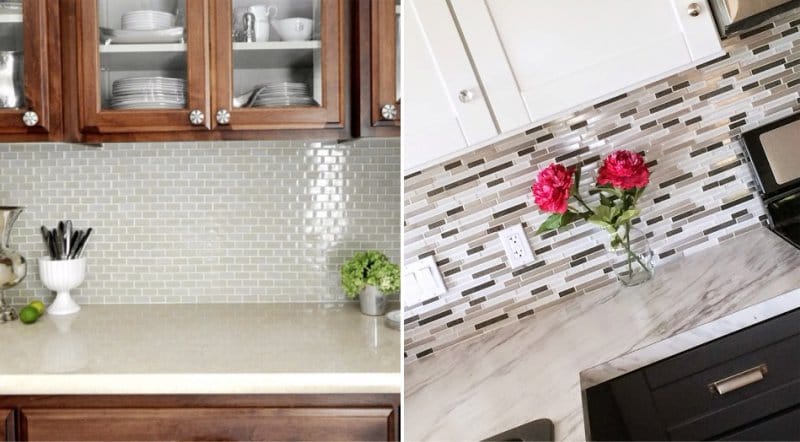
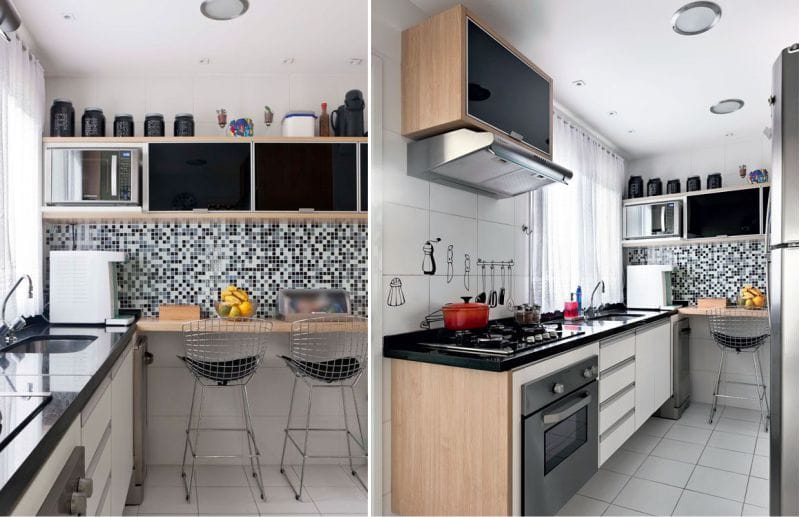
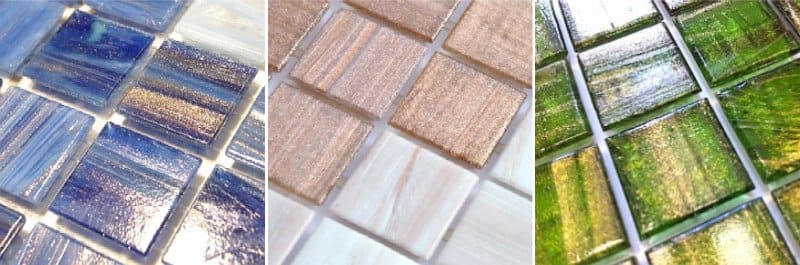
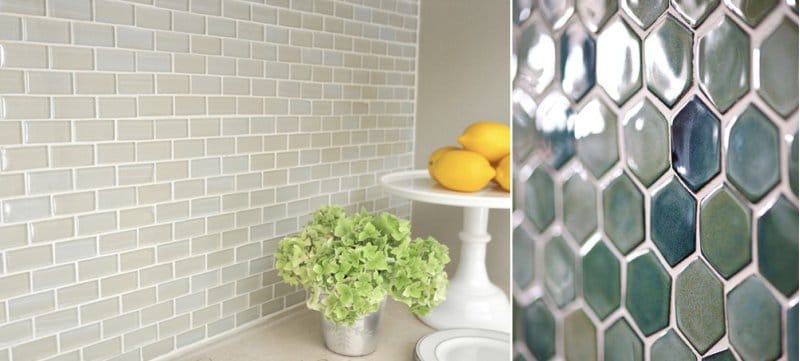
- The mosaic consists of small fragments, called chips. The size of the chips varies from 1x1 cm to 5 × 5 cm, and sometimes up to 10 × 10 cm. Mosaic with tiles of 2 × 2 cm-5 × 5 cm format is most often used for facing a kitchen apron. You can see below in the photo slider chip formats 1 × 1, 2 × 2, 5.5 cm
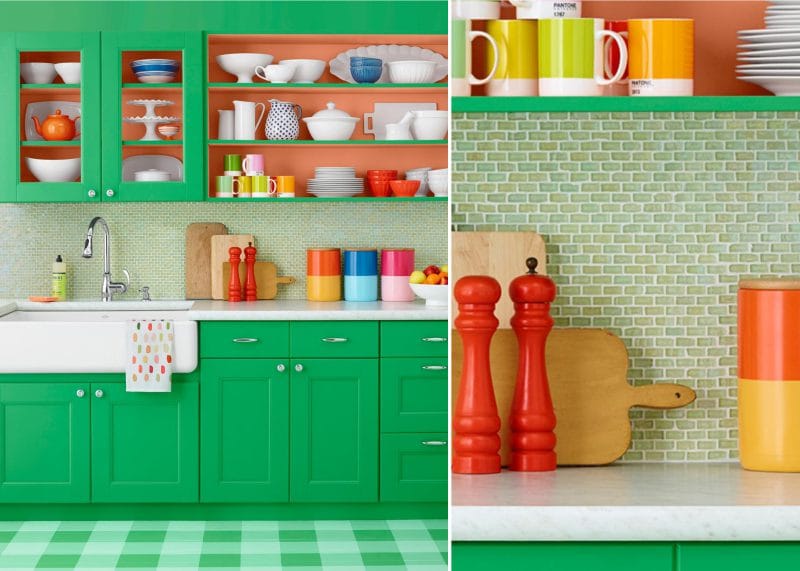
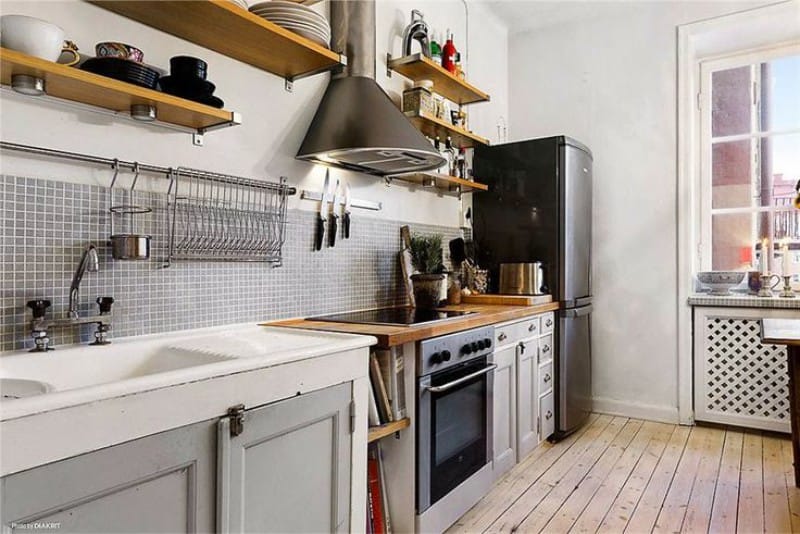
 Apron from a small-format mosaic
- The most common form of tiles - square. It is convenient in laying of a mosaic, calculation of a consumption of material and fits into any interior.

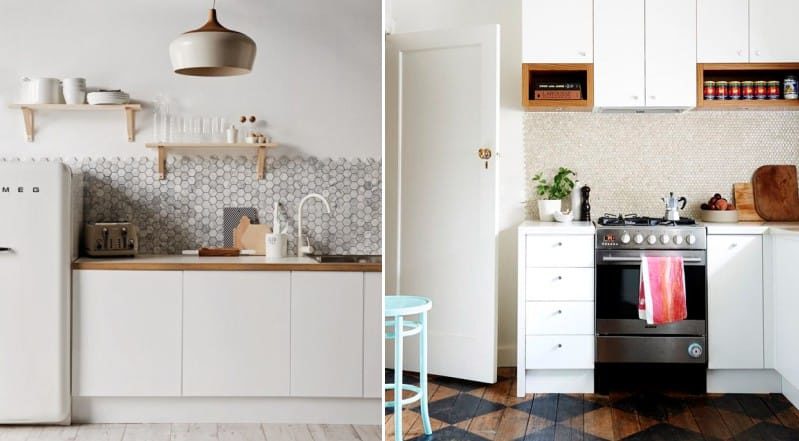
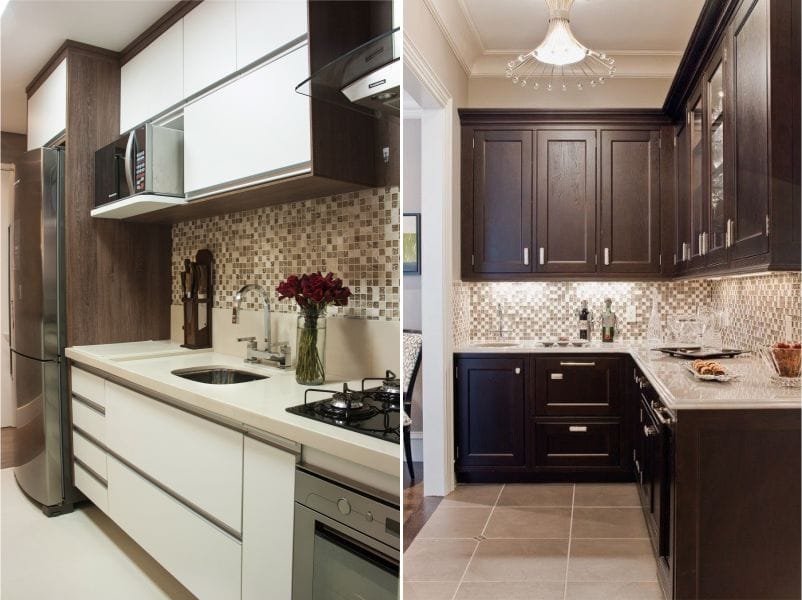
- Rectangular chips are also popular. But circles, triangles, rhombuses, hexagons and other forms are less common. In the next selection of photos, you can see mosaic aprons with chips of different sizes and shapes.
Some more useful information.
Mosaic details can be fixed in three ways:
- Polymeric jumpers are connected to each other;
- Glued to the polyurethane mesh (the mesh is located on the back of the matrix);
- Fixed on a paper base (paper is glued to the front of the composition, and removed only before grouting).
The worst option is the first one, since jumpers easily break during the process of laying the mosaic. The most convenient and reliable option is a mosaic on a grid that does not tear, so it is easier to glue it. In addition, the mesh in this case performs the function of reinforcement.
Step 2. Choose a beautiful design and good material
Now you can start planning the design of the apron, which can be divided into groups:
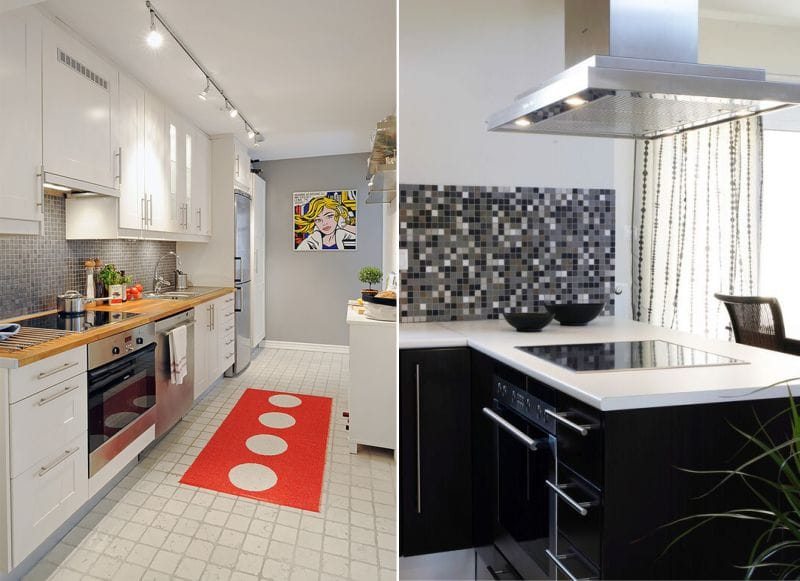
- Monocolor - when the mosaic on the grid is lined with modules of the same color and shape. The photo below shows examples of a kitchen apron from a mosaic of the same color in the interior.


- Mix - when the tile mosaic for the kitchen consists of different shades of the same color, all the modules with the same format. The more colors and shades typed in the mix, the higher the price of the apron.

- Stretch ("gradient") - characterized by the fact that the grid in the “stretch” is not square, but rectangular (1: 5), and the mosaic is laid out on the gradient principle - from saturated color to slightly saturated, for example, from blue to light blue. But this type of matrix is more often used for finishing bathroom walls.
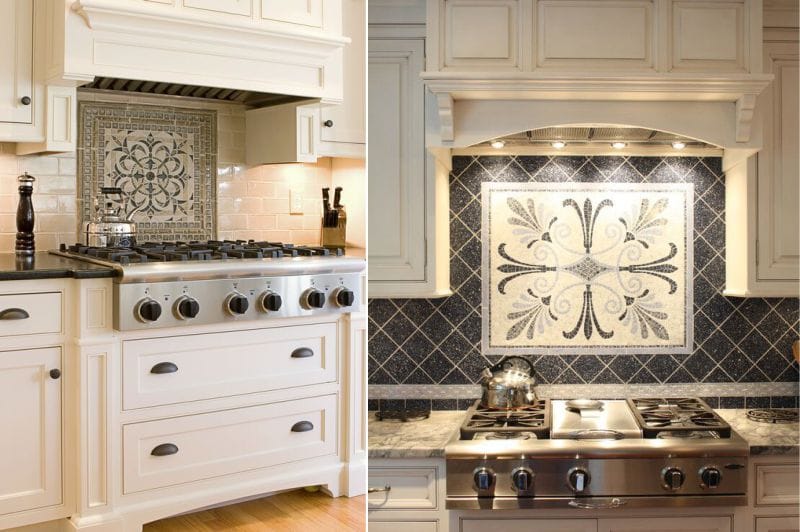
- Mural - when the factory mosaic on the grid is arranged in the form of a pattern or pattern.
The design of a kitchen apron from a mosaic and its performance also depend on the materials from which the composition is made.
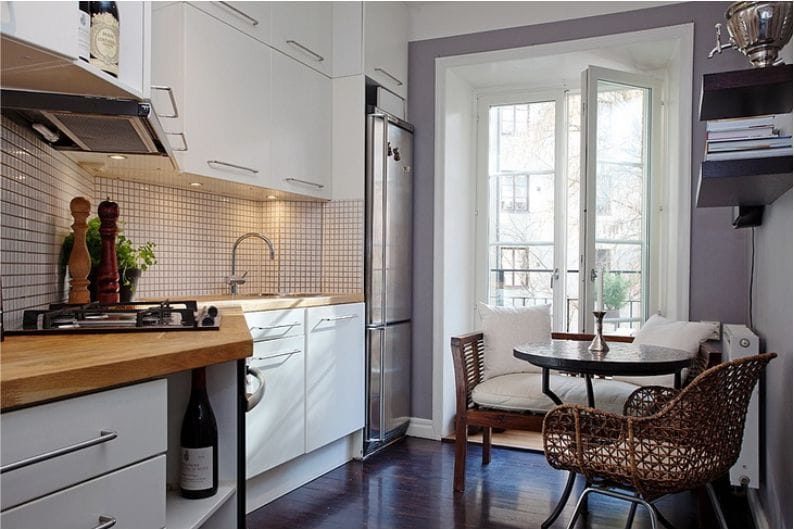
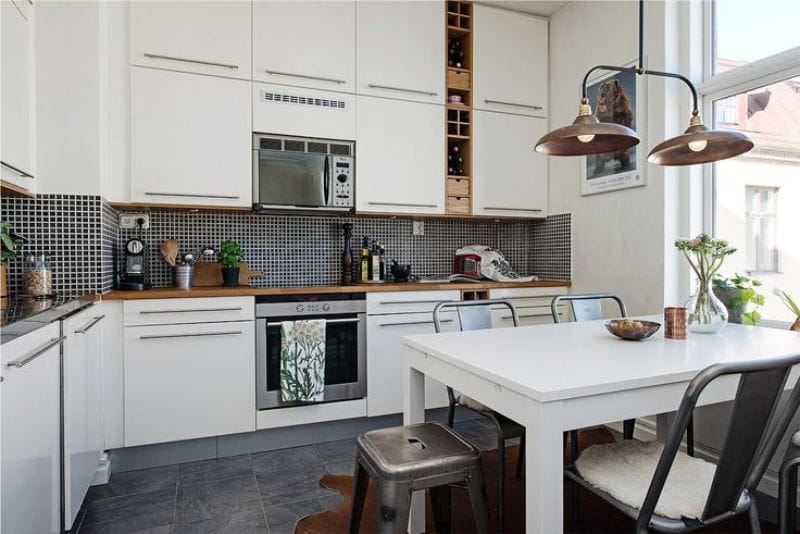
Ceramic Mosaic
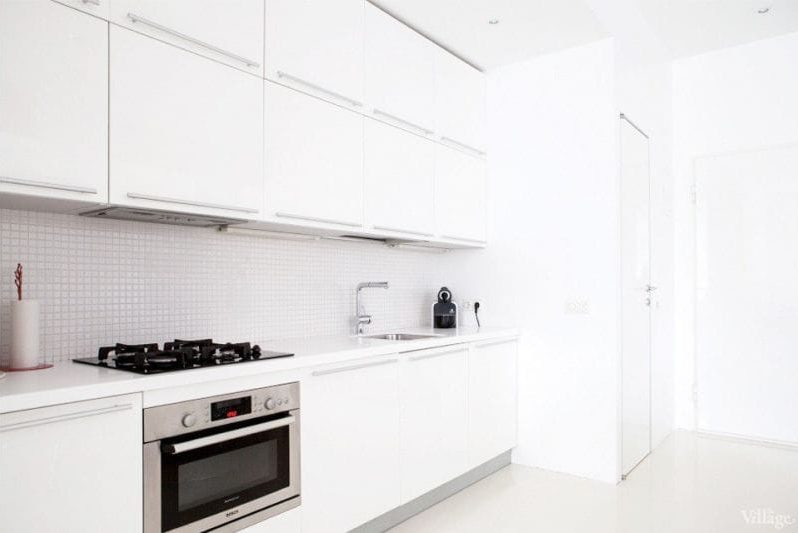
Ceramic mosaic is composed of molded ceramic tiles, therefore it doesn’t differ from large-format ceramics by its properties - it is the same wear-, thermo– and moisture resistant, variable in design and durable. But ceramic mosaic looks sleeker and more colorful, gives the impression of handmade, fits better into the interiors in oriental styles. Cons: It costs almost twice as much as a regular tile and requires more grout consumption. Glass mosaic ceramics loses in the variability of design and color range, but wins in the texture of the chips - the ceramic composition can be matte, glossy, rough, with the effect of antiquity, imitating pebbles and stone. The thickness of the ceramic mosaic is twice as thick as glass panels - 8-10 mm.
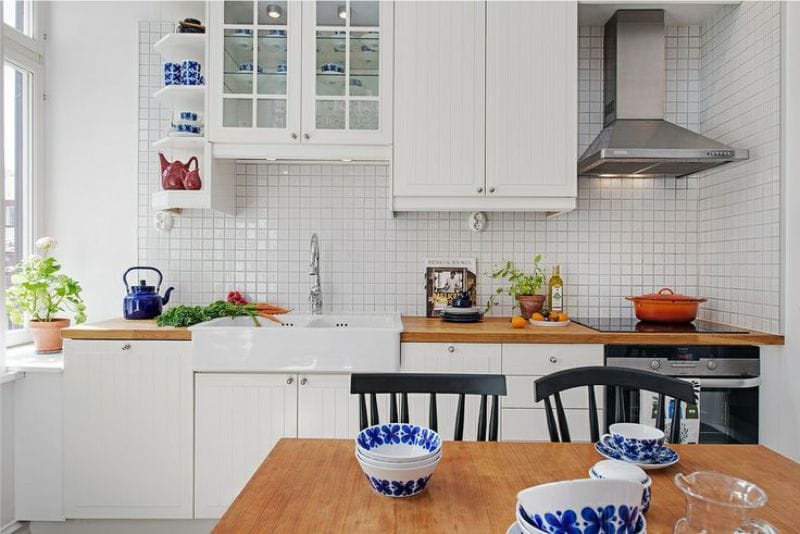
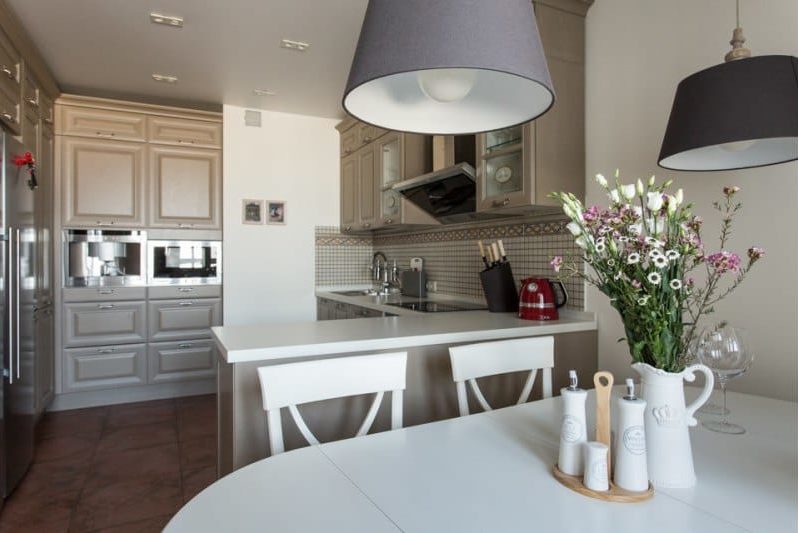
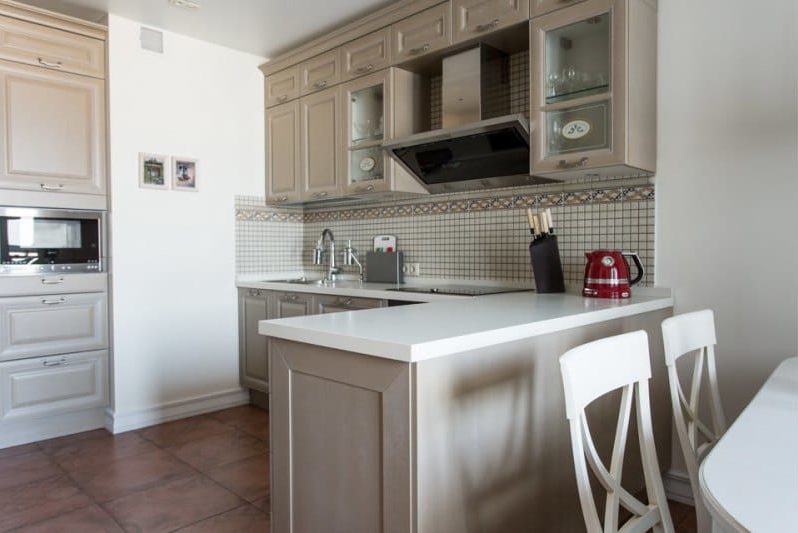
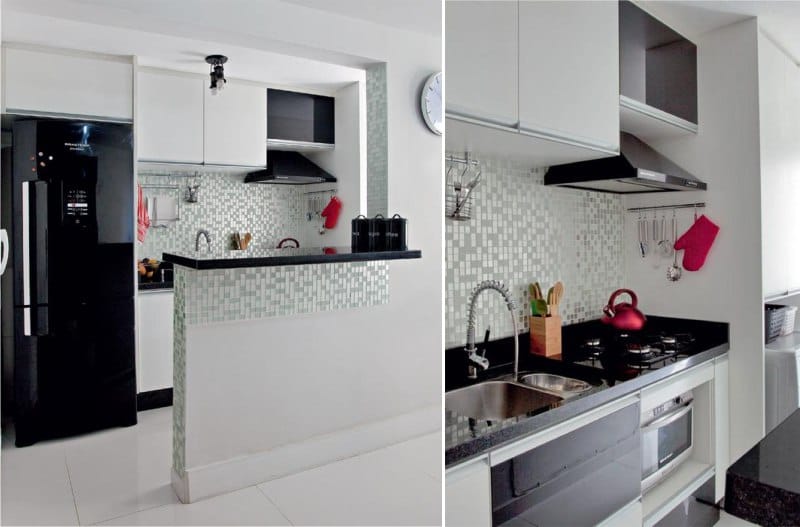
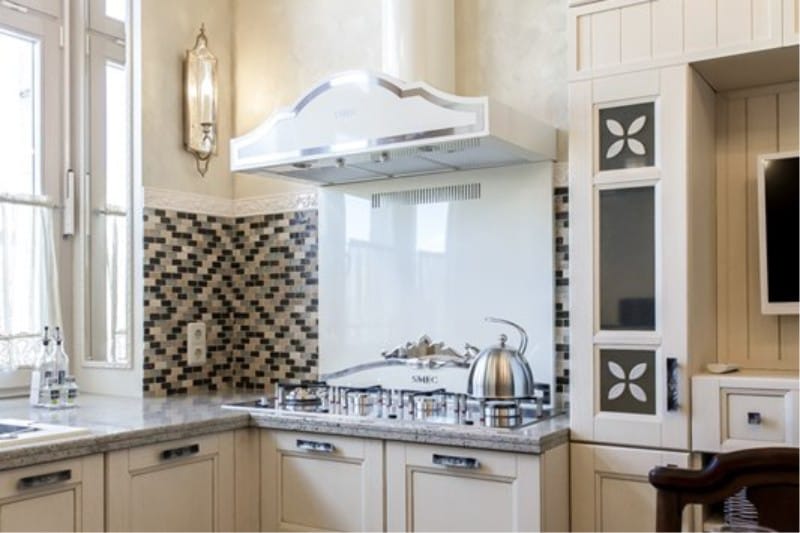
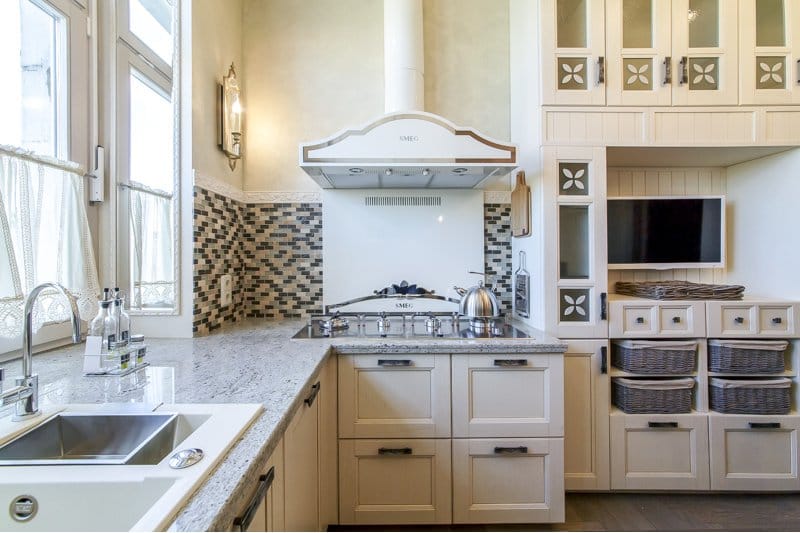
The following photos show the traditional white mosaic in the interior of the kitchen.
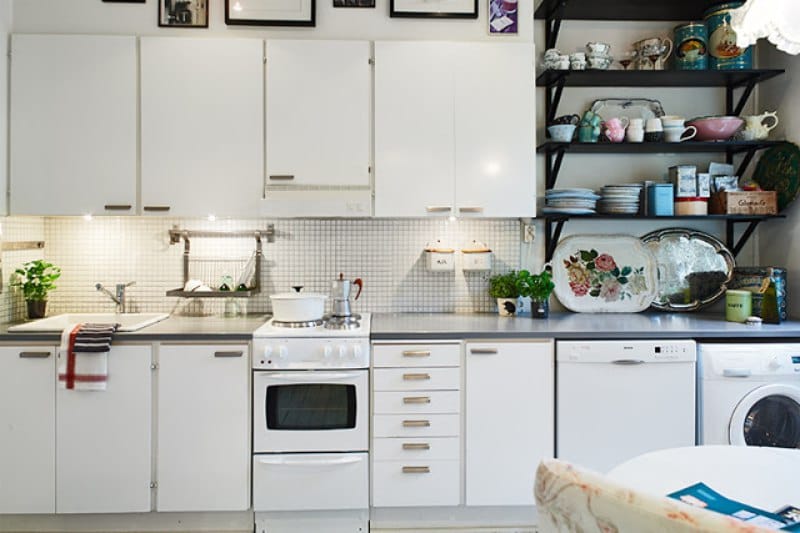
But the kitchen apron from the mosaic, complemented by a border and decor.
Glass mosaic
Glass mosaic is more popular than all other types of tile mosaic for the kitchen, as it looks beautiful, and costs less, while it is very easy to maintain and durable. Due to the high-temperature firing and the small size of the tiles (at least 2 × 2 cm), the glass mosaic is much stronger than ordinary glass, despite the same composition.
Conventionally, a mosaic of glass can be divided into:
- Uniform glass. Small glass blocks can be glossy and look like colored lollipops or dull, like pieces of glass turned by the sea. Also, sparkles, foil, minerals, etc. can be added to glass cubes.
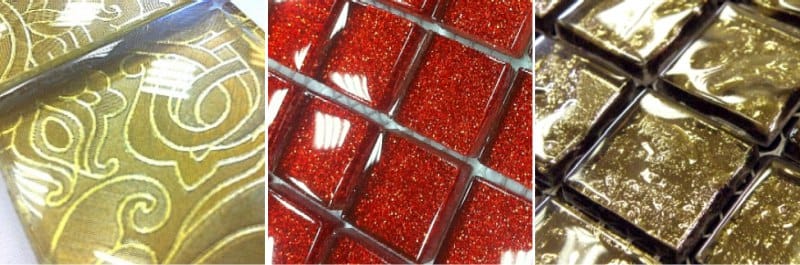
- Smalt. Smalt is a baked mixture of compressed colored glass with metal oxides. The smalt differs from glass by its very high strength (because of which it can even be laid on the floor), as well as by the saturated color, the effect of internal luminescence and man-made, since each tile of the smallest glass is slightly different in shade. Smalt can be very different depending on additives and coatings. For example, it can imitate nacre.
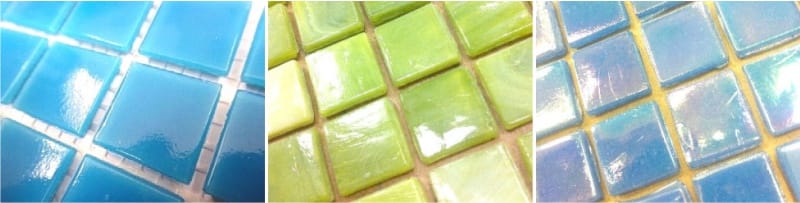
- Glass with added minerals. To obtain a mosaic tile similar to precious stones, glass melt is mixed with minerals aventurine or iridium. The mosaic is expensive, but very beautiful - with a shimmering or iridescent surface.
How to choose a grout for glass mosaic?
Glass mosaic is particularly demanding in the selection of glue and grouting, as incorrectly selected compounds can spoil the look of the apron with transparent, translucent and frosted tiles.
- The best grout for glass mosaic is a mixture of a light gray epoxy resin, and the best glue is white.
- Since glass, unlike ceramics, does not have pores, its adhesion to the surface is less durable, therefore special adhesives and grouting with increased adhesion from 20 to 28 kg per cm square are used for laying glass mosaics.
Stone mosaic
For its manufacture use a variety of stones and minerals: from marble to onyx. The stone is very durable and practically eternal, every natural stone is unique and unique, but it is still a porous material, therefore, in order to preserve its beauty longer, it should be treated with a special protective composition that fills the pores and facilitates the care of the apron.
- It is better to refuse to buy apron from soft and porous stones, as they absorb coloring food contaminants such as red wine or beet juice;
- The thickness of the stone mosaic is 8-10 mm;
- Stone mosaic belongs to the category of elite and expensive materials - facing 1 square. m will cost from 7,000 rubles.
The chips can be polished, rough, have a embossed or carved pattern, and even stone tiles can be combined on the same basis with glass, smalt or ceramics. By the way, the basis of them is always the grid.
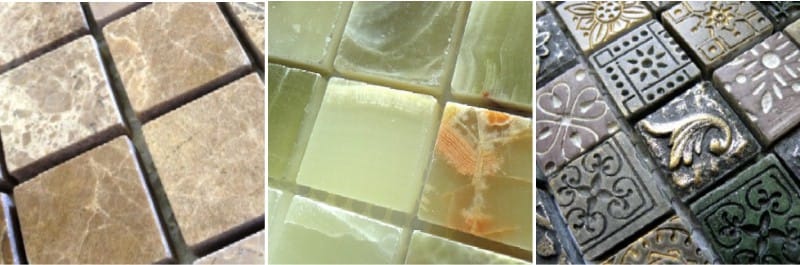
The photo below shows an apron of a mosaic with stone and glass chips.
Mosaic tiles of porcelain
Porcelain stoneware is an excellent alternative to ceramics and stone, as it is as durable as stone, but less porous and more affordable. Ceramic granite is superior in strength, but it loses in design variability - it has a less glossy surface and, as a rule, a neutral color palette - from beige to dark brown shades. In addition, ceramic granite mosaic is cut, rather than poured into molds, like ceramic tiles.
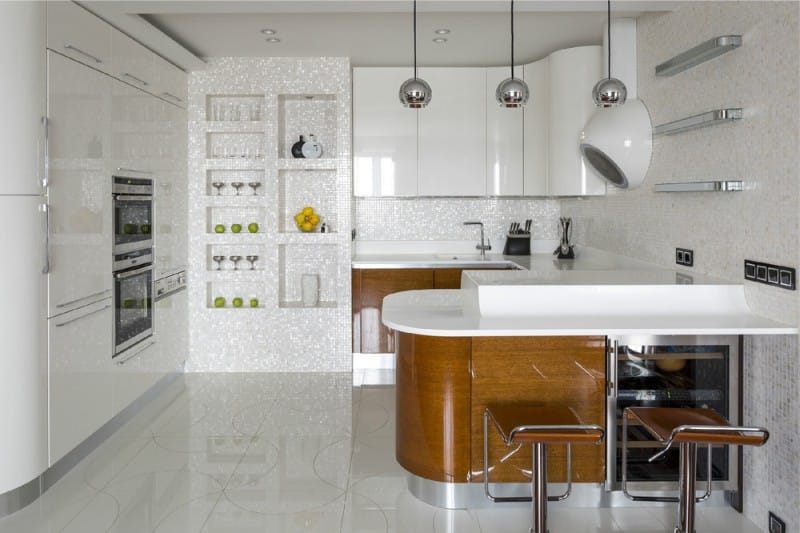
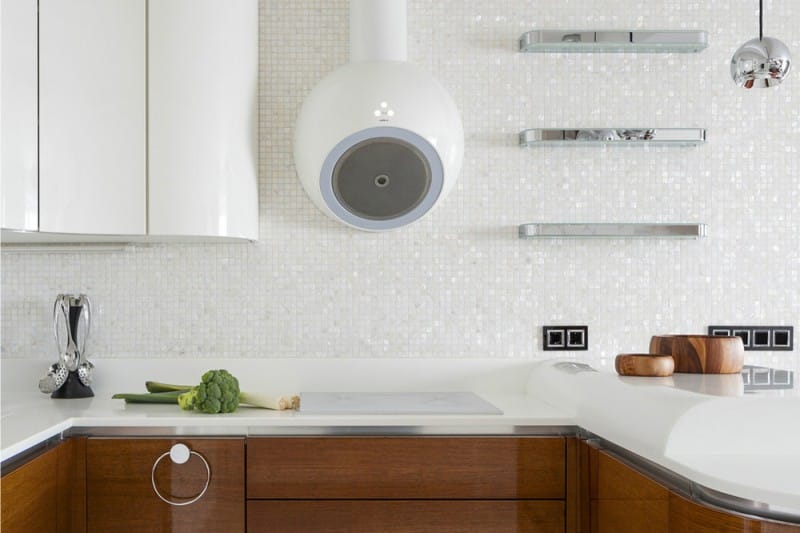
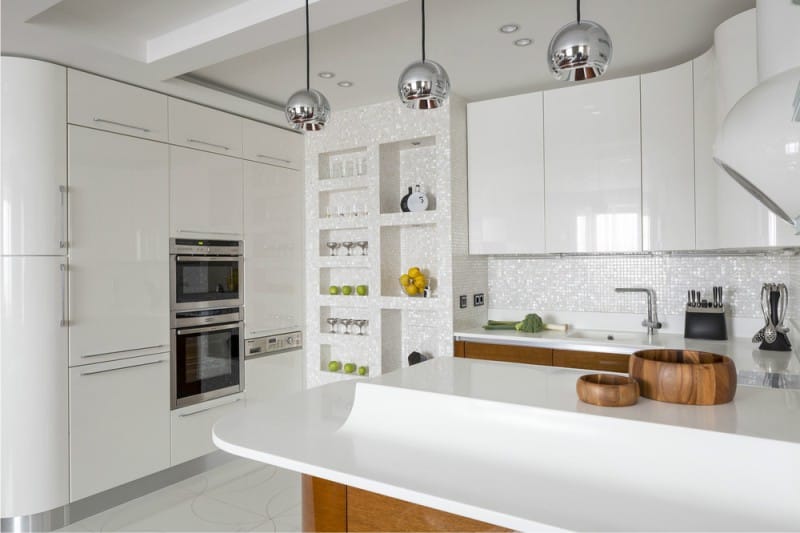
Pearl mosaic
Mother of pearl is one of the most beautiful finishing materials, possessing unique properties: reflecting and muffling the directional light, it makes it diffused and soft, at the same time iridescent with rainbow shades. If the mother-of-pearl mosaic is made of natural mother-of-pearl, then it will be quite expensive, but you can choose a mosaic of glass or smalt with mother-of-pearl coating.

Metal mosaic
Metal mosaic tiles are made of ceramics, rubber or plastic, which are covered with a layer of stainless steel, brass or bronze, resulting in chips of steel or gold shades. An apron made of metal mosaic will be practical and reliable, and yet - the metal decorative coating is subject to abrasion.
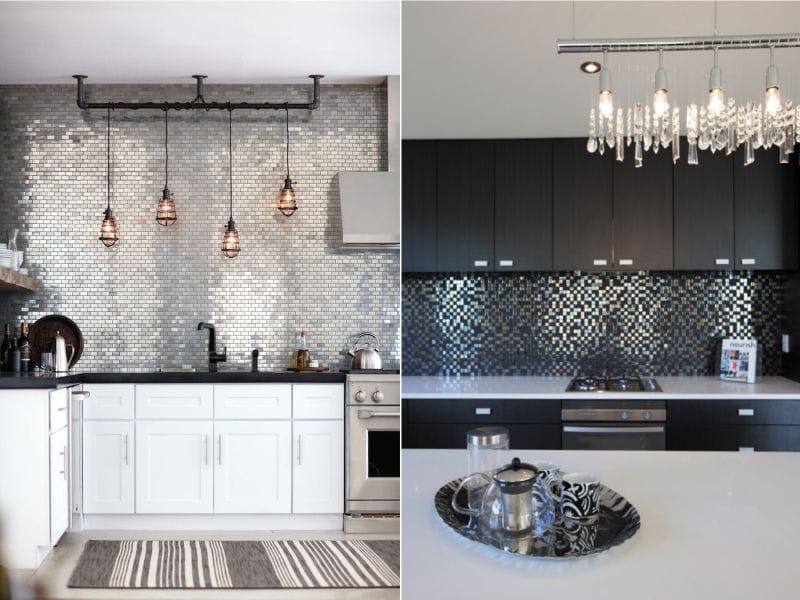
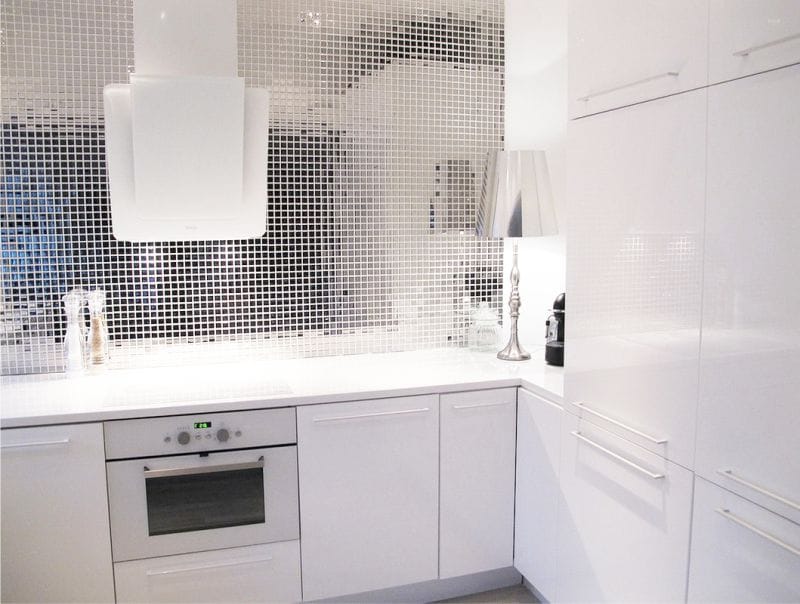
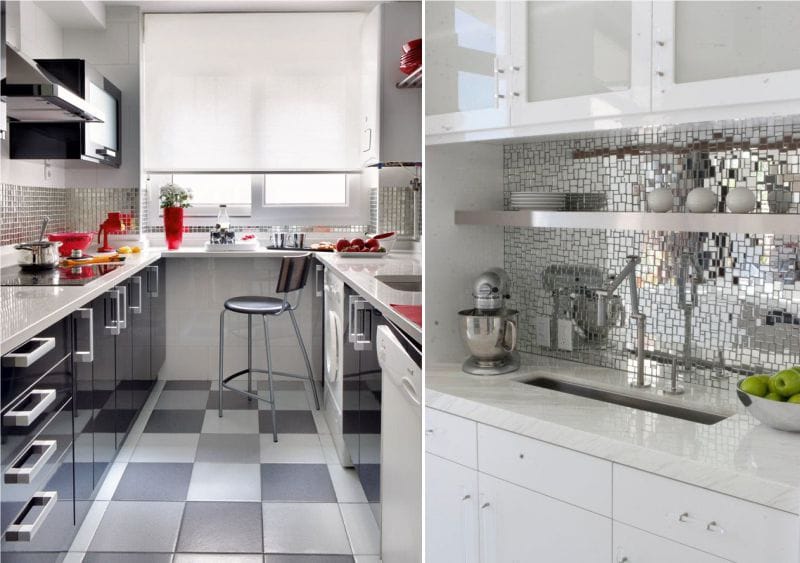
Mirror mosaic
Mirror mosaic is composed of pieces of mirrors and has a thickness of 5 mm. It is quite wear-resistant, but requires a little more frequent maintenance. Mirror chips can be tinted and most often come in a rectangular or square shape. The photo below shows the interiors of kitchens with a mirror mosaic on an apron.
Some more useful information.
- The most popular options are glass mosaic and, of course, ceramic. In these categories you can find both excellent budget (600-2000 rubles / 1 sq. M) and exclusive expensive panels. A fully affordable kitchen apron will also come from a metal mosaic (500 rubles / 1 sq. M). All other types of tiles are significantly more expensive.
- As a rule, the brighter and richer the color range of the mosaic tile, the higher its price. The most inexpensive designs are monocolors and mixes of white, light beige, brown and gray tones without decorative additives, because their production is less complex and expensive. If the color palette of the mosaic is bright, multicolored, decorated, with flickering effects, etc., then the price will be much higher.
- If the full facing of the apron mosaic does not fit into the budget, then you can use it as a decor ceramic tiles. The photo below presents examples of such a combination in the interior of the kitchen.
Step 3. Choose grout and glue
- Grout for mosaic is based on cement or epoxy resin. The first option is easier to apply and distribute, more suitable for laying mosaics with your own hands, and it is cheaper. But it doesn’t stand up to frequent washing, absorbs household pollution and darkens over time, spoiling the appearance. Epoxy based mosaic tile grout is considered the best both in terms of adhesion quality and performance characteristics - it does not absorb moisture or dirt, is not afraid of frequent cleaning of joints using household chemicals and does not change its color. If you want to make the seams white, the mixture based on epoxy resin will be especially relevant.
But the "epoxy" there are also disadvantages: high cost and capriciousness in mashing the seams, as the mixture dries quickly. It is very difficult to cope with this task with your own hands, therefore it is better to entrust the laying of the mosaic to a good professional.
- Glue for facing kitchen apron mosaic tiles must be waterproof and preferably anti-fungal;
- The most versatile grout color is light gray and white. You can also choose a mix to match the kitchen apron, or contrast.
- Glue for glass mosaic must be white.
Step 4. Laying the mosaic on the apron with your own hands - step-by-step instruction
So, the tile mosaic for the kitchen is selected, glue, grout and auxiliary materials are prepared, it remains only to lay out the mosaic on the apron.
- Doing your own hands with a mosaic is not very difficult if you use a cement-based, not epoxy resin trowel. Otherwise, and if you use an expensive mosaic, it is better not to risk it and invite the master.
Stage 1. Preparation of the apron base
The wall under the future apron should be aligned, clean and completely dry - you can start laying the mosaic only 10 days after the completion of the preparatory work. For finishing alignment it is better to use white putty.
Stage 2. Marking
To the size of the seams was the same, and the apron neat, the mosaic on the grid or paper base is laid out on the floor with the same interval equal to the size of the seams between the chips. Then, the resulting layout is consistently and accurately transferred to the wall, marking the dimensions of sheets and seams. The more accurate the markup, the faster and easier the laying of the mosaic will be.
Stage 3. Dilution of glue
Now you need to dissolve the glue according to the instructions to a creamy state with the help of a drill with a mixer nozzle. It is better not to prepare the entire volume of the composition at once, so that it does not have time to dry, because it is impossible to dilute the dried glue with water.
Stage 4. Laying mosaic on the apron
In order to glue the mosaic to the wall, glue is applied first with a smooth trowel, then leveled with a 3 × 3 cm square tine spatula. Next, the layout is started according to the marking, and then fixed, slightly tapping it with a rubber trowel. At this stage, the tile can be aligned, if necessary - cut (photo 1-3).
- When laying and fixing the mosaic, try not to press it hard - the glue should not be squeezed out of the seams. If this happens, then you need to choose a spatula with teeth of a smaller size. It may also mean that the surface of the wall is uneven.

Stage 5. Mashing
As soon as the glue dries (about 3 hours), the paper or film on the mosaic should be removed.
- If the mosaic is on a paper basis, then it must be removed, having previously soaked with a sponge with warm water. The film is removed diagonally, the glue from the base is washed off with a sponge (photo 4, 5).
Now you can start mashing the seams. To do this, trowel the mixture, slightly pressing, put a rubber trowel and spread over the mosaic vertically and horizontally, simultaneously removing the excess diagonally. After 30-60 minutes (when the grout began to harden, but not yet dried), the remnants of the mixture begin to wipe with a damp sponge, without washing it out of the joints (photo 6). If the grout is badly washed off, you can additionally wipe the mosaic with an alkaline solution, and then wash it off in a timely manner. Well, that's all, it remains only to polish the apron with felt or a bike (photo 7).

 (Rate the material! Already voted:36 average rating: 4,64 from 5)
For more information about the process of laying a mosaic with your own hands, see the following video.
- Plastic panels in the decoration of the kitchen apron and walls
- How to choose an apron for the kitchen - Help for the buyer
- Plastic apron - information for customers
- All about glass aprons for the kitchen - from skins to Plexiglas
- Apron from the tile "hog" in the interior of the kitchen - from the choice of design to the installation of their own hands
- MDF wall panels in the apron and kitchen walls
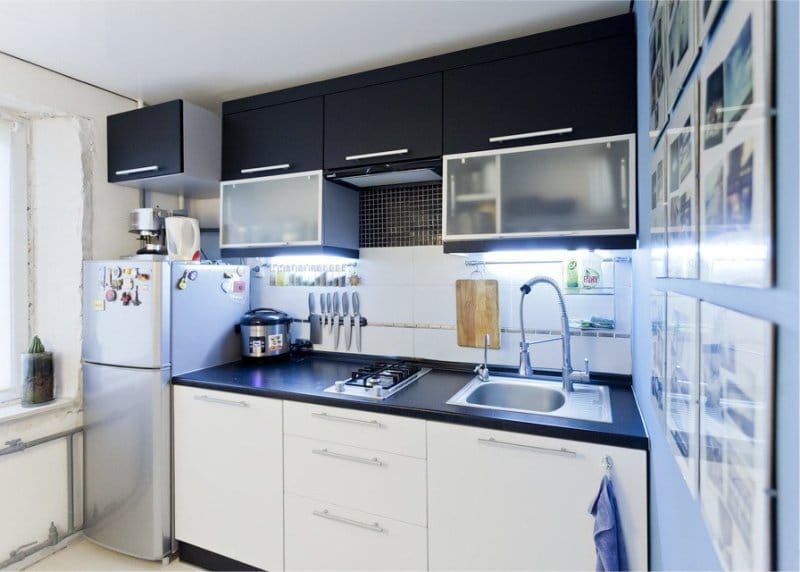
Can you say what kind of glass mosaic is used in your example of black and white kitchen? And what mozayka in the example with pearl?