Most often, laying tiles on the floor is trusted by professional master tilers and they do it for a reason. After all, the durability and beauty of the coating strongly depends on the quality of laying, and the process of work itself is very complicated. However, even a beginner can put a flat tile with his own hands on a fairly even base and according to the standard pattern “seam in the seam”. The main thing is to choose the right mounting solutions and strictly follow the technology. This will help you our step by step instructions with photos and a selection of useful video. This theory of laying tiles will be useful to those who need to control and accept the work of tilers.
Materials, tools and equipment
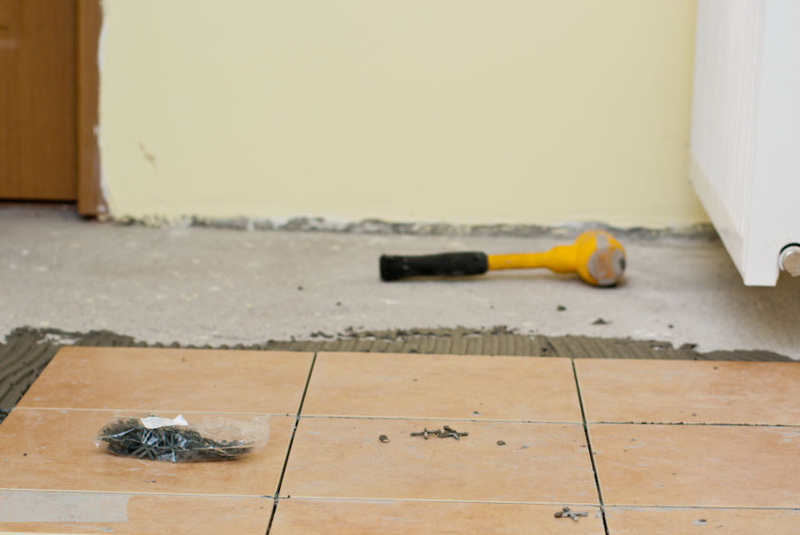
Here is a list of materials and tools that you will need in the process of laying, cutting and grouting floor tiles.
Tools and equipment:
- Roulette, metal ruler and corner;
- Construction pencil for marking;
- Construction level and rule;
- Construction mixer or drill with a mixer;
- Tile cutter or electric tile cutter;
- Kern or glass cutter (needed for curvilinear tile trimming);
- Cutting pliers for tile (for cutting curvilinearly);
- File (for grinding cut edges);
- Putty knife;
- Notched trowel (6-8 mm);
- Master OK;
- Rubber spatula for grouting;
- Rubber mallet;
- A bucket with a sponge and a rag;
- Kneecaps and hoz. gloves.
Materials
In addition to the tile itself with a 10% margin, you will need:
- Tile adhesive appropriate to the base material (for concrete, wood, old tile, etc.), as well as the characteristics of the tile itself;
- Crosses of the desired size;
- Grout the desired color;
- Primer.
See also the material: All about ceramic floor tiles in the kitchen.
Step 1. Preparation of the base
First you need to prepare the base so that it is smooth, clean and dry. Laying the tile is preferable on the concrete screed, but if desired, you can put on the old tile or wood, chipboard (or other similar material). However, keep in mind that when installing tiles on old cladding, the height of the final floor will increase.
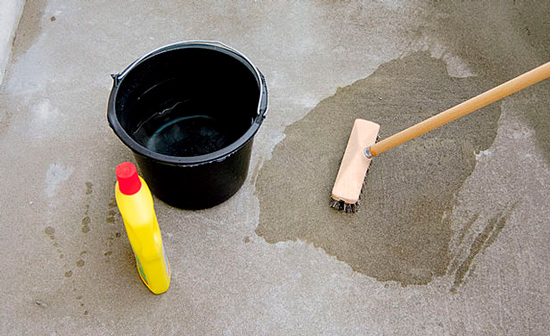
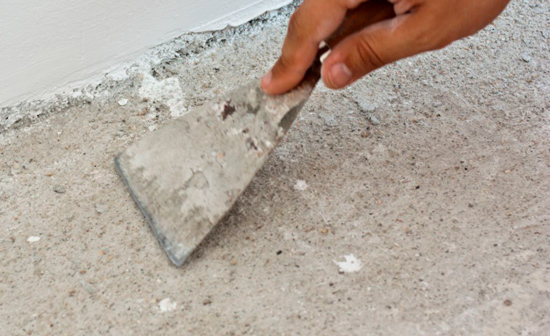
To put a tile on a concrete screed, you need: remove any possible roughness with a scraper, vacuum the floor, wash with an alkaline detergent, then coat with a layer of primer (preferably) and wait 2-4 hours until the floor is completely dry. Further, if the concrete base is uneven (deviations of more than 5 mm for 2 running meters), then it must be poured with some leveling compound and wait for drying.
To put a tile on an old tile you need:
- To improve the adhesion of the old tile with glue, it is passed through with an emery paper or a sander;
- Then the coating is vacuumed and washed, if necessary, treated with a primer (drying is required in 2-4 hours) and covered with a self-leveling mixture.
Attention! Laying the tile on the system of warm floors, turn off the heating 1-2 days before the start of work. It is possible to turn on the heating or underfloor heating only 2-3 days after grouting. For laying ceramic tiles on the “warm floor” you need to use glue with a high content of elastic polymers, which will prevent thermal deformation of the base.
Step 2. Drawing the markup
As soon as the floor is dry, you can start drawing the markup. There are many ways of drawing markup, but all have the same goal:
- The floor must be laid out so that, firstly, the trimmed tiles are not visible; and secondly, trimming was required as little as possible. Ideally, tiles should be trimmed to a third or maximum to half.
For example, the markup can be constructed in such a way that whole tiles are placed at the entrance, along the axes of the window opening or, say, at the threshold of a balcony door. In our article we will consider one of the most popular ways of laying tiles on the floor - along two perpendicular axes from the center of the doorway.
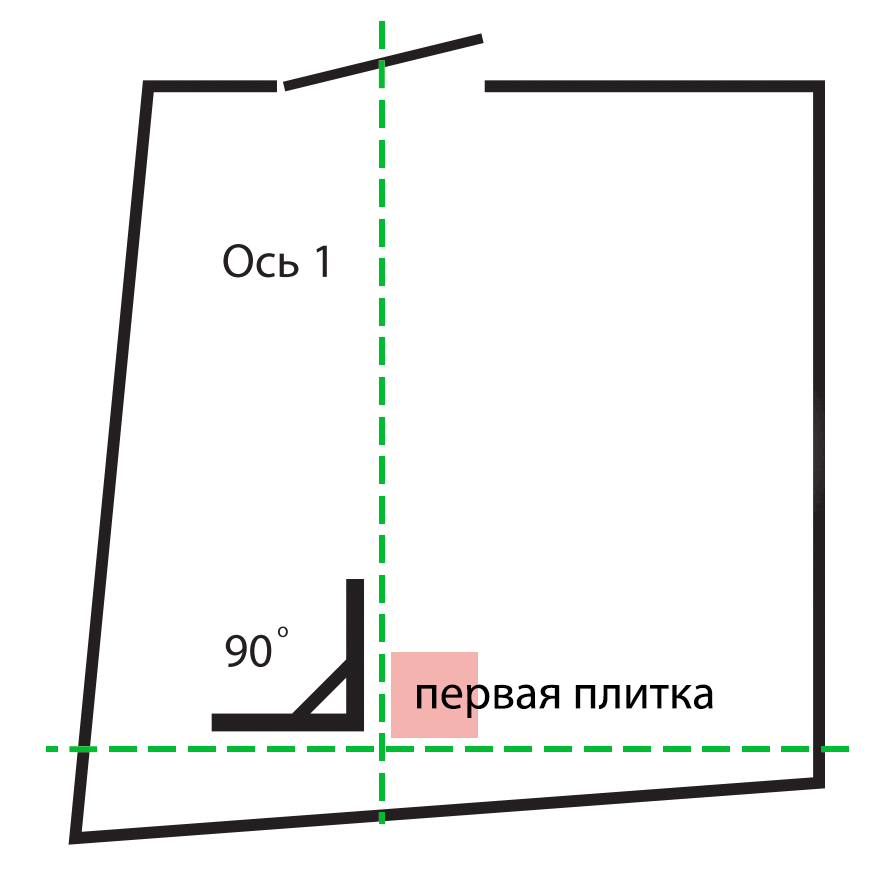
So, draw a line from the center of the threshold to the center of the opposite wall with a cord or laser level. Further along this line begin to lay a row of tiles with crosses "on the dry." Having laid the last whole tile, draw a line along its outer edge so that you have two strictly perpendicular vertical lines as in the diagram below. It is desirable with the help of a square to make sure that the angles are right at 90 degrees.
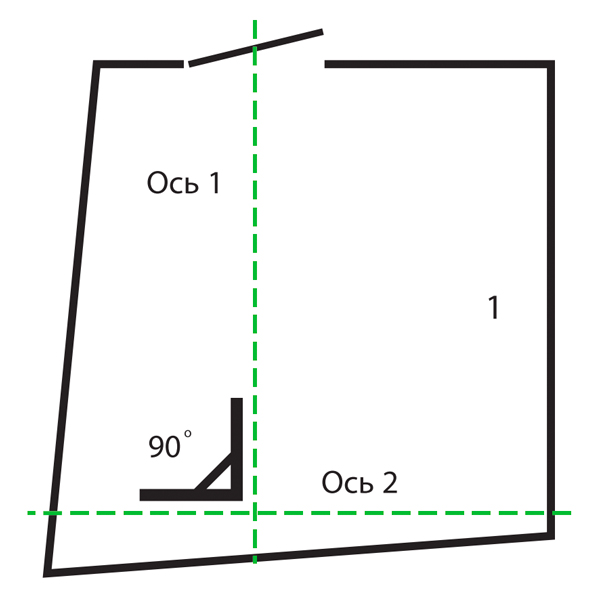
In the corner of the perpendicular, we glue the first tile, and from it lay the first row (along the horizontal line).
Step 3. Laying the first tile and the first row
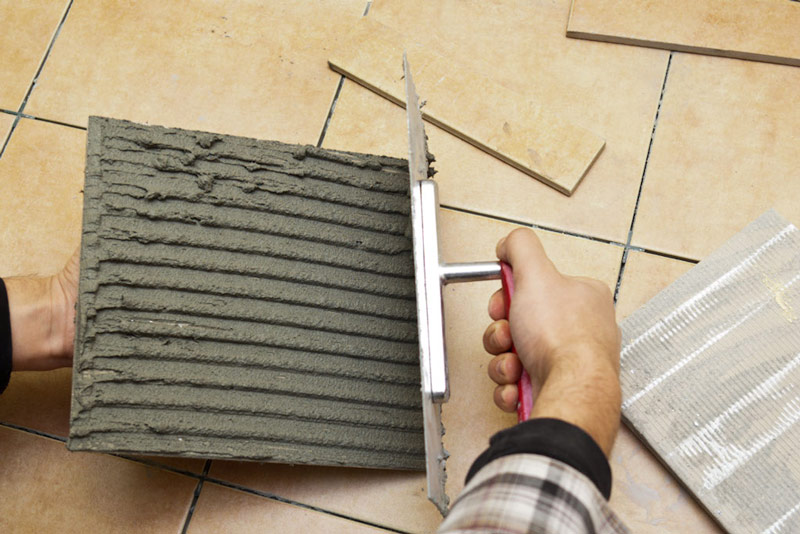
Dissolve the glue in the bucket according to the manufacturer's instructions, apply it with a spatula to one of the corners of the intersection and at the same time onto the area of several tiles of the future first row, slightly going beyond it. Then level the glue with a notched trowel, holding it at a 60 degree angle. Try to always keep the “comb” at the same angle so that the glue will be of the same thickness.
Attention! If the tile has a size of more than 30 × 30 cm or 20 × 30 cm, then the glue should be applied to the tile itself with a thin layer (put glue on the tile and immediately remove it almost completely with the same spatula). For very large formats, a layer of glue on the tile can be put thicker and thinned with a notched trowel as shown in the photo below.
Next, put the tile on the glue, adhering to the marking lines and gently tap on it with a mallet to align.
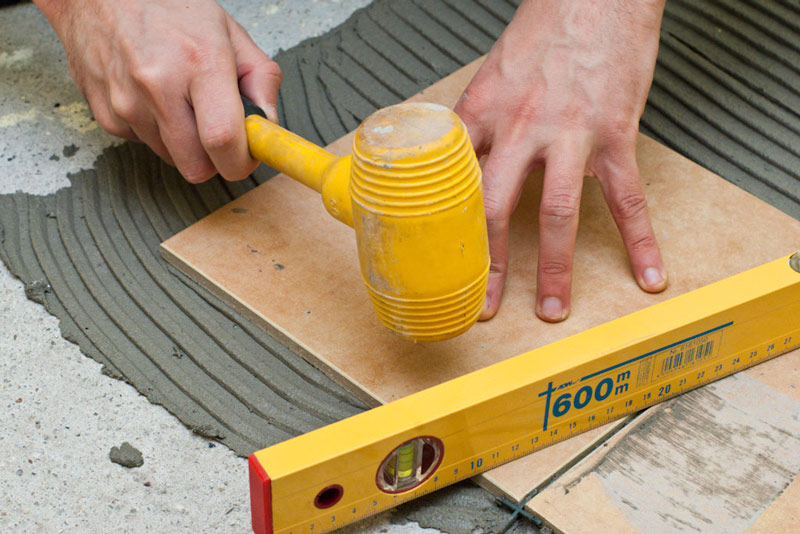
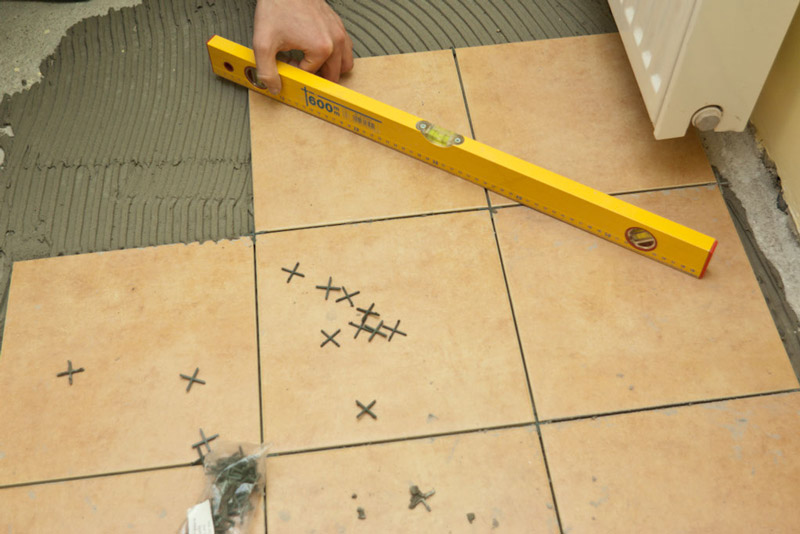
Then, in the same way, you should glue the second tile and level it with the first one with the help of a mallet and a rule. Make sure the tiles are laid flat by attaching the building level directly to the two tiles at once as shown in the photo below.
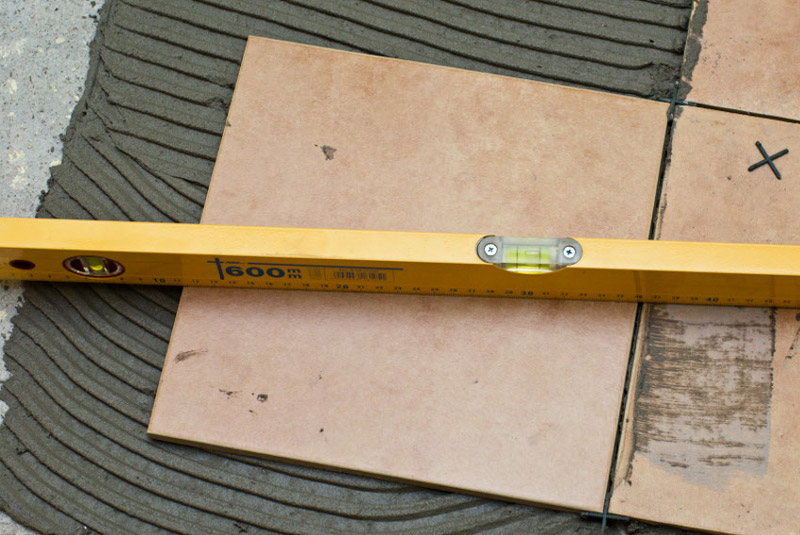
Check the height of each tile laid with the previous one. If necessary, remove excess or, on the contrary, add glue
Only when both tiles are aligned, insert the crosses along the corners of the tiles and into the seam.
Now continue to glue the tiles in the same way until the entire first row is ready. Go over it once again with the rule and check the level flatness.
Next, collect excess glue around the edges of the row, between the tiles, on the tiles and proceed to the next row.
A few rules and helpful styling tips
- The base of the floor and tiles should always be dry.
- Try to apply glue no more than on 1 running meter of the facing area at a time.
- Glue that has stood for more than 30-40 minutes becomes unsuitable for work (with the exception of adhesives from some manufacturers). Therefore, try to knead the glue slightly.
- So that the glue does not dry on the comb, constantly soak it in water.
- Crosses need to have time to clean up the glue to dry.
- It is not advisable to rest your knees on the laid tile, as this may break its flatness.
- The tile is worth taking from different boxes, so a small raznoton will be imperceptible. Before starting work, be sure to check that the tone indicated on all boxes is the same.
- On the back of the tile is always the manufacturer's logo, which allows you to understand where the tile is up and where is the bottom. Sometimes the tiles have a special marking designator for the masonry, which for convenience can be additionally marked on the tile end with a pencil.
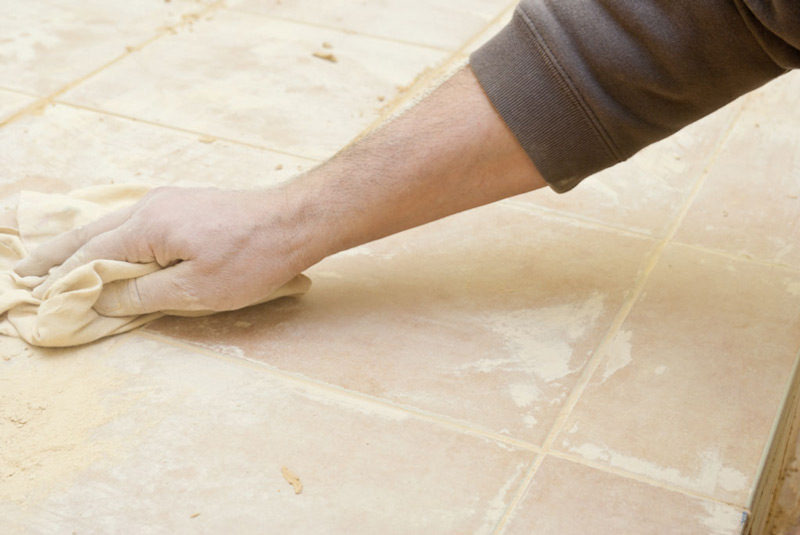
- Manage to remove excess glue before it dries. It is best to remove it from the tile surface with a cloth moistened with solvent.
Alternative way of marking and laying the first row
Do not want to bother with markup? Then act in the old manner - start laying tiles from the most visible angle. If you put the tile on the floor in the kitchen, then you can start laying with the wall opposite the headset, then a number of cropped tiles fall under it.
You can learn more useful information on marking and laying tiles on the floor with your own hands from this video.
Step 4. Laying the remaining rows, cutting tiles
Hurray, the first row is ready and now, focusing on it, we can lay the second row of cut tiles (see the picture below), and then all the rest.
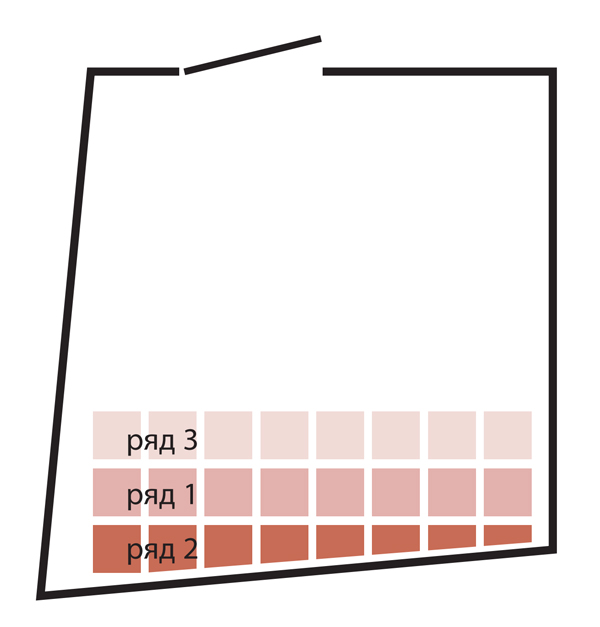
- Attention! The first row consists only of whole tiles, cut tiles are put later (in the diagram, the “cut” row is designated as row 2).
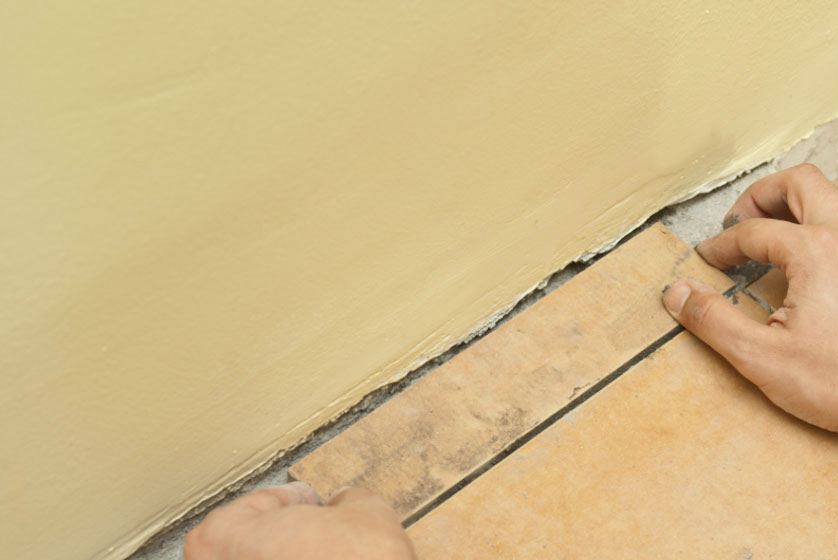
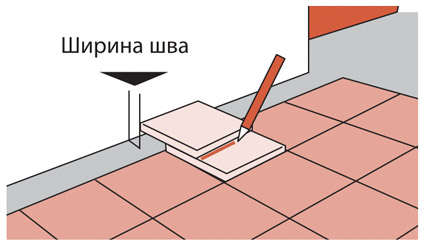
How to cut the last floor tile adjacent to the wall? The first thing you need to determine the line of its cutting: put it on the already pasted penultimate tile, put another tile on it and move it to the wall, but not reaching the wall at a distance of one joint. Along the outer edge of this tile, draw a line on the enclosed tile. This line is the cut line.
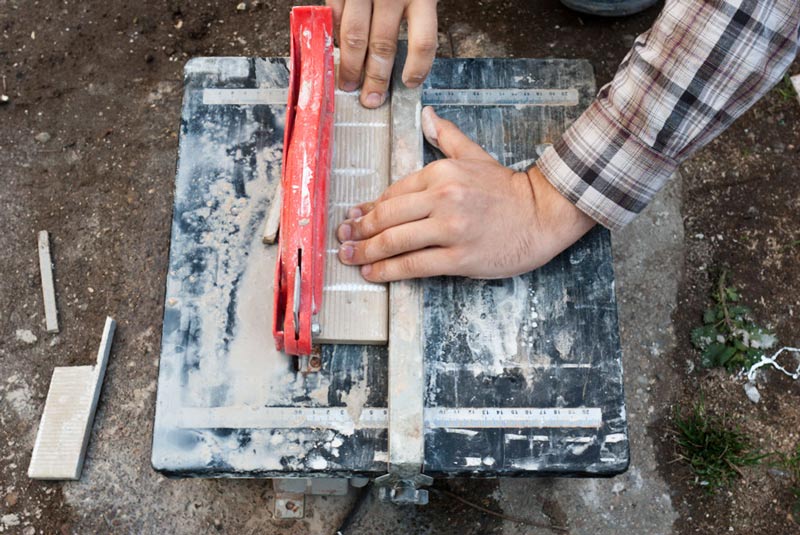
To cut a tile it is possible in the different ways and devices. Ideally, you should use a manual tile cutter or an electric tile cutter (see photo above), if there is no such tool, then use a grinder. However, if the floor tile is ceramic and not very thick (up to 9 mm), then you can use the old construction trick and cut it ... with a regular glass cutter as shown in this video.
How to cut tiles curvilinearly? Paste masking tape on the tile to be cut to prevent the decorative layer from being chipped. Then with a pencil, mark the rounded line of the cut, say under the pipe. Next, drill several holes along the intended rounded line using a carbide drill (suitable for ceramic granite tiles). And finally, with the help of wire cutters, pliers and special tile tongs, gently break off the unnecessary part. Sand down the cut point with a file.
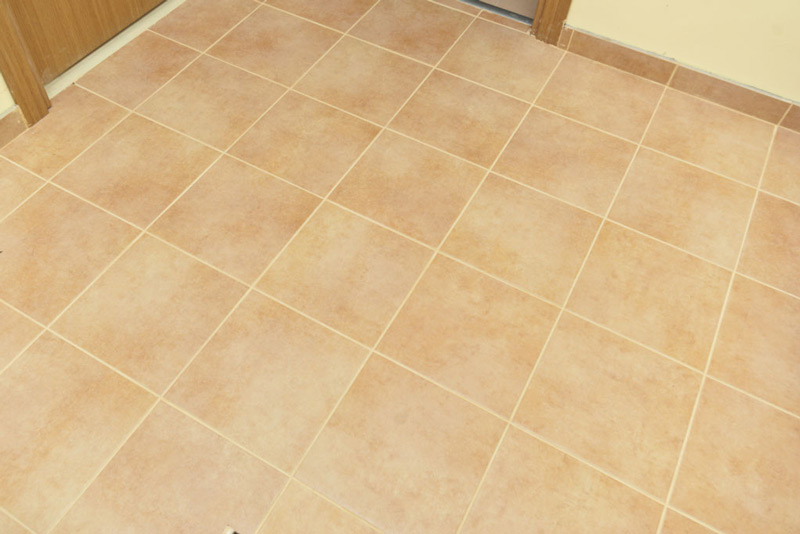
When you cover the entire floor, make sure all crosses are removed and leave the cover to dry for 24 hours.
How to trim the floor tiles with a grinder L-shaped, for example, under the ledge of the ventilation channel, you can learn from this video.
Step 5. Grouting
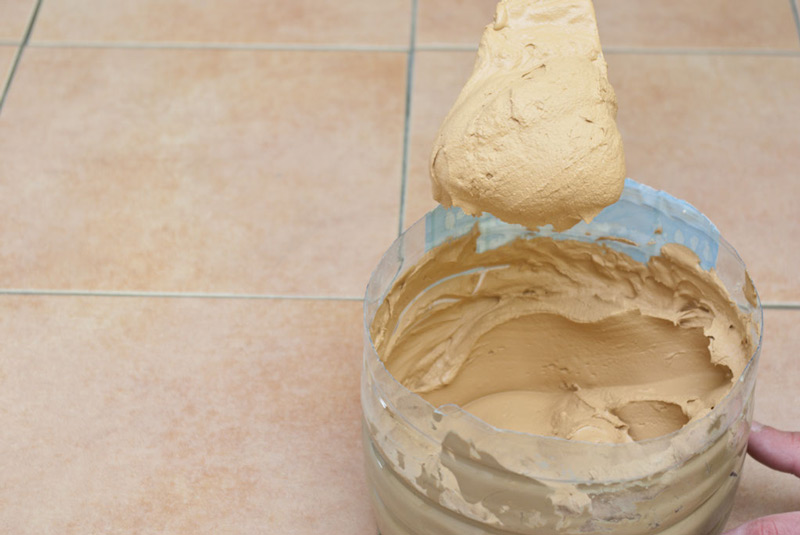
After 24 hours, you can begin grouting. To do this, first lightly wet the joints with a spray gun or simply with a wet cloth to improve the grip of the grout, and then dilute the trowel mixture.

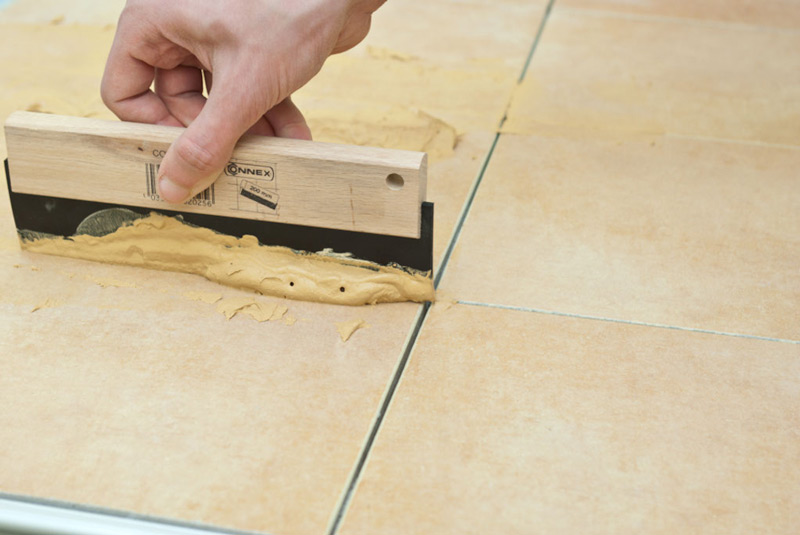
Holding the rubber spatula at an angle, apply a mixture for the joints of about 1 square. meter the floor and distribute it so that all seams are completely filled. But be careful and do not try to force the grout into the joints.
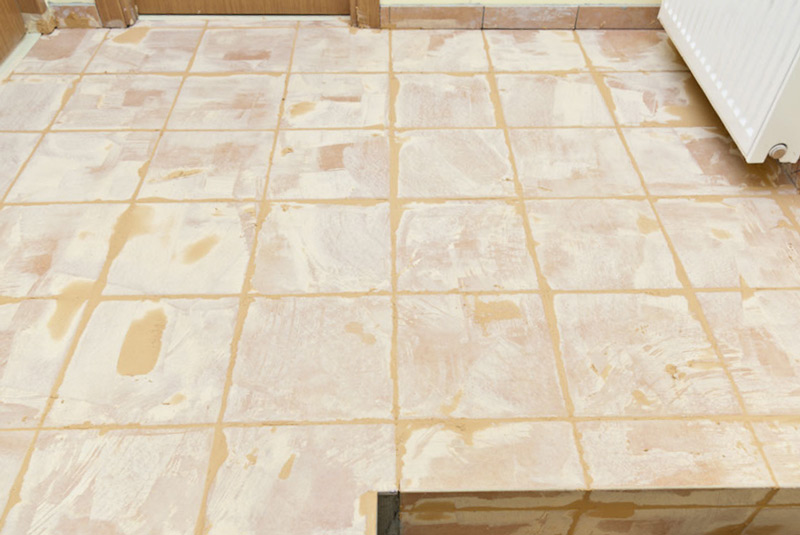
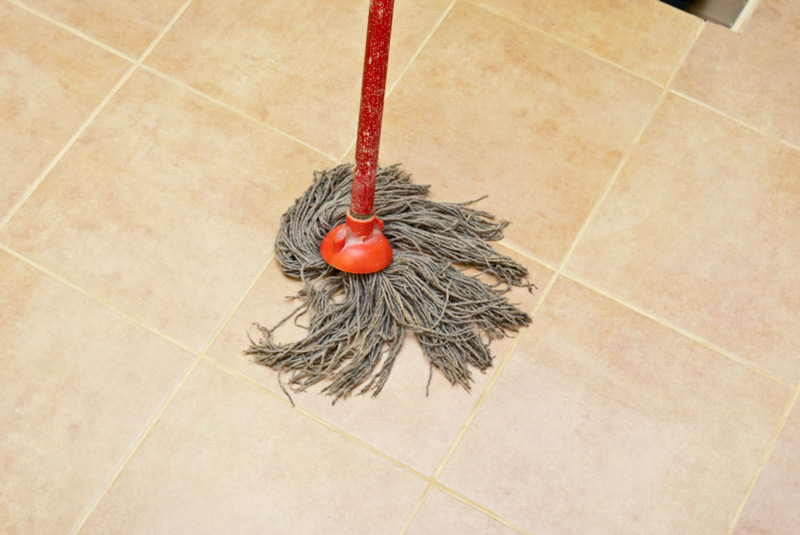
After 15-30 minutes, remove excess grout with a damp sponge. In the same way, continue to rub seams on other parts of the floor, except for joints along the walls. An hour after you grind the entire surface of the floor, it can be washed clean with water or mild detergents.
After a week, the seams can be additionally coated with sealant.
Attention! Walking on a freshly laid tile floor is not recommended for the first 2-3 days, ideally - 7 days.
See also: All about grouting for tiles - ranking the best manufacturers and a 4-step optional guide
To learn more information about how to properly wipe the seams of the floor tile with your own hands, we recommend you to watch the following video lesson.

 (Rate the material! Already voted:12 average rating: 4,83 from 5)
- How to join tile and laminate with or without a threshold - 5 solutions
- Gender is relative: choose flooring for the kitchen
- Self-leveling kitchen floor
- Cork flooring - 99% ideal floor covering for the kitchen
- Floorboard in the kitchen - all the pros and cons
- Everything about linoleum for the kitchen - compare, choose and lay your own hands
- Porcelain tiles in the kitchen - 99% perfect floor