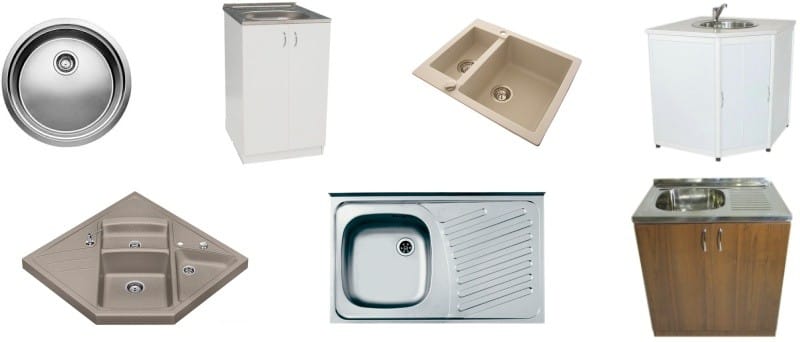
Sink in the kitchen has a strategic role, so you need to choose and install it yourself.
Choosing a kitchen sink and preparing to install it
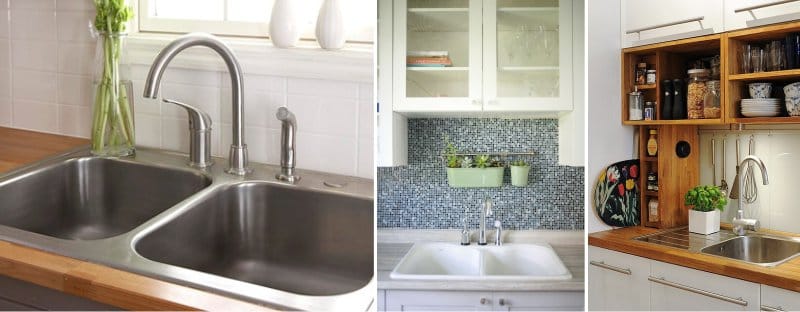
Before you decide how to install the sink in the countertop, you need to decide on the choice of product. The best option is to connect a deep sink and a mixer that is not too high - in this case there will be a minimum of splashes when washing dishes. The sink should be deep so that it would be convenient to wash the dimensional pots or fold the plates after a family dinner.
Material matters also - it is easiest to connect a traditional stainless steel sink by yourself. Enameled steel will also be a good solution.
Installing a kitchen sink with your own hands requires the following tools, materials:
- Sealant;
- Self-tapping screws and screwdrivers;
- Jigsaw;
- Fasteners (as a rule, they come with the product).
Tip! Before you fix the kitchen sink, you should carefully treat all the seats with sealant. This will provide high-quality waterproofing and chipboard protection from damage due to high humidity.
Types of kitchen sinks
Installing a sink in the kitchen with their own hands can be done using various technologies. Selects the method of installation, depending on the type of construction of the sink:
- Invoices are considered the most budget and easy to install by hand. The sink is put on a separate cabinet. The disadvantage of this option is that gaps remain between the sink and the pedestal.

- Mortise mounted directly on the countertop, for which you need to cut out the corresponding hole.

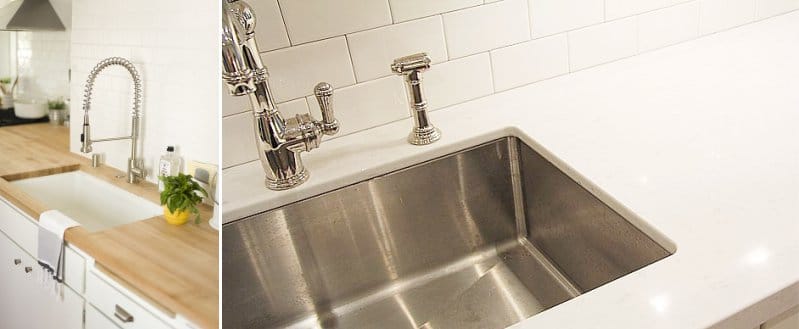
- Under-table sinks belong to the more expensive segment, they are fastened below the table top, thanks to which they provide excellent sealing and appearance.

Installation of the shell sink
Democratic invoice (built-in) sink is made of stainless steel. It is mounted on a separate module and closes its entire upper part. It is a very simple installation - special L-shaped elements with a slanting slit are used for fastening. About 4-5 of these fasteners are provided per shell.
Tip! The mixer is connected to the sink installation stage (the sink is already mounted with the installed equipment) - otherwise it will be inconvenient at the subsequent stages.
How to fix the washout with your own hands:
- You need to attach the L-shaped fasteners to the cabinet from the inside and make notes;
- Screw the screws in the marked places. It is important to choose short 15 mm self-tapping screws and twist them in such a way that 5 mm remain above the mark, no less;
- Cover the end of the box with sealant - it will protect the furniture and additionally glue the sink;
- After that, the sink is installed on self-tapping screws screwed into the cabinet and moves until it fits;
- Then the mounts are fixed, the excess sealant is erased, you can begin connecting the sink to the water supply and sewage.
Mortise type sinks - step by step installation
Of course, it is easier to install the self-cleaning sink with your own hands, but the mortise model provides a greater level of tightness and looks very neat on the pedestal with a common worktop. The question of how to embed the sink in the countertop is solved simply enough - you just need to properly make a hole under the sink.
Installation of sink in the countertop is performed according to the following algorithm:
- On the table top find the place of installation of the sink and determine the shape of the future hole. To do this, turn over the sink and circle around the contour directly on the tabletop or on cardboard. If you choose a product of complex shape, then the finished template, most likely, is already in the set - this will help to cut the desired hole;
- The finished template is applied to the tabletop at a distance of about 7 centimeters from the edge and begin to cut. To do this, back from the edge of the template 1.8 cm deep, leaving a support for the sides of the sink;
- On the cutting line, first make a hole with a drill, and then cut the contour with an electric jigsaw. The lower part of the table top is fixed so that it does not fall out when sawing and does not damage the edge of the remaining surface;
- A sealant is applied along the contour of the saw. It also covers the lower joints of the washing;
- You can begin to fix the sink - it is pressed against the clamps included in the kit;
- After the excess sealant will be removed, you can start connecting communications.
Installation of sink flush or below the level of the tabletop. Sinks of unusual shape
Mortise sink can be mounted flush with the tabletop - but this is a laborious process that requires experience, since it involves removing the layer of tabletop under the side. Depth of removal equals height of a side with a sealant layer.
If you decide to install and connect the sink, so that it is below the level of the table, you will have to resort to the services of specialists. After all, this method of installation is chosen for expensive structures - not from steel, but from natural, artificial stone. For fastening in this case, special tools are also required - for example, a jigsaw and diamond saws. Indeed, in such sinks there may be no holes for water drainage - full cutting of products in industrial conditions is not carried out. Sinks from natural materials are fixed with special mounting glue.
As for the sinks of unusual shape, they come with a paper template, which is cut into the installation hole.
3 more important tips
Want to connect the sink yourself correctly? Do not forget 3 more nuances:
- Rubber seals are best replaced with silicone sealant. Rubber does not fit snugly and does not have a sufficient service life, while the sealant will fill all gaps and cracks;
- It is better to connect sinks from natural or artificial stone together, in order to prevent falling and deterioration;
- Fastening the sink to the tabletop or module with self-tapping screws is done exclusively by hand. Using the tool may create too much stress, due to which the structure may be damaged.
Main connection rules
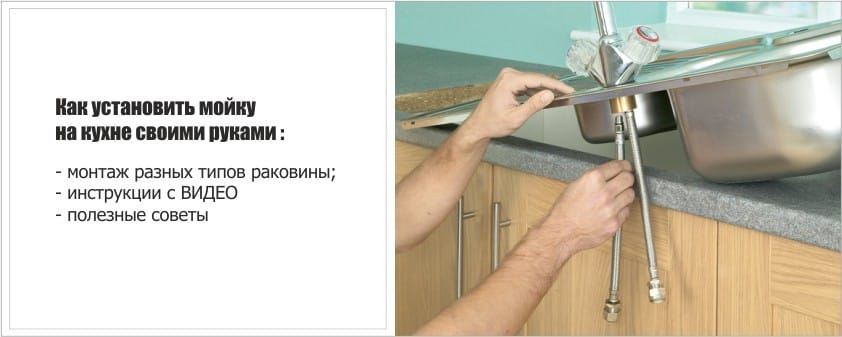
When the installation work is completed, you can connect the sink. For this purpose, hoses through which cold and hot water will flow are connected to a common plumbing system.
Tip! Connection requires the use of a rubber gasket to better seal the joint.
After the hoses are fixed, the connection is carried out in the following sequence:
- A siphon outlet is introduced into the sink (it is better to use S-shaped constructions, since the bottle bottle clogs too quickly);
- A pipe is added to the siphon (angular rigid or flexible corrugated);
- The pipe from the siphon is discharged into the sewer;
- All connections are checked for leaks.
Read more about installing the siphon here: installing the siphon in the kitchen in 4 steps
It may be that the diameters of the pipes from the siphon or sewage are very different. In this case it is necessary to use an adapter - sealing cuff. At this installation of the kitchen sink is complete.
- Corner kitchen sink - selection and installation
- How to choose a kitchen faucet
- Do-it-yourself kitchen faucet repair
- Kitchen sink made of artificial stone - 8 tips for choosing
- 5 steps of mounting the mixer in the kitchen do it yourself
- All about the size of the kitchen sink


 (Rate the material! Already voted:17 average rating: 4,65 from 5)