Flizelin is a synthetic material from pressed cellulose fibers.
Flizelinovym wallpaper called:
- non-woven wallpaper for painting - consists only of non-woven and, as a rule, have a embossed embossing or pattern;
- vinyl wallpaper on non-woven base - in this case, the vinyl layer plays a decorative and protective role, and non-woven fiber - the role of the substrate.

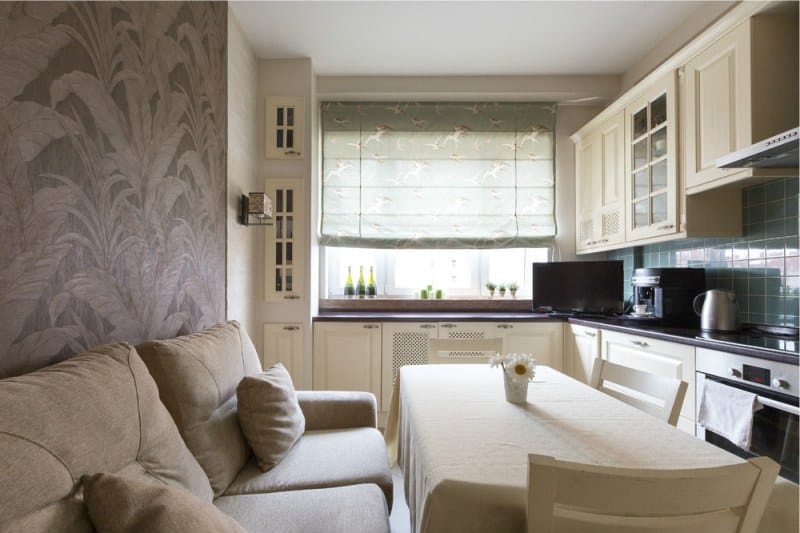
For the decoration of the kitchen will suit any of these types of coatings, because flizelin is a material that has many more pluses than minuses.
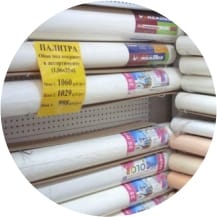
If you still doubt - help for the buyer
Advantages of non-woven wallpaper (hereinafter FD) and comparison with other types of wallpaper:
- The main plus: unlike all varieties of vinyl wallpaper on paper, FD "breathe", which means that under them can not form a fungus and mold.
- However, there is one caveat - standard vinyl wallpaper on non-woven base also “do not breathe” because of the upper vinyl layer, but you can buy so-called “solid” vinyl wallpaper, which both “breathe” and wash, and look beautiful.
- Vinyl wallpaper on non-woven base can last up to 15 years in excellent condition, not tarnished from ultraviolet radiation.
- All DOFs are moisture resistant and can be wiped with a moderately damp cloth without the use of aggressive household chemicals, while washable DOFs are water repellent, which means that they are not afraid of washing with a damp cloth with weakly alkaline solutions.
- Flizelin, unlike vinyl, does not smell.
- And unlike the paper base, it does not stretch from the glue during the pasting process, so it will be easy to dock the pattern.
- Before glueing non-woven wallpaper, the wall does not need to be brought to a perfect condition - due to its density and relief, FDs hide small defects such as tubercles or cracks up to 2 mm.
- Pasting non-woven wallpaper does not require the application of glue and on the canvas, and on the wall - it is enough to apply it only on the wall, which means that there will be less dirt and glue consumption.
- DO perfectly tolerate temperature drops and high humidity.
- Wallpaper for painting can transfer 8-10 cycles of painting, that is, if you wish, you can easily update the walls of your kitchen.
- Flizelin, unlike paper, - fire-resistant.
- And still DO have soundproof properties.
So, we counted 11 advantages, but there are still disadvantages to the DF:
- non-woven wallpaper for painting because of its relief they accumulate dust, so periodically they need to be cleaned or vacuumed;
- in addition, the upper relief layer is subject to mechanical damage, i.e. scratches and dents may remain on the coating;
- cheap FDs can emit formaldehyde, so in this matter it is better not to save.
General recommendations:
- Embossed FDs better hide wall irregularities; besides, they are denser and stronger than smooth ones;
- Quality FD should not smell like acetone and have an oily surface;
- Be sure to buy the financial institutions only from one batch (the number is indicated on the package).Even if in the store it seems to you that “multi-party” wallpapers are exactly the same, believe me, the semitone difference on the wall will be noticeable. The difference in shades of the same wallpaper from different batches is not a marriage, but a production feature;
- Glue for non-woven wallpaper should be moisture-resistant and high-quality (not contain starch and PVA) and better with a color indicator.
- The consultant will help you to calculate the consumption of rolls, you only need to measure in advance the height of the ceilings and the perimeter of the kitchen, taking into account the projections and niches;
And now let's move on to practice, that is, to stick with non-woven wallpaper with your own hands.
How to glue non-woven wallpaper - step by step instructions
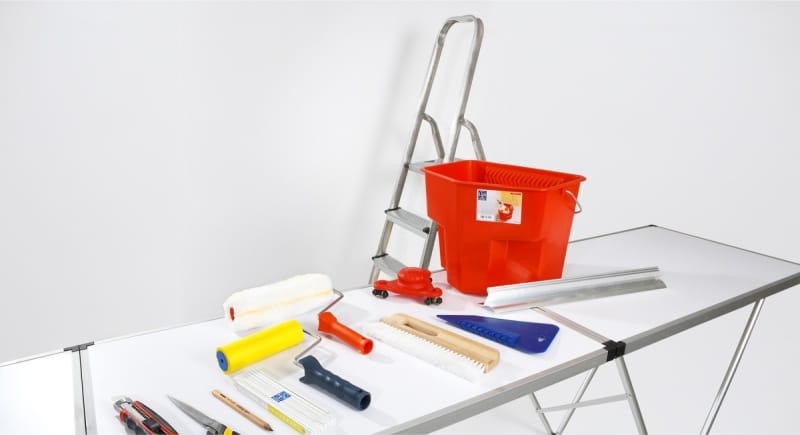
Before you glue non-woven wallpaper, you need to find a partner and prepare the following tools and materials:
- glue for non-woven wallpaper and packaging for its breeding;
- measuring tools: plumb and level, tape measure, marker for marking;
- wallpaper spatula;
- clean, smooth cushion to smooth the canvas (preferably rubber);
- paint brush for glue;
- sponges and clean rags for cleaning, scissors, cutter, stepladder.
Important! Some DOFs may be translucent. Attach one sheet to the wall and make sure that the base does not shine through it. If you can see the wall through the wallpaper, you need to paint the wall. Only after the paint dries, the wallpaper is fixed on non-woven base.
Step 1. Preparing the wall
In the process of carrying out the preparatory work, the old coating is necessarily dismantled - non-woven wallpaper can not be pasted over the existing material. After removing the previous layer of wallpaper, the wall surface is sanded. It is not necessary to plaster the wall completely - an exception is the discovered deep cracks or hollows. After sanding, all that remains is to wipe the dust on the wall with a damp cloth and wait until it dries.
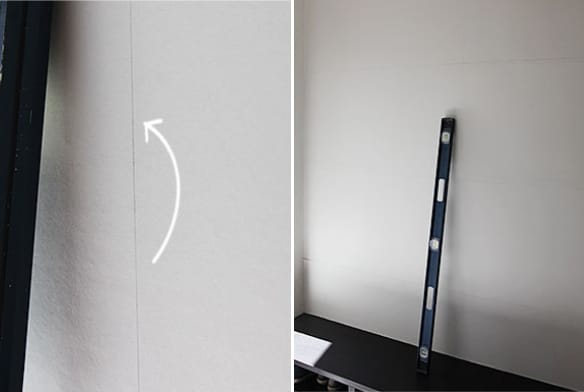
Step 2. Apply the markup
The markup must be drawn using a building level or plumb. Where better to start drawing the markup and how to glue non-woven wallpaper? Most often, sticking leads from the window. But many professionals recommend the opposite - to start from the wall farthest from the window, moving, in fact, to the window opening.
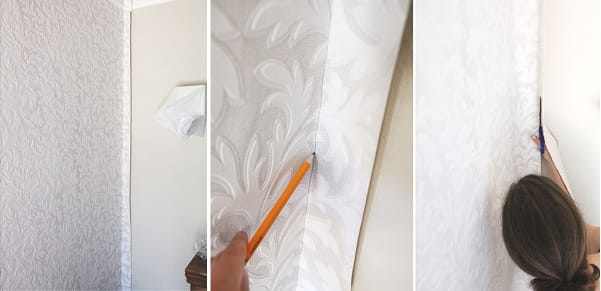
Step 3. Cut out the roll on the canvas
There are 3 options for cutting canvases, you can:

- cut the strip straight along the wall, applying the roll and marking the cutting line (taking into account the allowance of 10 cm);
- cut on the table or on the floor at the rate of: ceiling height + 10 cm;
- if the wallpaper has a pattern, then the cutting should take into account the rapport, that is, the step of the repeating pattern. Typically, this value is indicated on the package, but you can check the correctness of the data by finding duplicate items.
- The number of strips to be cut is determined around the perimeter of the room, taking into account the projections, niches and pattern joining.
Step 4. Cooking glue
Before you glue non-woven wallpaper, it is important to properly prepare the adhesive mixture. The main thing is to do everything exactly according to the manufacturer's instructions.
- Good glue should dissolve no more than 5 minutes before the gel-like consistency without the formation of lumps.
- The composition is prepared by breeding exclusively in cold water. If you add warm water, lumps form in the glue, which will remain bumps under the canvases.
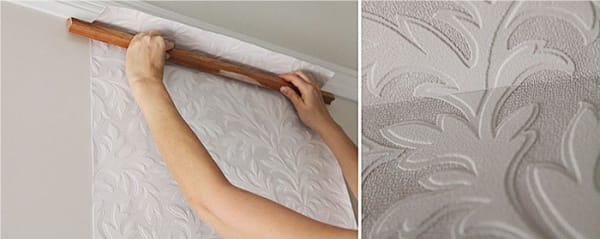
Step 5. Getting started on pasting
Apply the glue with a brush on the wall just going beyond the boundaries of the markup (in principle, this can be done with a roller). Now we start to glue the strip. How to stick non-woven wallpaper exactly?
- The main thing - to impose a strip, aligning it exactly on the markup, but so as to close the markup itself. Allowance for ceiling plinth should be approximately 5 cm as shown in the photo below.
First you need to glue and smooth all the canvas at once - this should be done together with your partner. Next, you should finally fix the wallpaper, distribute the adhesive evenly and release the air.To do this, from above, under the ceiling, roll left and right with a rubber roller. Then, they also begin to smooth the entire strip on the principle of "fir-tree": we roll the roller vertically in the center, then from the center to the edges, "drawing" the branches of the fir-tree. Speakers excess glue to immediately wipe with a cloth.
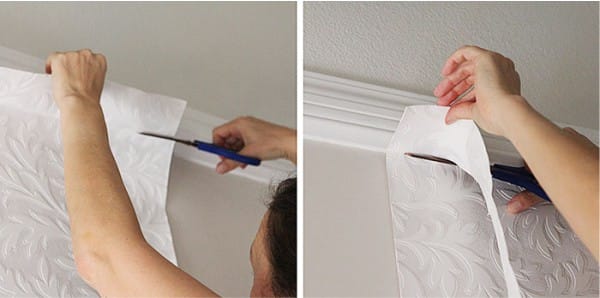
Finally, cut off the top and bottom allowances and proceed to the next strip.
- Cloths need to align butt, leaving no seams or overlaps.
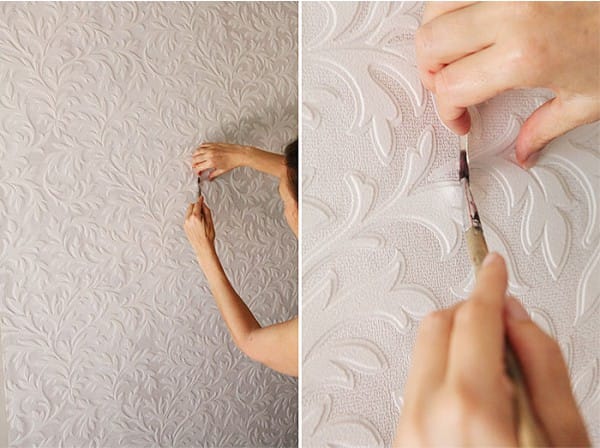
- In the corners of the canvas glued with a small overlap, but also taking into account the picture.
- When pasting the wall behind the radiators, the strips are glued at a distance of 10 cm.
Read more about how to glue non-woven wallpaper in difficult places: niches, ledges, doorways read here.
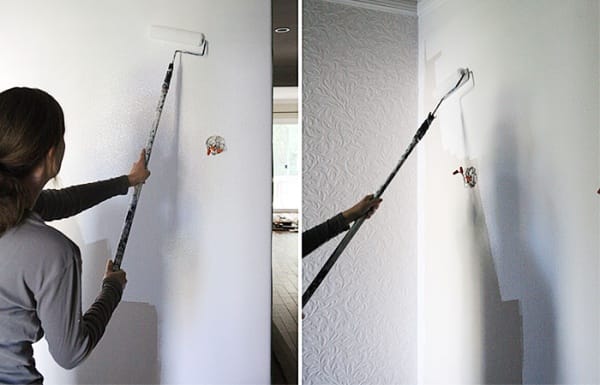
Step 6. Paint the walls
For non-woven wallpaper suitable for painting water-based paints - acrylic or water-based. The question of the coloring itself is a topic for a separate article, so we invite you to read it. step by step master class on painting walls.

 (Rate the material! Already voted:8 average rating: 4,75 from 5)
In addition to the material - a visual video on how to properly glue non-woven wallpaper with their own hands.
- Choosing a wallpaper and background for the kitchen according to all the rules
- Decorating the walls in the kitchen with vinyl wallpaper - 6 steps from shopping to gluing
- Photowall-paper for kitchen - receptions and ideas of registration
- Create a unique design in the kitchen - correctly combine the wallpaper
- How to paint the walls or decorate them with drawings